
2 Ingredient Greek Yogurt Bagels (No Yeast)
Ingredients
- 300g self-raising flour
2 cups
- 280g thick Greek yogurt
1 cup + 2 tablespoons
- 1 teaspoon salt
- Everything bagel seasoning
- Za’atar
- Dukkah
try my easy dukkah recipe
- Sesame seeds
- Poppy seeds
- Grated cheddar and pickled jalapeños
- Flaky sea salt
- Cinnamon and sugar
Directions
- 1
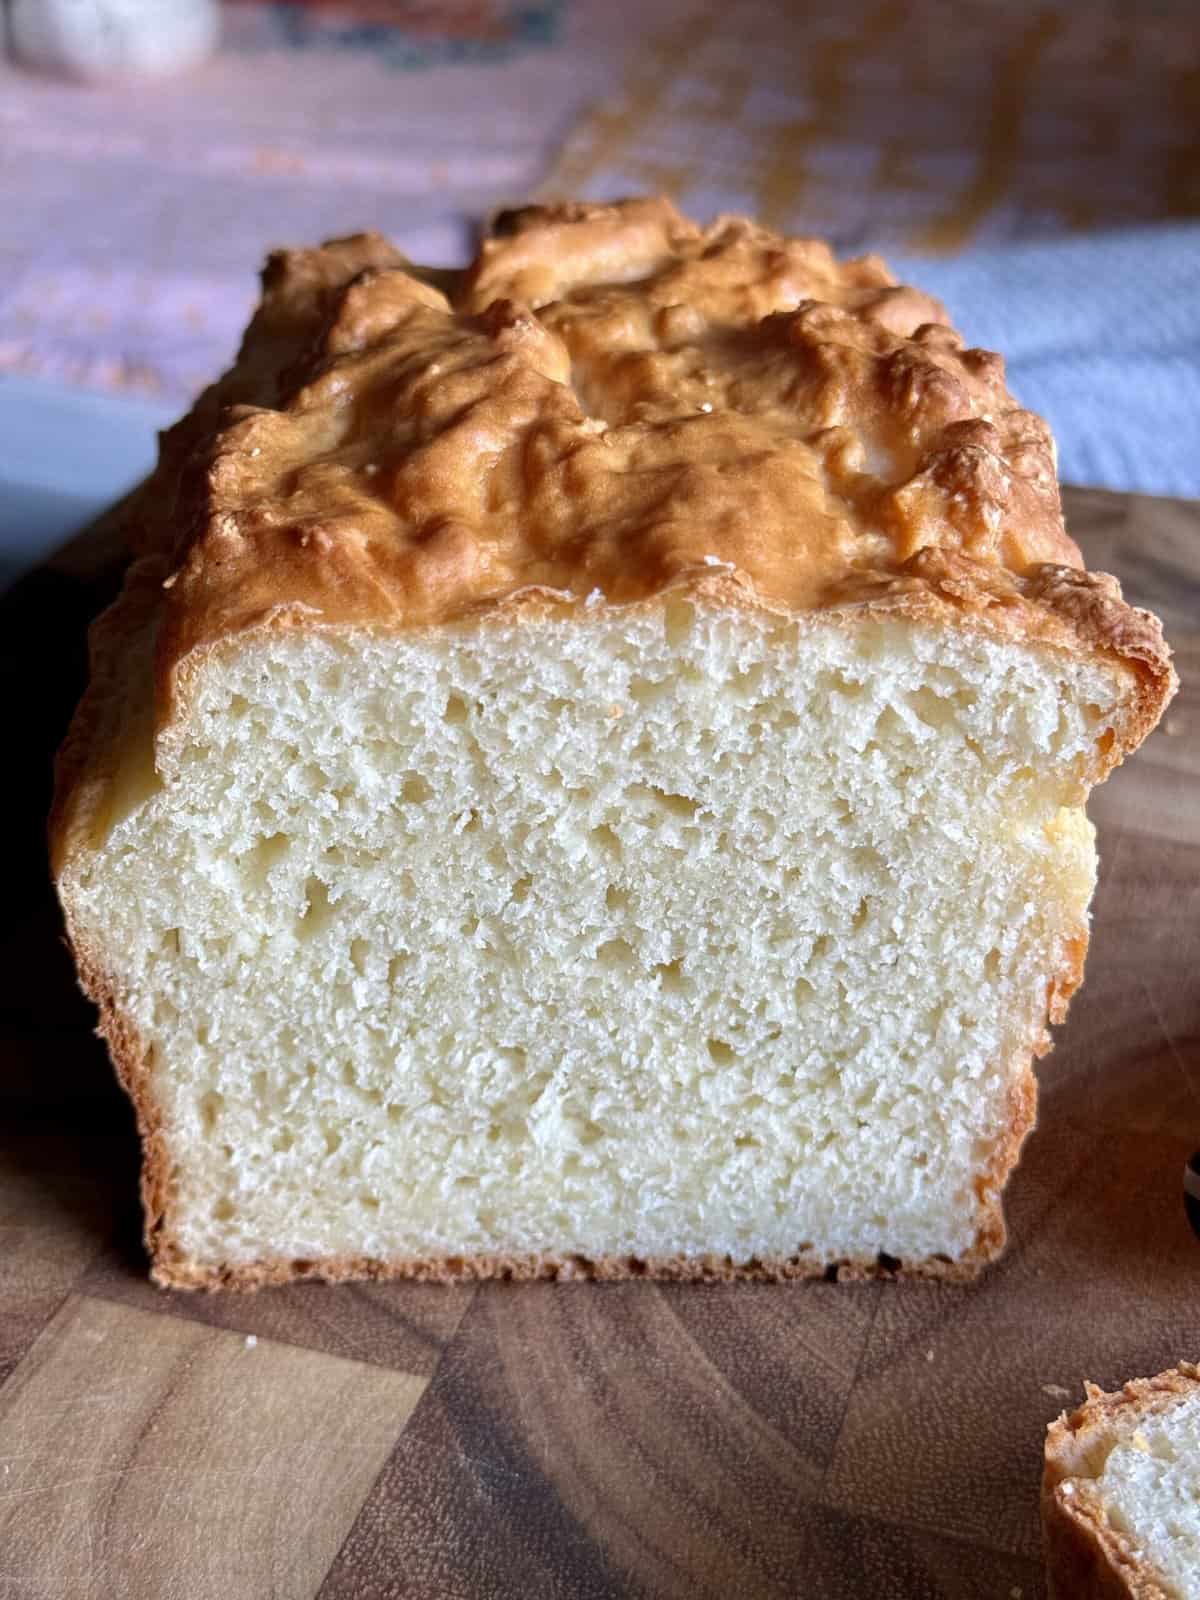
. Start by heating your oven to 400F/200C fan and line an oven tray with baking paper. Add the self-raising flour, Greek yogurt and salt to a large bowl. Mix with a large wooden spoon or spatula until it’s starting to look like crumbly breadcrumbs, then get your hands into the bowl to bring the mixture together into a rough dough. You’ll need to give it a couple of kneads in the bowl – just press down on the mixture with the palm of your hand, then fold the part you just pushed away back over itself and repeat for about 30 seconds. The dough shouldn’t be sticky – if it is, add a tiny bit more flour and work it into the dough with the kneading motion. (Need more help with kneading? Check out my post all about how to knead dough).
- 2
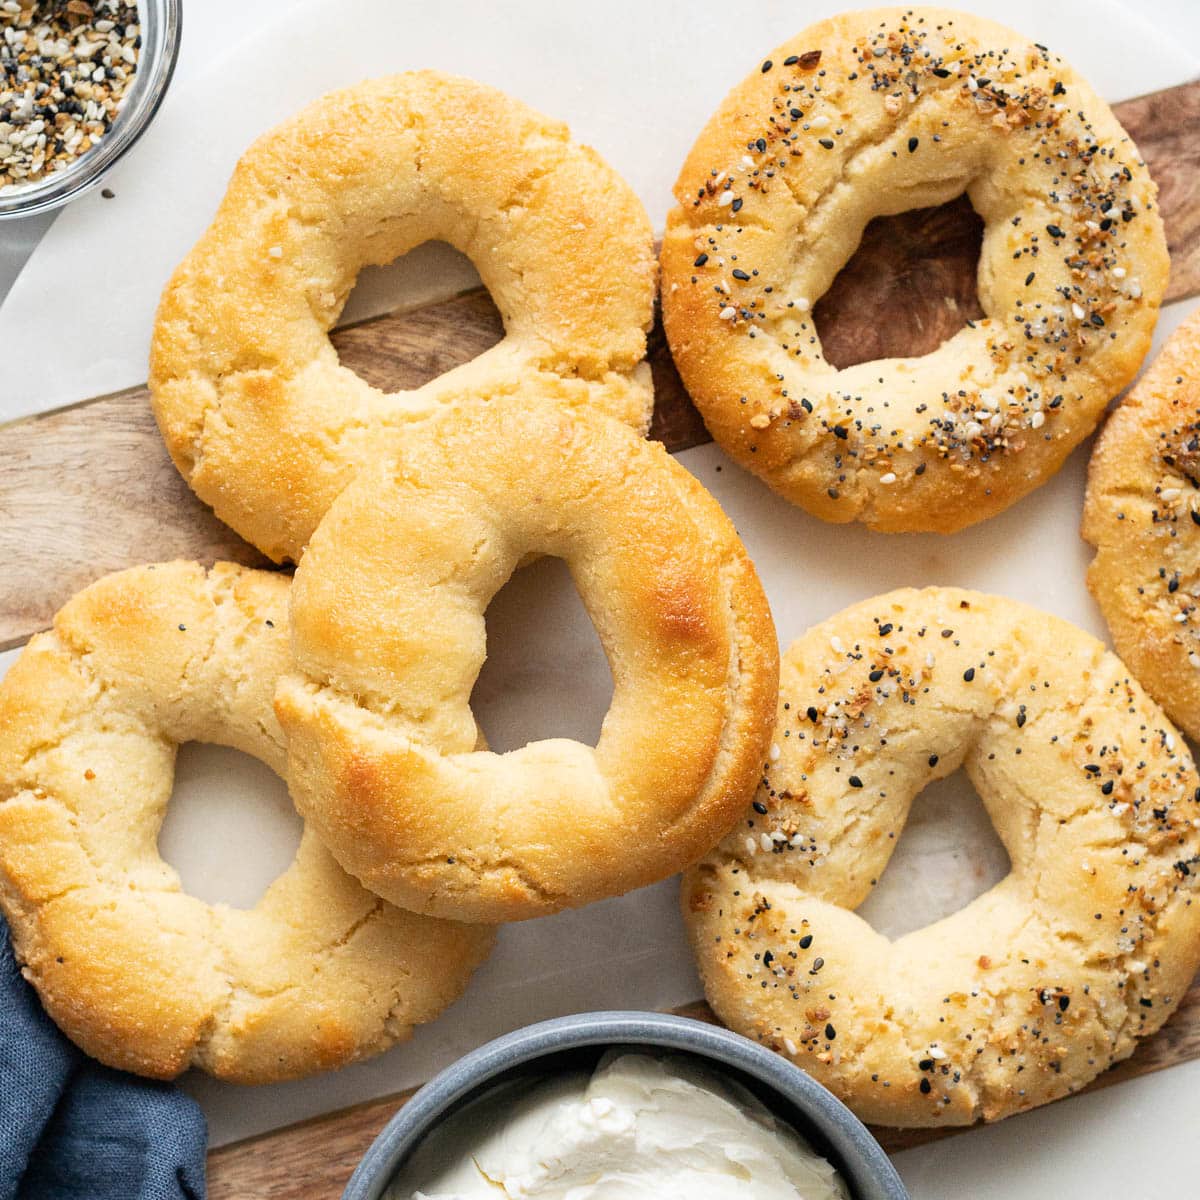
Get your dough out onto a lightly floured flat surface and cut into 4 roughly equal pieces. You can weigh them if you want to get precise. There are two ways you can form the bagels. You can roll them out into ropes with your hands, approximately 6″ long then join the ends to form a circular bagel shape and press the two ends of the dough together to seal. Or, form your dough into a rough circle, then press down with your hands to create a flatter disc. Use your fingers to make a whole in the middle, then gently stretch the dough out into a bagel shape. Place the bagels onto the prepared baking tray.
- 3
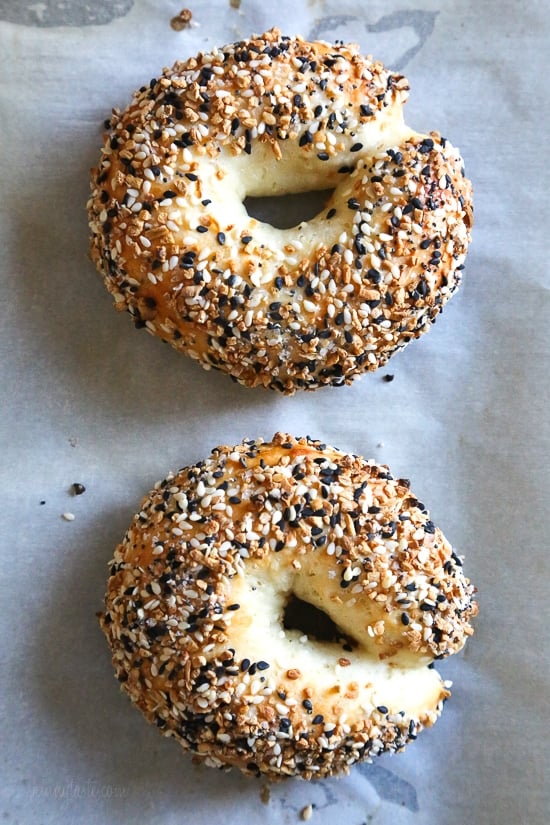
This is an optional step BUT I find it creates a more authentic-looking and tasting bagel. Classic bagels are boiled before baking to help develop that gorgeously golden and chewy crust. All you have to do is get a large pot of water boiling on the stove (you’ll want enough water in there so the bagels will be fully covered). Lower the bagels into the water and give them a little nudge with a large wooden spoon or fish slice so they don’t stick to the bottom. Boil for one minute, then carefully flip the bagels over with a fish slice, and let them boil for another 30 seconds. Use a fish slice to remove the bagels from the water and place them back onto your lined baking tray.
- 4
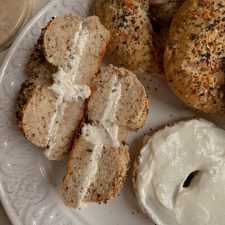
If you’ve boiled your bagels, you can sprinkle your toppings straight on top of your bagels on the tray (the water will help the toppings stick). If you’ve skipped the boiling step, brush the tops of the bagels with the whisked egg (or use milk/plant-based milk or water).
- 5
. Transfer the tray to the oven and bake for 20 – 25 minutes, until they look golden brown and glorious. I like to rotate the oven tray halfway through to make sure they’re all cooking and browning evenly. Remove from the oven, then enjoy!
2 Ingredient Greek Yogurt Bagels (No Yeast)
Similar Recipes


Ratings & Reviews
Be the First to Rate
Your rating helps others discover amazing recipes. Share your experience and let others know what you think!
About this Recipe
Dreaming of warm, chewy bagels fresh from your oven, but intimidated by yeast and lengthy proofing? Get ready to make truly amazing homemade bagels with just two simple ingredients and minimal effort, ready in under half an hour.
The magic lies in the simple reaction between thick Greek yogurt and self-raising flour, which combine to create that signature chewy bagel texture without any yeast or long waits. This ingenious method sidesteps traditional bagel-making complexities, delivering authentic flavor and satisfying chewiness with remarkable speed.
You'll bite into a delightfully chewy exterior giving way to a soft, satisfying interior, perfectly reminiscent of your favorite bakery bagels. These aren't just easy; they deliver a texture that will surprise you given the minimal ingredient list. Imagine them warm, perhaps with a generous smear of cream cheese, or piled high with your favorite sandwich fillings.
This recipe is incredibly versatile for customization. Beyond the classic Everything bagel seasoning, you can personalize your bagels with savory Za’atar or Dukkah, simple sesame seeds or poppy seeds for a classic look, or even go bold with grated cheddar and pickled jalapeños. For a sweet treat, a sprinkle of cinnamon and sugar transforms them beautifully, especially with a pinch of flaky sea salt. If you don't have self-raising flour, you can easily use plain flour and add 2 teaspoons of baking powder instead.
These homemade bagels are perfect for a quick breakfast, a satisfying lunch sandwich, or even a delightful snack any time of day. Serve them fresh from the oven, split and toasted, for an unbeatable experience.