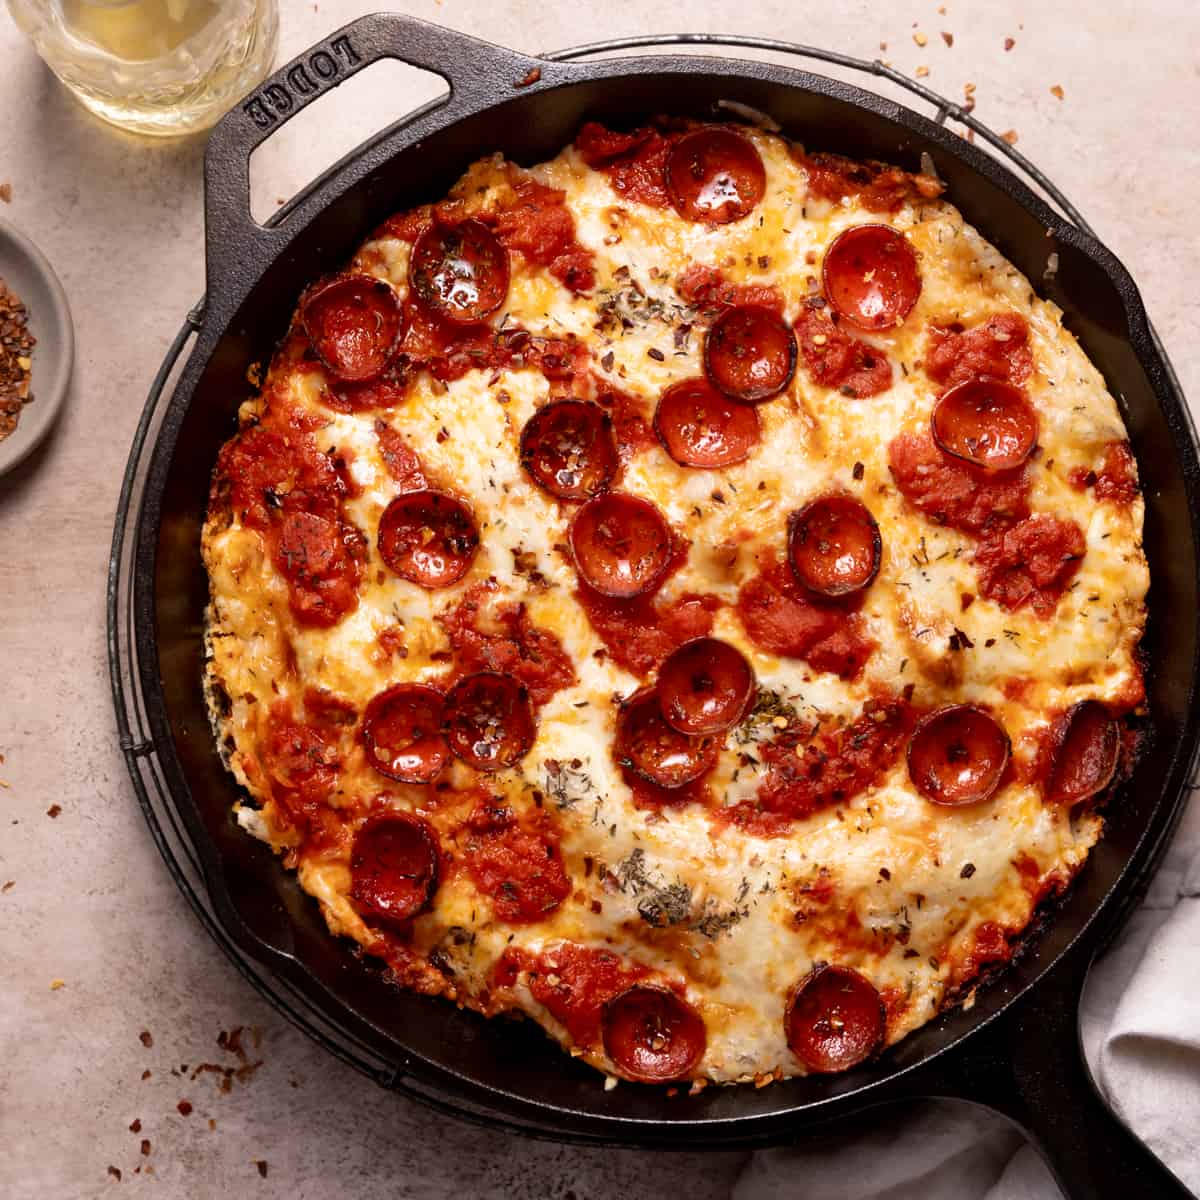
Cast Iron Skillet Pizza

Cast Iron Skillet Pizza

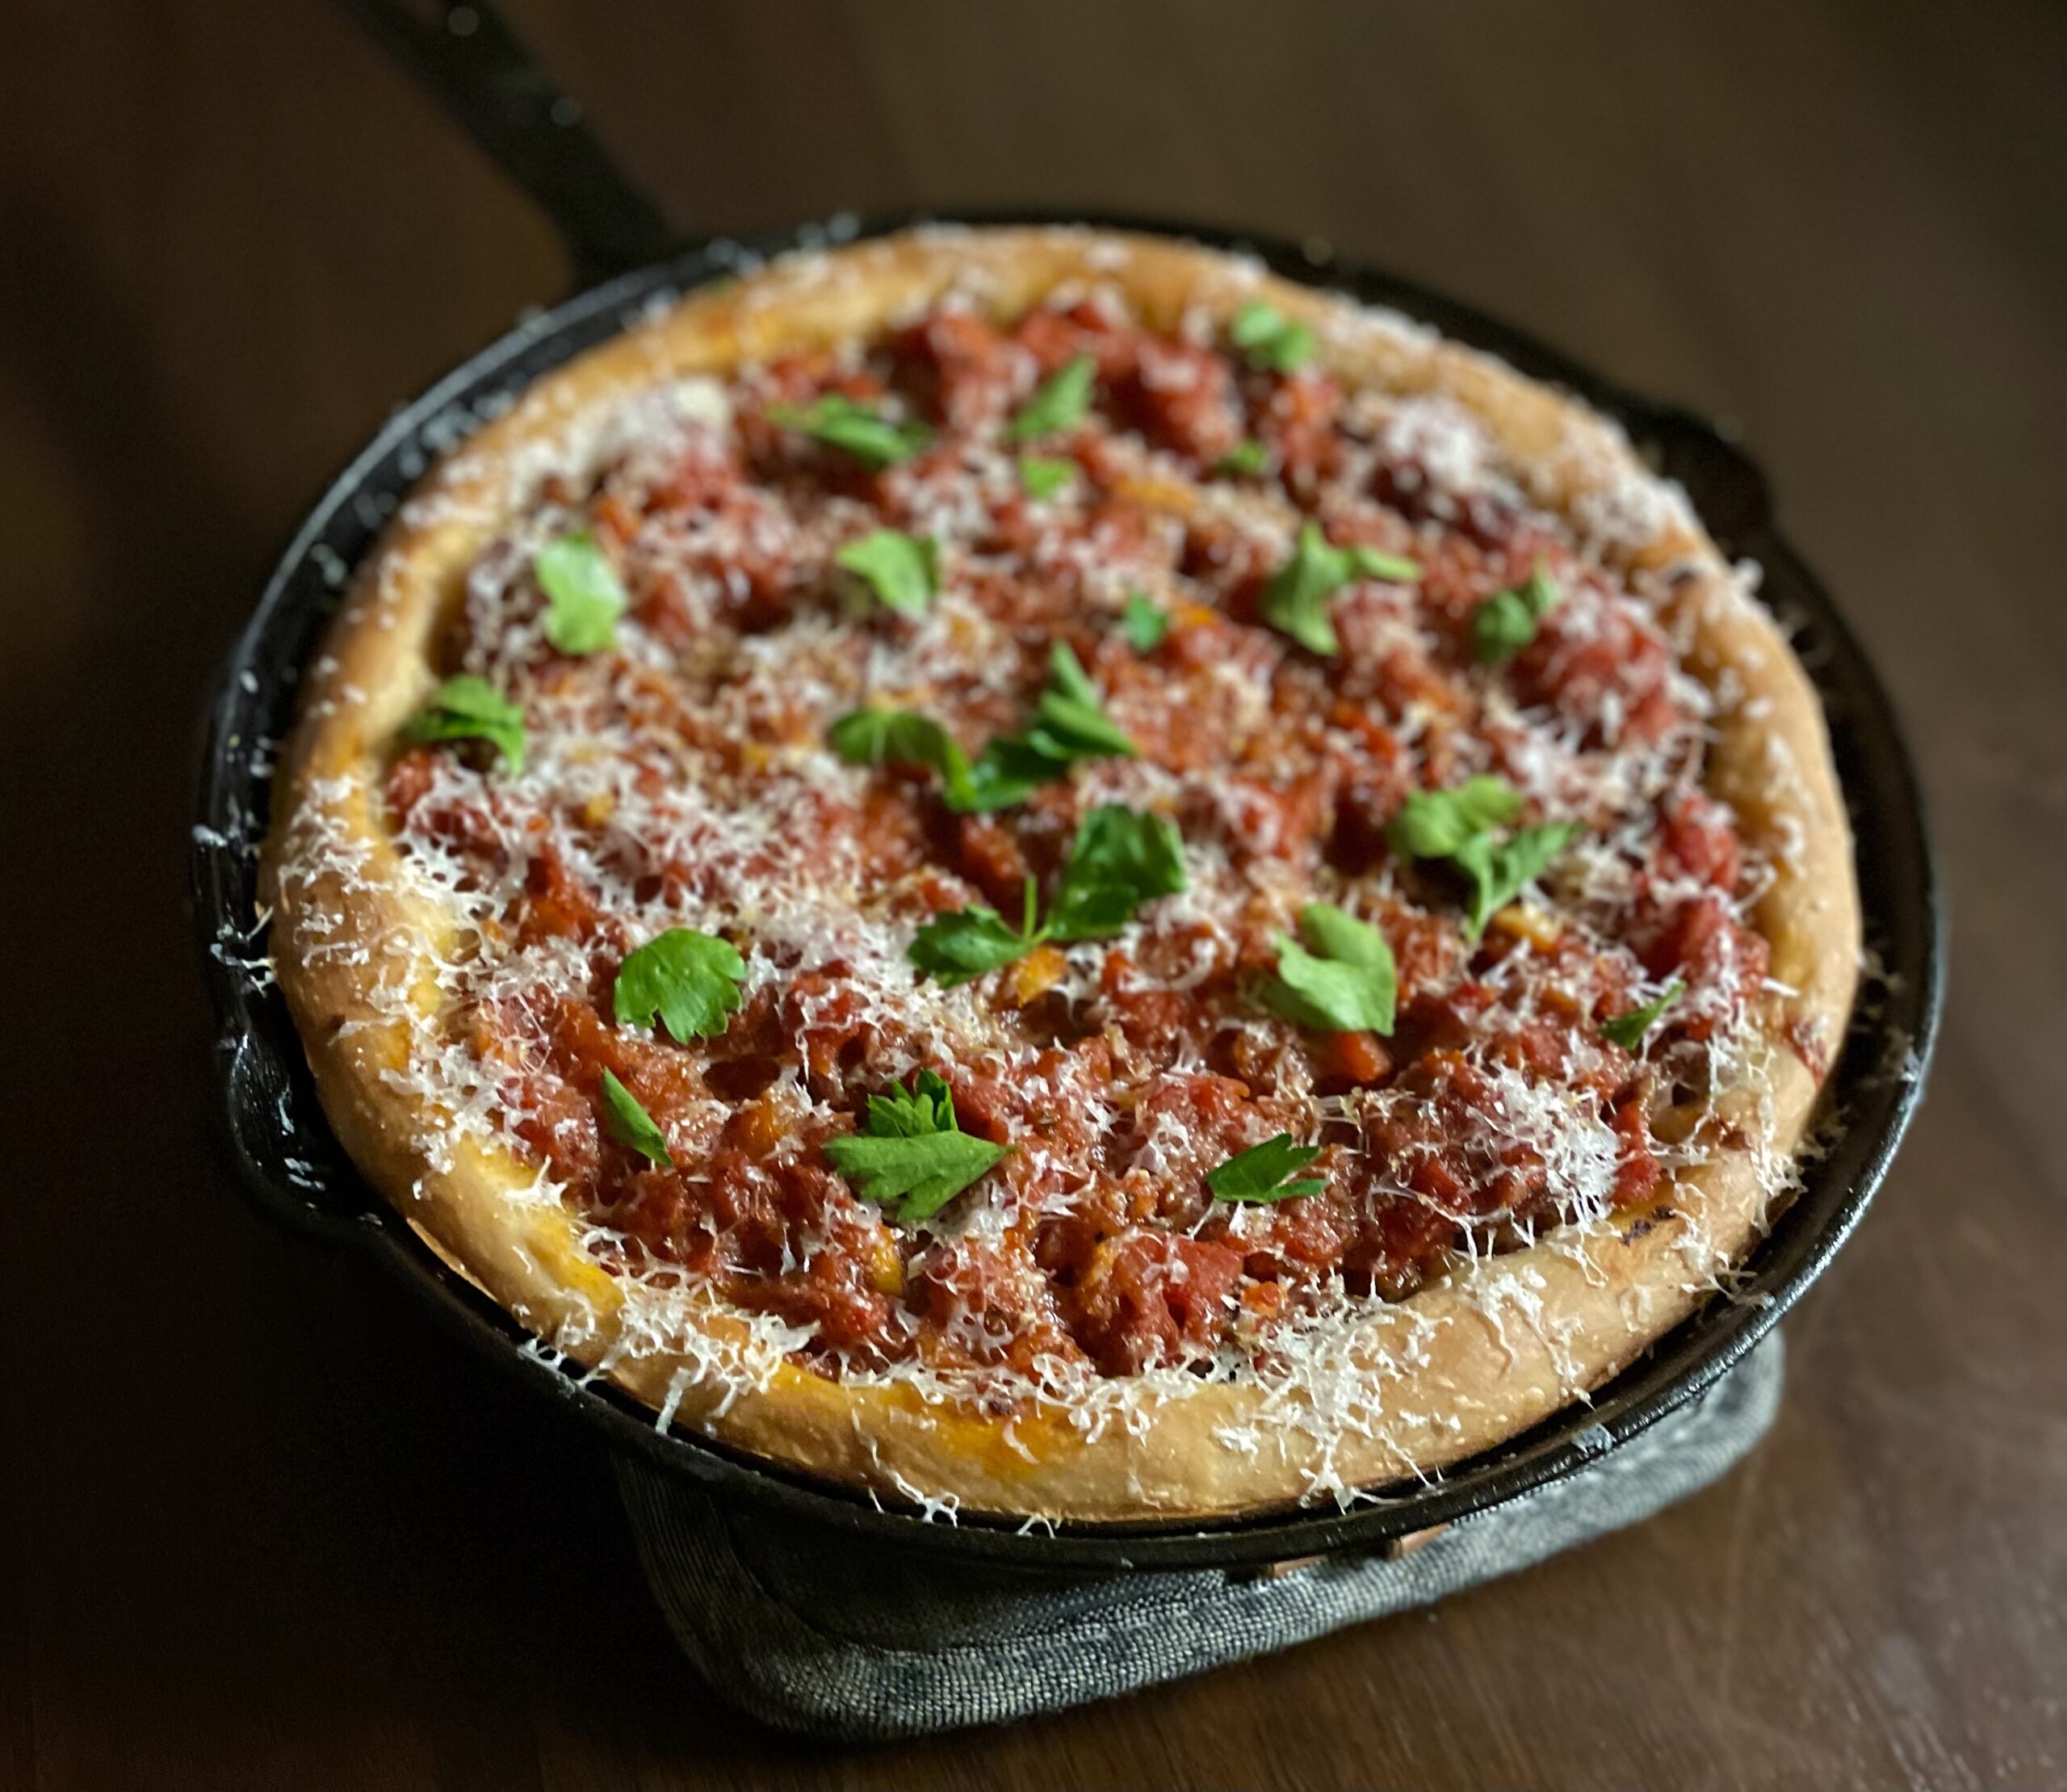
Skip the take-out pizza and make cast iron skillet pizza instead! This easy skillet pizza has a thick crust with a crispy bottom and a soft and chewy center. You can make it in 30 minutes with your favorite toppings for your next Friday night pizza!

Ingredients

  • 1 tbsp olive oil
  • 12 ounces pizza dough

    store bought or homemade

  • 2 cups shredded mozzarella cheese

    use a low moisture block mozzarella instead of fresh for the crispiest crust

  • 1/2 cup pizza sauce

    store bought or homemade

  • desired pizza toppings

Directions

  1. 1

    Move one oven rack to the very bottom and one to the top of your oven, then preheat the oven to 450 F/230 C.

  2. 2

    Evenly spread the oil in the bottom and sides of the cast iron pan. Gently stretch the pizza dough to fill the bottom of the pan, dimpling it with your fingers.

  3. 3

    Sprinkle the mozzarella cheese over the entire top of the dough, all the way to the edges. Then dot the sauce over the cheese, all the way to the edges.

  4. 4

    Add your favorite toppings, then bake it on the bottom rack for 18-20 minutes, or until the bottom of the crust is golden brown and the cheese is browning and melted. To check the crust browning, lift up the side with a spatula. If needed, continue baking it on the bottom rack until browned. If you desire a more browned top, move the pan to the top rack of the oven for 2-3 minutes.

  5. 5

    Place the hot pan on a wire rack momentarily, then use a sharp knife to run around the edges of the pan to keep the crust from sticking to the pan. Use a spatula to carefully transfer the pizza to a cutting board to keep the crust from getting soggy. Serve hot and enjoy!

Cast Iron Skillet Pizza

Cast Iron Skillet Pizza

Similar Recipes
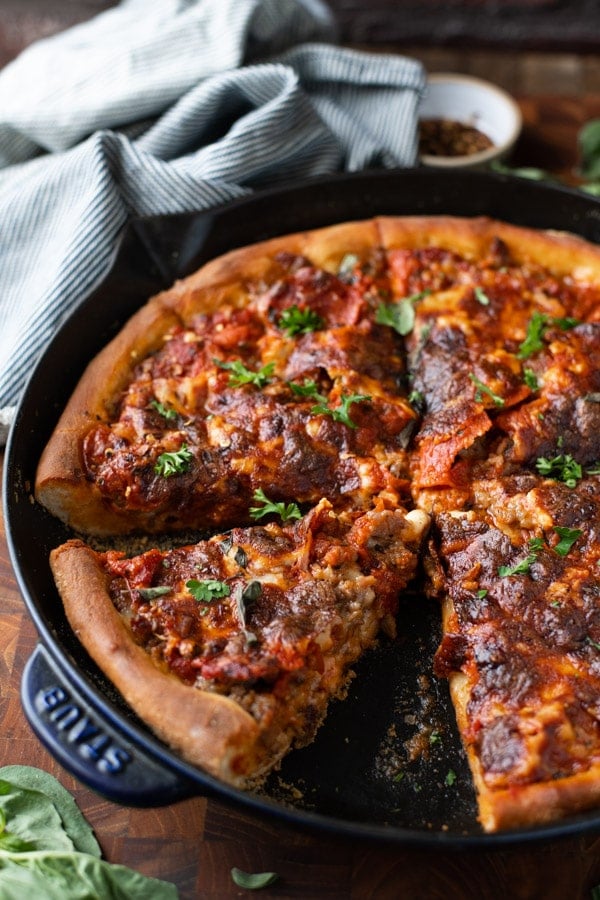
Simple Sourdough Pizza Crust

Simple Sourdough Pizza Crust

What you need to make this recipe...: ...a sourdough starter. Ideally, you want to use your starter 4 to 6 hours after you feed it, when it has doubled in volume and is very bubbly and active. Here are three sources: Breadtopia King Arthur Flour Cultures for Health ...time. Once your starter is ready to go, this recipe requires an initial 6 - 18 hour rise, followed by at least 6 hours in the fridge or up to 3 days.  Timing/Schedule: The more I make sourdough, the more I realize that the timing of each bake depends so much on the time of year and the temperature of my kitchen. In the summer, because it is warm and humid, the first rise (bulk fermentation) of all my sourdoughs takes between 6 - 8 hours; in the winter it will take longer, 10 to 12 hours. It is best to rely on visual cues. For the bulk fermentation, you want the dough to double or less than double: I now end my bulk fermentation when the dough has risen by 50% to 75% in volume. This is why I cannot recommend using a straight-sided vessel  (as opposed to a bowl) enough. It makes gauging the first rise easier. If at any point you are worried the dough will over-ferment — say, for example, the bulk fermentation is nearly complete but you are tired and want to go to bed — stick the vessel in the fridge and pick up the process in the morning. (Note: If your dough rises above double, don't despair ... my dough has tripled in volume during an overnight rise, and the resulting dough still had plenty of strength and spring.) Schedule: I like mixing this dough in the evening, performing 4 stretch and folds before I go to bed (if time permits), then letting the dough complete its bulk fermentation at room temperature (68ºF) overnight or in the refrigerator (especially in the summer, when my kitchen is much warmer). In the morning, it's typically ready to be portioned (if it rose at room temperature), transferred to quart containers, and stashed in the fridge. If I had let my dough spend time in the fridge for the bulk fermentation, I remove it in the morning, and let it complete its bulk fermentation at room temperature. Once complete, I portion the dough and stash it in the fridge. Sometimes I'll use the dough that same evening; sometimes I'll use it the following day or the next. I encourage using the dough within 3 days.  In short: If you want pizza for the weekend, mix your dough on either Wednesday or Thursday.  Troubleshooting: If you have issues with your dough being too sticky, please read this post: Why is my sourdough so sticky? The 4 common mistakes. Water: If you live in a humid environment or if you are making this on a particularly humid day, consider starting with less water, such as 335 grams of water, which will bring the hydration down to 70%. This amount of water will still produce a light airy crust but the dough will be more manageable.  Flour choice:  Due to supply issues, I've been making this recipe with all-purpose flour, and it works beautifully. You absolutely can use bread flour or tipo 00 flour if you can get your hands on either. If you can't, know that all-purpose (unbleached) flour works great here. If you use 00 flour, you'll likely need to reduce the amount of water. I would start with 350 g, and adjust moving forward based on your results.  Favorite Pizza-Making Tools: Baking Steel Pizza Peel Parchment Paper: I bake my pizzas on parchment paper on my Baking Steel. Parchment allows for easy transfer from peel to steel.  Cast Iron Skillet: If you do not have a Steel or stone, you can use a cast iron skillet. Rub a half teaspoon of oil over its surface, transfer a stretched dough round to the skillet. Top as desired. Bake at 450ºF for about 15 minutes.  Quart Containers for storing dough

25 hours4 servings

Ratings & Reviews

Be the First to Rate

Your rating helps others discover amazing recipes. Share your experience and let others know what you think!

About this Recipe

Craving that perfect, thick-crust pizza with a gloriously crispy bottom and a soft, chewy interior, right from your own kitchen? Skip the takeout menu and discover the magic of Cast Iron Skillet Pizza. This recipe brings pizzeria-quality pies to your table, offering all the satisfying flavors you love without leaving home. You'll achieve truly delicious results that are sure to become a regular on your rotation.

What makes this skillet pizza so special is the unmatched heat retention of the cast iron itself. This powerful heat creates an intensely crispy crust on the bottom, a hallmark of great pizza, while the dough remains wonderfully tender in the center. It's a method that promises a consistently perfect bake, transforming simple ingredients into a truly impressive meal with minimal fuss.

Prepare for a delightful experience, where each slice offers a textural symphony. You'll savor the golden-brown, crunchy base giving way to a light and airy dough, generously topped with melted, bubbly mozzarella cheese. The rich flavor of the pizza sauce provides the perfect counterpoint, making every bite incredibly satisfying. It's a comforting, hearty dish that feels both gourmet and familiar, perfect for any casual gathering or a cozy night in.

Feel free to get creative with your Cast Iron Skillet Pizza. While shredded mozzarella is recommended for the crispiest crust, you can certainly experiment with your favorite cheese blends. As for desired pizza toppings, the sky's the limit! Add pepperoni, cooked sausage, sautéed mushrooms, bell peppers, or even a sprinkle of fresh basil after baking. You can use either store-bought or homemade pizza dough and sauce, adapting to your schedule and preferences.

This robust skillet pizza is ideal for a fun-filled Friday night pizza tradition, a laid-back family dinner, or simply when you're in the mood for an effortlessly delicious meal. Serve it hot, straight from the skillet, and watch it disappear.

Frequently Asked Questions