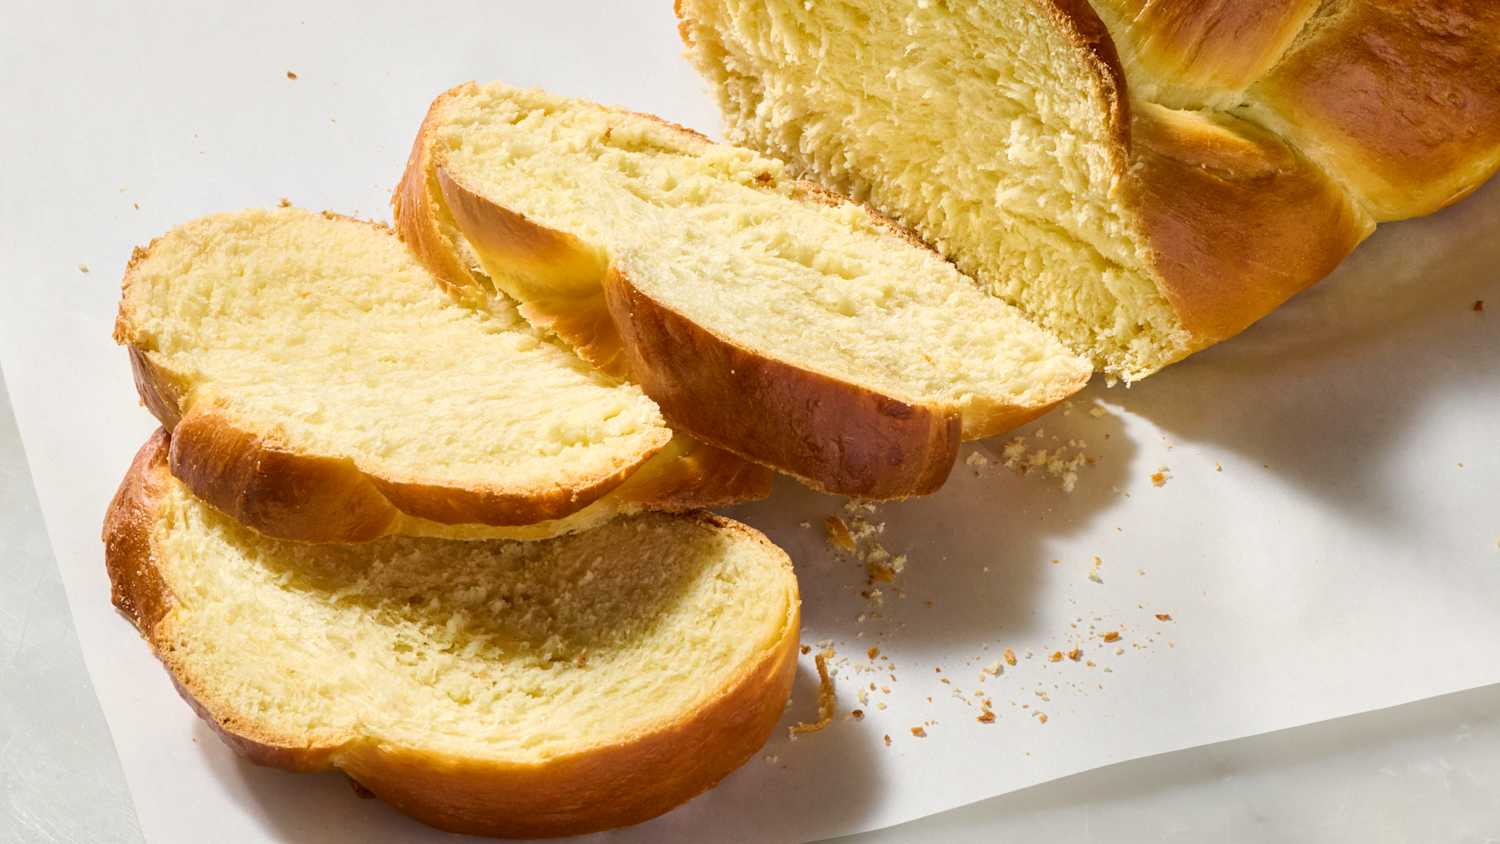
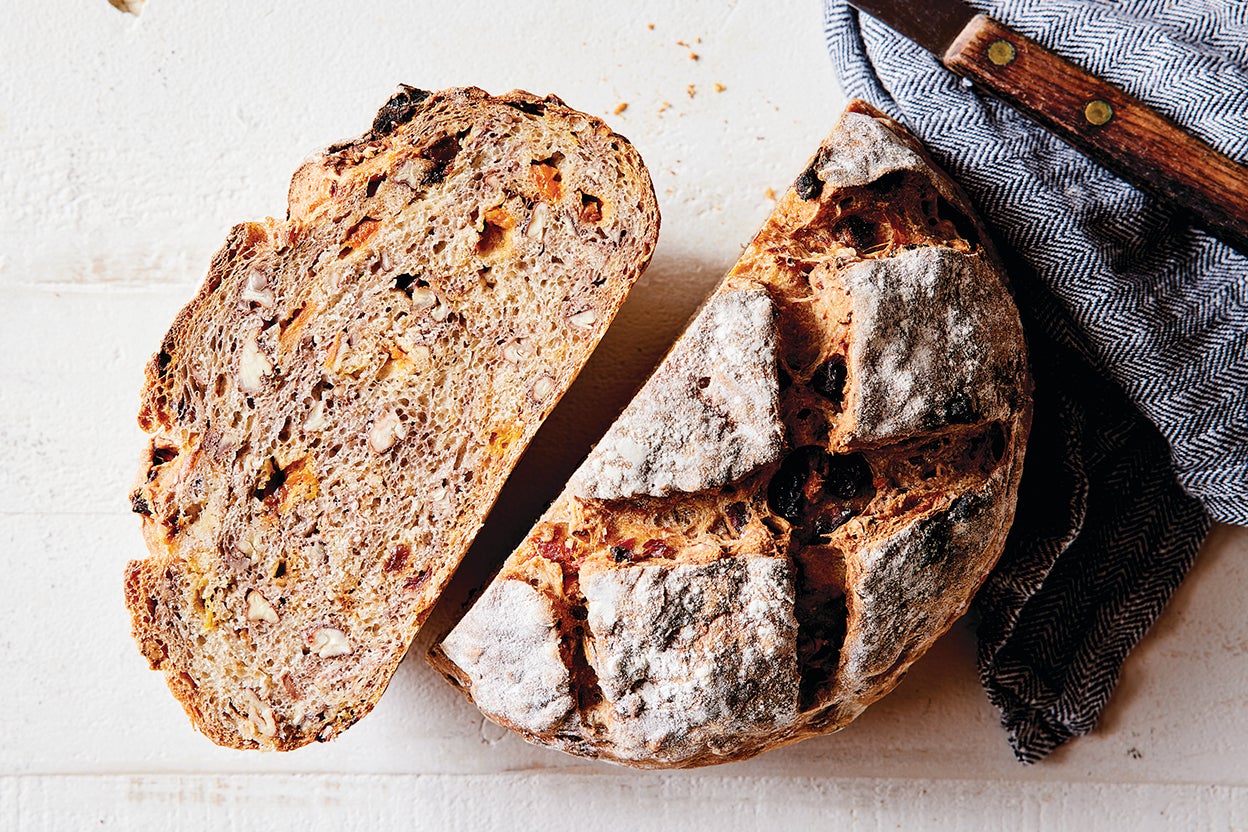
Challah Bread
Ingredients
- 1 clukewarm water
- 2 tspactive dry or instant yeast
- ¼ cplus 1 pinch granulated sugar
divided
- 4 ½ call-purpose flour
plus more as needed
- 1 tbspkosher salt
- 2 largeeggs
- 1 largeegg yolk
reserve the white for the egg wash
- ¼ cneutral oil
such as vegetable or canola, plus more for the bowl
- 1 largeegg white
- 1 tbspwater
Directions
- 1
Place 1 cup lukewarm water in a small bowl. Sprinkle with 2 teaspoons active dry yeast and 1 pinch of the granulated sugar, and stir to combine. Let sit until you see a thin frothy layer across the top, 5 to 10 minutes. This means that the yeast is active and ready to use. (If you do not see this or if your yeast won't dissolve, it has likely expired and you'll need to purchase new yeast.)
- 2
Whisk 4 1/2 cups all-purpose flour, remaining 1/4 cup granulated sugar, and 1 tablespoon kosher salt together in a stand mixer. (Alternatively, use a large bowl and knead by hand.)
- 3
Make a well in the center of the flour mixture. Add 2 large eggs, 1 large egg yolk, and 1/4 cup neutral oil to the well. Whisk this mixture to form a slurry, pulling in a little flour from the sides of the bowl.
- 4
Pour the yeast mixture over the egg slurry. Mix everything together with a wooden spoon or flexible spatula until a shaggy dough that is difficult to mix forms.
- 5
Mix with the hook attachment on low speed until a soft, smooth, and tacky dough forms, 6 to 8 minutes. (Alternatively, turn out the dough onto a floured work surface and knead by hand for about 10 minutes.) If the dough seems very sticky 5 minutes into the mixing time, mix in more flour a tablespoon at a time as needed.
- 6
Lightly coat a large bowl with oil. Transfer the dough ball into the bowl and turn to coat in the oil. Cover and let rise in a warm place until doubled in bulk, 1 1/2 to 2 hours.
- 7
Divide the dough into 3 or 6 equal pieces (about 3 or 6 ounces each), depending on the type of braid you'd like to do. Working on a lightly floured work surface, roll each piece of dough into a long rope about 16 inches long. If the ropes shrink as you try to roll them, let them rest for 5 minutes to relax the gluten and then try again.
- 8
Arrange the ropes vertically, then gather and squeeze them together at the very top. If making a 3-stranded challah, braid the ropes together like braiding hair or yarn and squeeze the other ends together when complete. If making a 6-stranded challah, the directions are below in the Recipe Notes.
- 9
Line a baking sheet with parchment paper. Place the braided loaf on top and sprinkle with a little flour. Cover with a kitchen towel and let rise in a warm place away from drafts until puffed and pillowy, about 1 hour. About 20 minutes before baking, heat the oven to 350°F.
- 10
Whisk 1 large egg white and 1 tablespoon water together in a small bowl with a fork. Brush it all over the challah, being sure to get in the cracks and down the sides of the loaf.
- 11
Bake, rotating the baking sheet halfway through, until the challah is deeply browned and the center registers at least 190°F, 30 to 35 minutes total. Transfer the challah onto a wire rack and let cool until just barely warm before serving, at least 45 minutes.


Recipe notes
- 1
Making a 6-Stranded Challah BraidThe name of the game here is "over two, under one, over two." Carry the right-most rope over the two ropes beside it, slip it under the middle rope, and then carry it over the last two ropes. Lay the rope down parallel to the other ropes; it is now the furthest-left strand. Repeat this pattern until you reach the end of the loaf. Try to make your braid as tight as possible. Your braid will start listing to the left as you go; it's ok to lift it up and recenter the loaf if you need to. Once you reach the end, squeeze the ends of the ropes together and tuck them under the loaf.At this point, your loaf is fairly long and skinny. If you'd like to make a celebration ring, stretch the loaf a little longer and pull the ends toward each other to create a circle. You can either squeeze the ends together, or if you're feeling adventurous, braid them into a continuous circle.If you're making a regular loaf (as pictured), you need to "plump" it a little to tighten the ropes into more of a loaf shape. Place your left palm at the end of the braid and your right palm at the top, and gently push the two ends toward each other, just like plumping a pillow in slow motion. Then slip your fingers under the dough along either side and gently lift the dough while cupping it downwards. (This isn't a vital step, so don't worry if you're not sure you did it correctly.)Substituting butter: If you don't need to keep a kosher table, you can substitute melted unsalted butter for the oil.Storage: Wrap cooled challah tightly in plastic wrap and store at room temperature for up to 5 days, or freeze for up to 2 months.
Challah Bread
Similar Recipes


Ratings & Reviews
Be the First to Rate
Your rating helps others discover amazing recipes. Share your experience and let others know what you think!
About this Recipe
Bake the Best Homemade Challah Bread
Discover the joy of baking your own Challah bread, a truly stunning and delicious loaf that's as much a pleasure to look at as it is to eat. This traditional braided bread, often recognized for its beautiful golden-brown crust and soft, airy interior, is a staple for many, especially during Jewish holidays like Rosh Hashanah and Hanukkah. Our recipe guides you through creating a perfectly rich and slightly sweet dairy-free challah, perfect for any occasion.
Crafting homemade Challah is a rewarding experience, from the kneading of the flour and yeast dough to the mesmerizing braiding process. The combination of eggs and a touch of sugar gives this vegetarian bread its characteristic rich flavor and tender crumb, making it an excellent side dish for dinner, a delightful breakfast item, or a beautiful centerpiece for party food. Plus, it's naturally nut-free, making it a great option for many dietary needs.
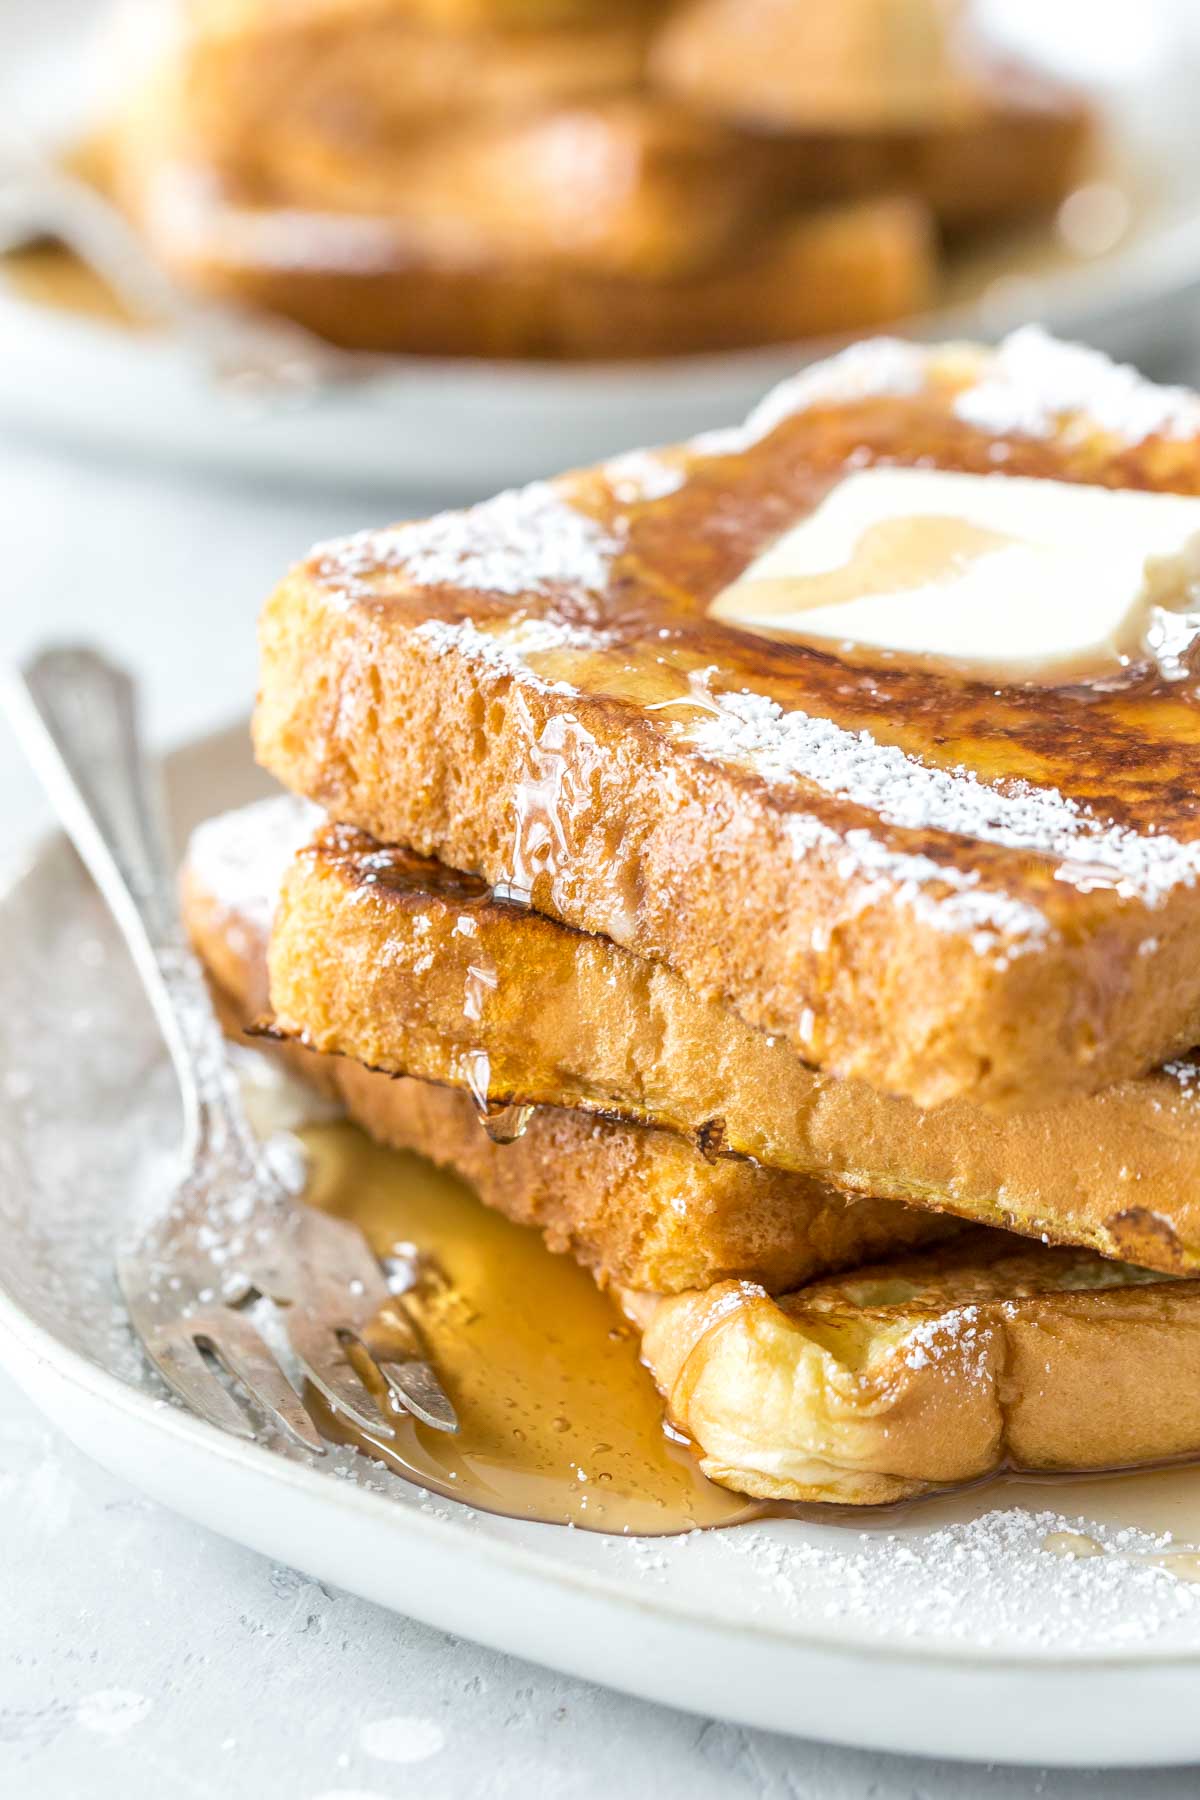
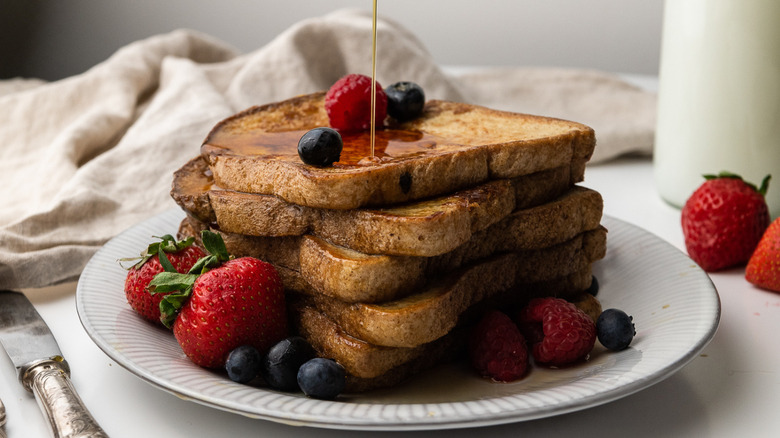
This make-ahead recipe is designed to be accessible, allowing you to enjoy fresh-baked goodness with minimal fuss. Once you master the basic challah recipe, you can explore variations like adding sesame seeds, poppy seeds, or even a touch of honey to the dough for extra flavor. Serve warm with butter, use it for incredible French toast, or simply enjoy slices alongside your favorite savory meals. Its delightful texture keeps well, ensuring you can savor every delicious bite!