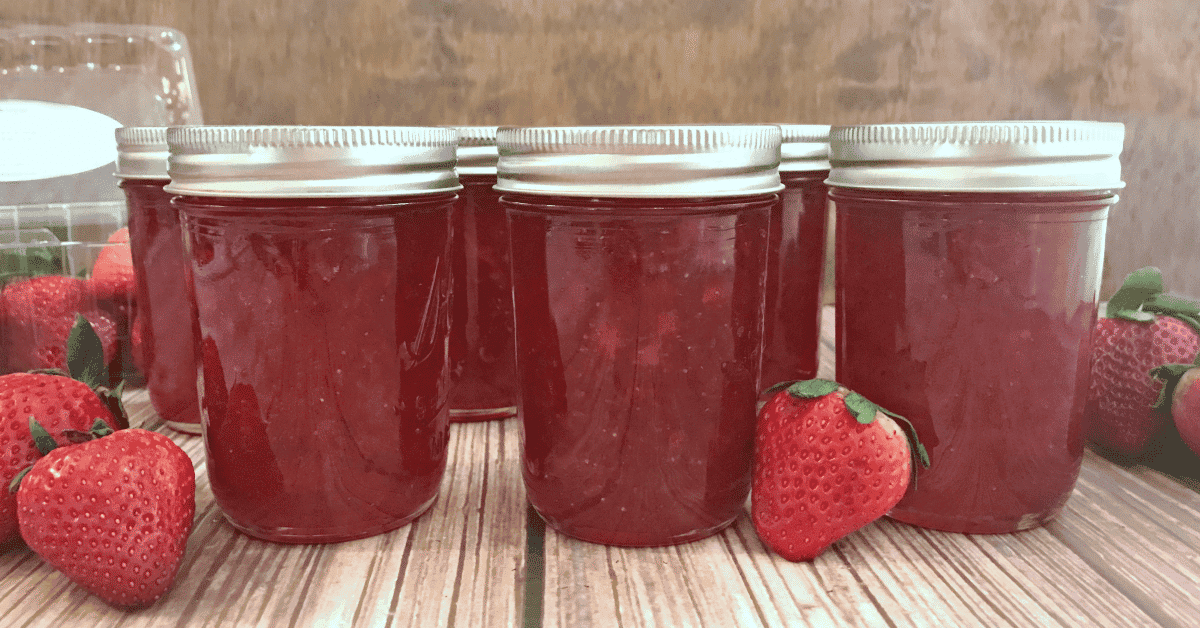
Strawberry Jam
Learn how to make the best homemade strawberry jam: The simple equipment you need, the process of crushing the berries, of cooking the jam, and how to can in jars safely. Then slather it onto a piece of buttered bread and take a bite!
Ingredients
- 7 cups whole strawberries
- 3 and ½ Tbsp. lemon juice
- 5 Tbsp. powdered fruit pectin
- 6 and ½ cups sugar
Directions
- 1
Wash seven half-pint jars, lids and screw bands with hot soapy water. Dry screw bands, and set aside. Place jars in a large pot and cover with water. Bring to a simmer. Put lids in a separate medium pot of hot water. Leave jars and lids in water until ready to fill.
- 2
Wash and hull strawberries and place in a flat-bottomed bowl or baking dish. Mash strawberries using a potato masher until they have reached your desired consistency. Alternately, you may puree the strawberries in a blender for a finer consistency. Transfer crushed/pureed strawberries to a large saucepan.
- 3
Add lemon juice to strawberries. Whisk in the fruit pectin until dissolved. Over high heat, stirring frequently, bring to a rolling boil. Stir in sugar and, stirring constantly, return to a full rolling boil. Continue rolling boil, stirring constantly, for 1 minute. Remove from heat and skim off any foam from the top*.
- 4
One at a time, lift a jar out of hot water, draining water back into pot. Place on tray or dry towel. Ladle hot jam into hot jar using a wide-mouth funnel, leaving 1⁄2-inch headspace at the top. Run a rubber spatula or chopstick (do not use metallic utensil) between the jam and the wall of the jar to release any trapped air bubbles.
- 5
Wipe jar rim and threads with a clean, damp cloth. Carefully remove lid from hot water. Place lid on jar and screw band down evenly and firmly, until just tight (do not over-tighten). Return jar to pot and repeat until all jam is used.
- 6
Make sure there is at least 1 inch of water covering the top of the jars. If there isn’t, add more hot water. Place lid on pot. Over high heat, bring water to a rolling boil. After reaching a rolling boil, start timer. Process jars for 10 minutes at a steady rolling boil (if you are at an altitude above 6,000 feet process for 5 minutes longer).
- 7
Turn off heat and remove lid from pot. Allow to cool for 5 minutes, then carefully remove jars without tilting them and set upright on a dry towel, cooling rack or wooden cutting board (do not place directly on counter top to prevent thermal shock). Do not retighten bands or dry lids. Let jars sit undisturbed to cool and seal for 12 to 24 hours.
- 8
After 12 to 24 hours, remove the screw bands and check the lids for a good seal by pressing down on center of each. If center is pulled down and does not pop when pressed down, the lid is sealed. You can also check by slightly trying to pull the edge of the lid up (do not pull all the way). If it resists being pulled, the seal is set. Rinse the screw bands and wipe lid and jar surface with a clean, damp cloth to remove any food debris or If desired, you can loosely reapply dry screw bands back on. Label and date lids. Store jars in a cool, dry, dark place. For best quality, use within 1 year.