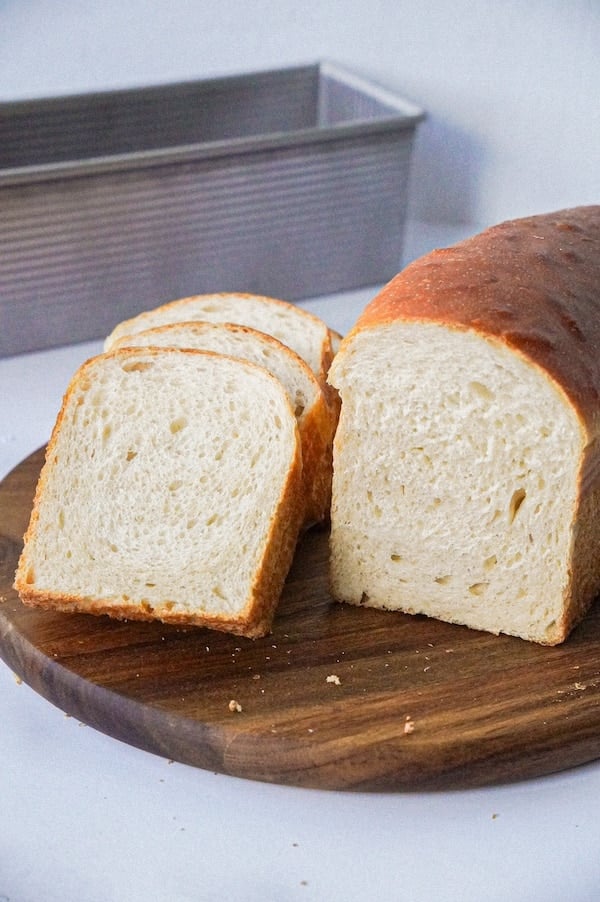
Sourdough Wonder Bread Copycat Recipe
This sourdough Wonder Bread delivers the impossibly soft, squishy texture of storebought white bread with a flavor that makes it infinitely better. The secret lies in the tangzhong technique and stiff sweet starter that create pillowy-soft slices that aren't too sour. With a 100% "would make again" rate from over 65 recipe testers, this is the soft sandwich bread that will have your family asking for seconds.
Ingredients
- 15 gsourdough starter
- 15 ghoney
- 30 gwater
- 60 gbread flour
- 35 gbread flour
- 175 gwhole milk
- all of the stiff sweet starter ((from above))
- all of the tangzhong ((from above))
- 225 gcold water
- 75 ghoney
- 25 gavocado oil
- 575 ghigh-protein bread flour ((see notes))
- 12 gsalt
- 1 tbspbutter ((for buttering the baked loaf))
Directions
Day 1 (evening)
- 1
Make the stiff sweet starter: In a small jar, mix 15 g sourdough starter, 15 g honey, 30 g water, and 60 g bread flour until it forms a ball. Knead outside of the jar to fully incorporate the ingredients. Cover loosely and let ferment at room temperature until morning.
- 2
Make the tangzhong: Mix 35 g bread flour and 175 g whole milk in a microwave-safe bowl. Microwave in 30-second intervals, stirring between each, until thickened and reaches 150°F (65°C). For me, it usually takes 3-5 rounds to finish. Cover and refrigerate until morning.
Day 2 (morning)
- 1
Mix the dough: In stand mixer bowl, combine All of the stiff sweet starter, All of the tangzhong, 225 g cold water, 75 g honey, 25 g avocado oil, 575 g high-protein bread flour, and 12 g salt. Mix on speed 1 (lowest speed) for 1-2 minutes until ingredients come together, then increase to speed 2 (a tiny bit faster) and mix for 10-15 minutes, or until dough reaches a weak windowpane. It takes about 10 minutes in a Bosch and upwards of 30 minutes in a KitchenAid, for reference.The dough will feel slightly sticky or tacky after mixing, but it should hold its shape. If the dough doesn't fully come together after a few minutes in the stand mixer, add additional flour in 1 tbsp increments.
- 2
Bulk fermentation: Transfer to lightly oiled bowl, cover, and let rise on counter until evening (8-12 hours). At the end of bulk fermentation, the dough should have risen by about 40%, have lots of bubbles, and should be puffy when you tap the surface. (My BF took 11 hours; my home was 73°F/23°C and my dough was 75°F/24°C.) Once it reaches this point, put the bowl in the refrigerator until bedtime to slow down fermentation.
Day 2 (evening)
- 1
Shape the dough: If not using a nonstick bread pan, lightly oil it. Bring dough out of the fridge and turn it onto work surface (use a light dusting of flour to prevent sticking, if needed). Using a rolling pin, roll dough into rectangle slightly narrower than pan width (about 10" wide by 14" long).
- 2
Roll up the dough tightly, pinch the seams on each end, and place your dough log seam-side down in bread pan.
- 3
Second rise: Cover and let rise on the counter, overnight, until very puffy and the dough is even with the height of the pan rim (approximately 8-12 hours). (My dough was ready after 11.5 hours in a 73°F/23°C environment.)Note: If your home is warmer than about 75°F (24°C), the dough will likely overproof by morning. I advise putting it in the fridge overnight and resuming with the second rise in the morning.
Day 3 (morning)
- 1
Bake: Preheat oven to 350°F (175°C). Bake uncovered 40-45 minutes until internal temperature reaches 200-205°F (93-96°C). If the top of the loaf is getting too dark, cover with foil. Once done, immediately brush hot loaf with 1 tbsp butter. Cool in pan 5-10 minutes, then turn out onto rack. Cool completely before slicing (1-2 hours).