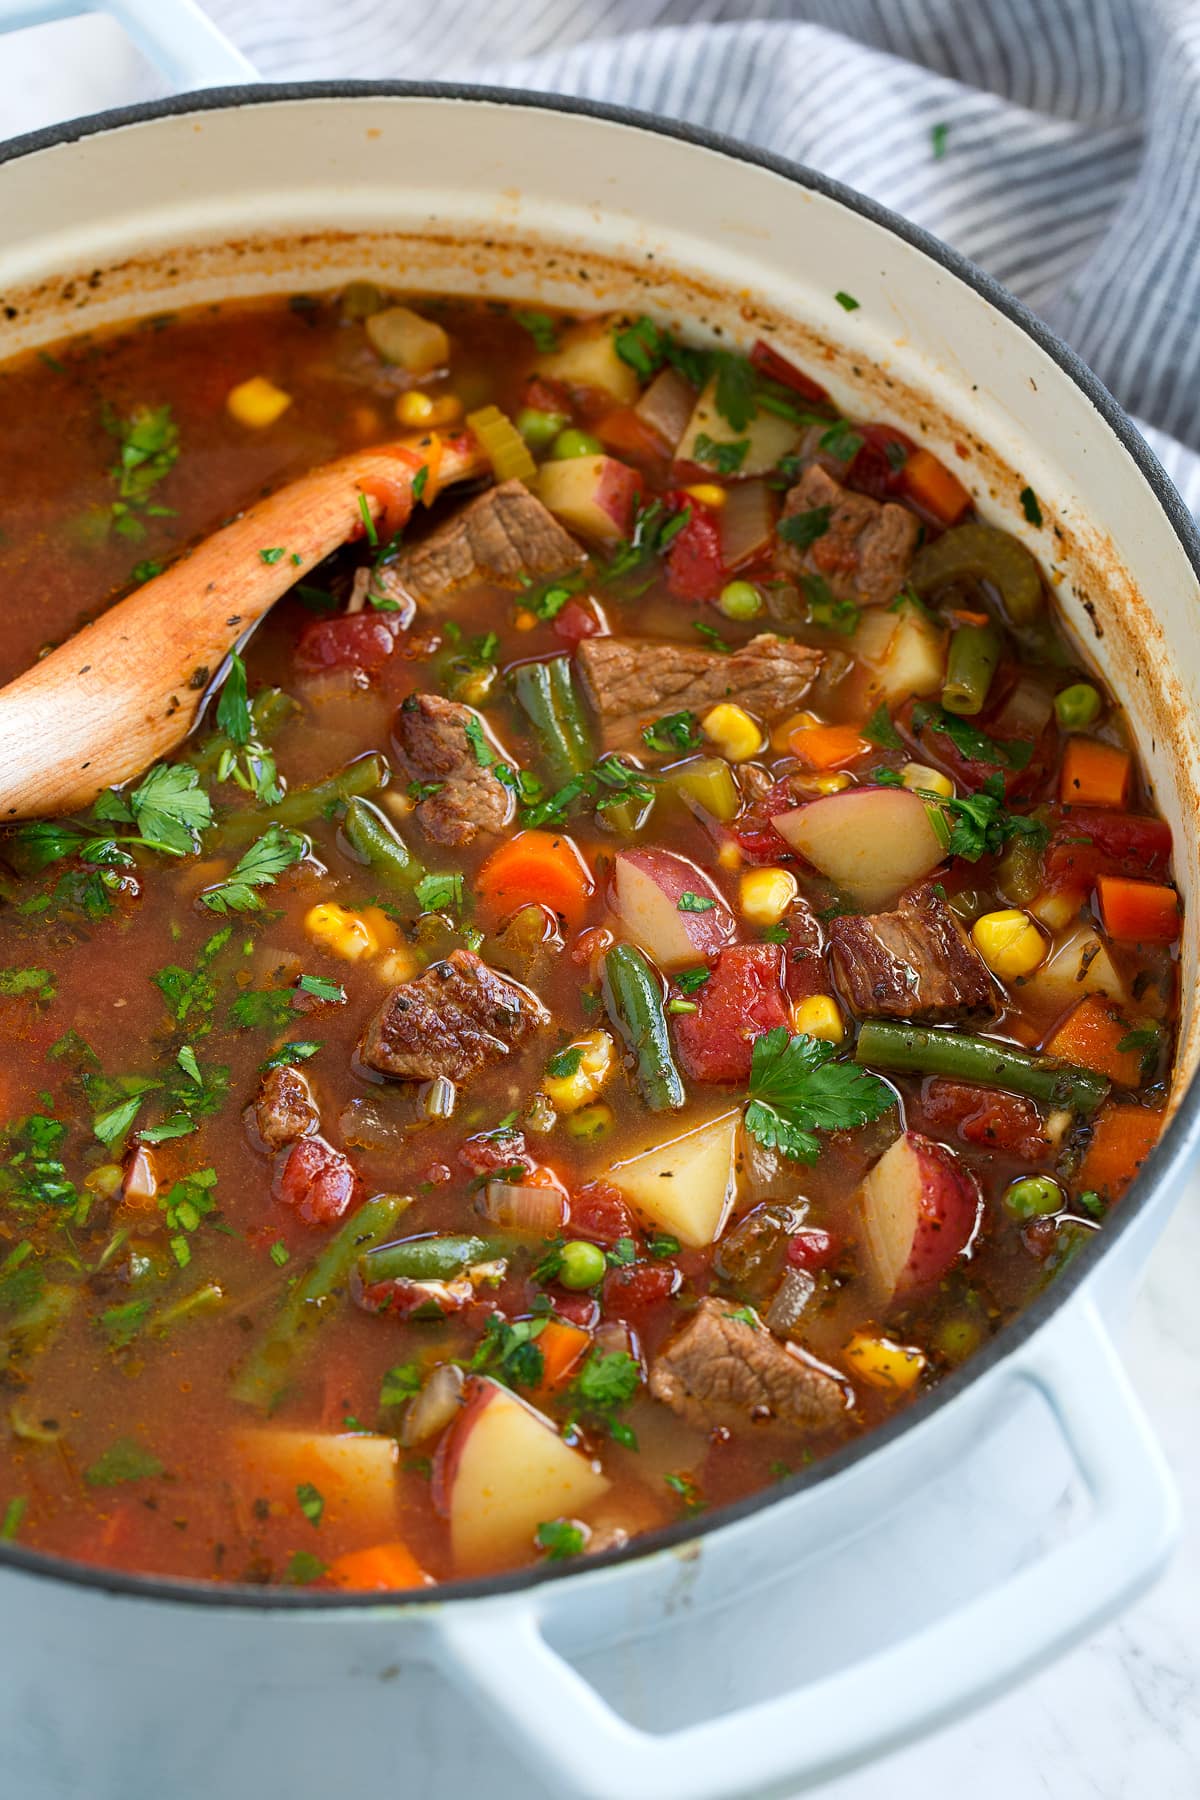
Vegetable Beef Soup
Soup isn't just for the chilly days. This soup is the perfect way to use up all those summer veggies and those tender chunks of beef add such a delicious flavor. A hearty soup that's sure to satisfy, and you'll love the left overs!
Ingredients
- 1 ½ lbsbeef stew meat
- 2 ½ tbspolive oil, (divided)
- salt and freshly ground black pepper
- 1 ¾ cupschopped yellow onion ((1 large))
- 1 ¼ cupspeeled and chopped carrots ((3 medium))
- 1 cupchopped celery ((3 medium))
- 1 ½ tbspminced garlic ((4 cloves))
- 8 cupslow-sodium beef broth or chicken broth
- 2cans diced tomatoes
- 1 ½ tspdried basil
- 1 tspdried oregano
- ½ tspdried thyme
- 1 lbred or yellow potatoes, (chopped into 3/4-inch cubes)
- 1 ½ cupschopped green beans ((trim ends first))
- 1 ½ cupsfrozen corn
- 1 cupfrozen peas
- ⅓ cupchopped fresh parsley
Directions
- 1
Heat 1 Tbsp olive oil in a large pot over medium-high heat.
- 2
Dab beef dry with paper towels, season with salt and pepper then add half of the beef to pot and brown about 4 minutes, turning halfway through.
- 3
Transfer to a plate add another 1/2 Tbsp oil to pot and repeat process with remaining half of beef.
- 4
Add another 1 Tbsp oil to now empty pot then add onions, carrots, and celery then saute 3 minutes, add garlic saute 1 minute longer.
- 5
Pour in broth, tomatoes, browned beef, basil, oregano, thyme and season with salt and pepper. Bring to a boil then reduce heat to low, cover and simmer, stirring once or twice throughout, for 30 minutes.
- 6
Add potatoes then continue to simmer, covered, 20 minutes (you can also add green beans with potatoes if you like them very soft).
- 7
Stir in green beans and simmer 15 minutes longer, or until all of the veggies and beef are tender.
- 8
Pour in corn and peas and simmer until heated through, about 5 minutes. Stir in parsley and serve warm.
- 9
Recipe source: Cooking Classy