
Chinese Steamed Eggs Recipe (水蒸蛋)
Ingredients
- 2 largeeggs
- ⅝ cwarm filtered water
or boiled water cooled for a minute
- salt
- ¼ tspsesame oil
mixed into egg mixture
- ½ tsplight soy sauce
- ¼ tspsesame oil
- 1scallion
thinly sliced
- 1 tbspsoft silken tofu
cubed
- century egg or salted egg yolk
chopped
- ½ tsprehydrated dried shrimp or a dash of chicken bouillon
- a pinch of white pepper
- drizzle of chili crisp or garlic oil
- cilantro or fried shallots for garnish
Directions
- 1
Beat the eggs gently in a bowl until smooth—avoid over-whisking to reduce bubbles.
- 2
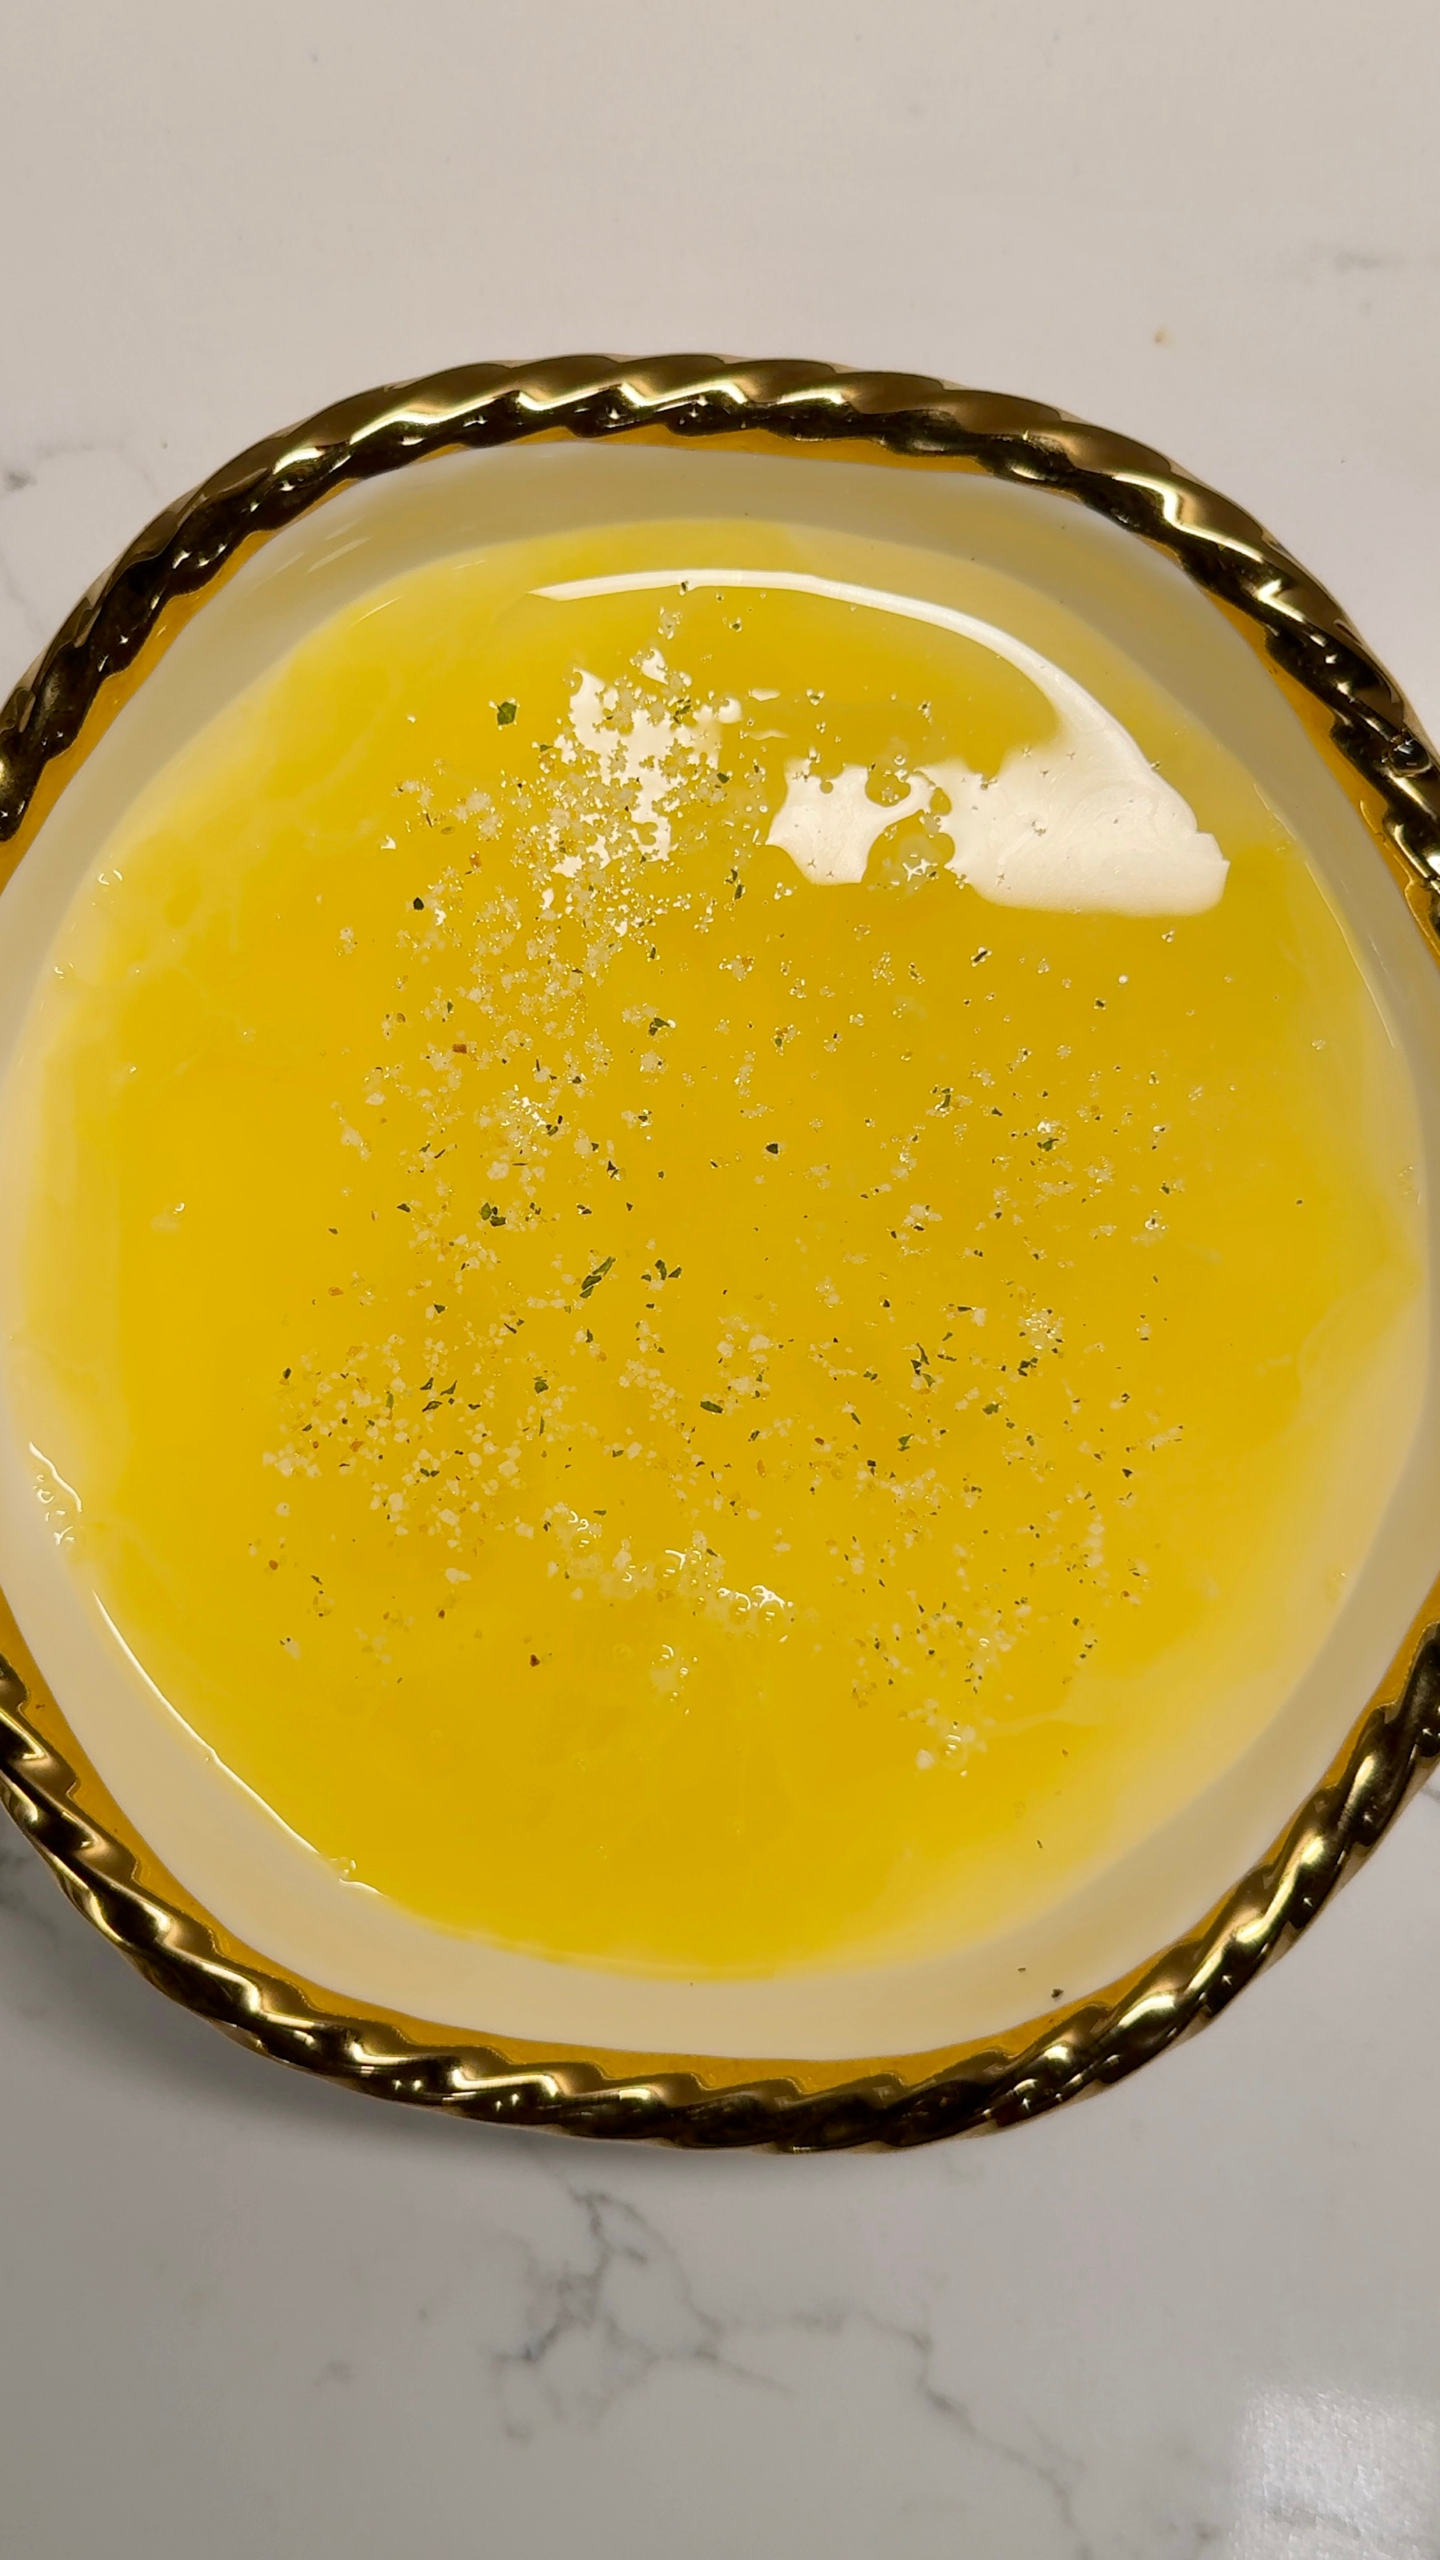
Add in warm water, salt, and ¼ tsp sesame oil, then mix. For an ultra-smooth texture, strain the mixture through a fine mesh sieve into a shallow, heatproof bowl.
- 3
If you’re using add-ins like tofu, century egg, or dried shrimp, gently stir them into the egg mixture before steaming. (Toppings like chili oil or shallots should be added after.)
- 4
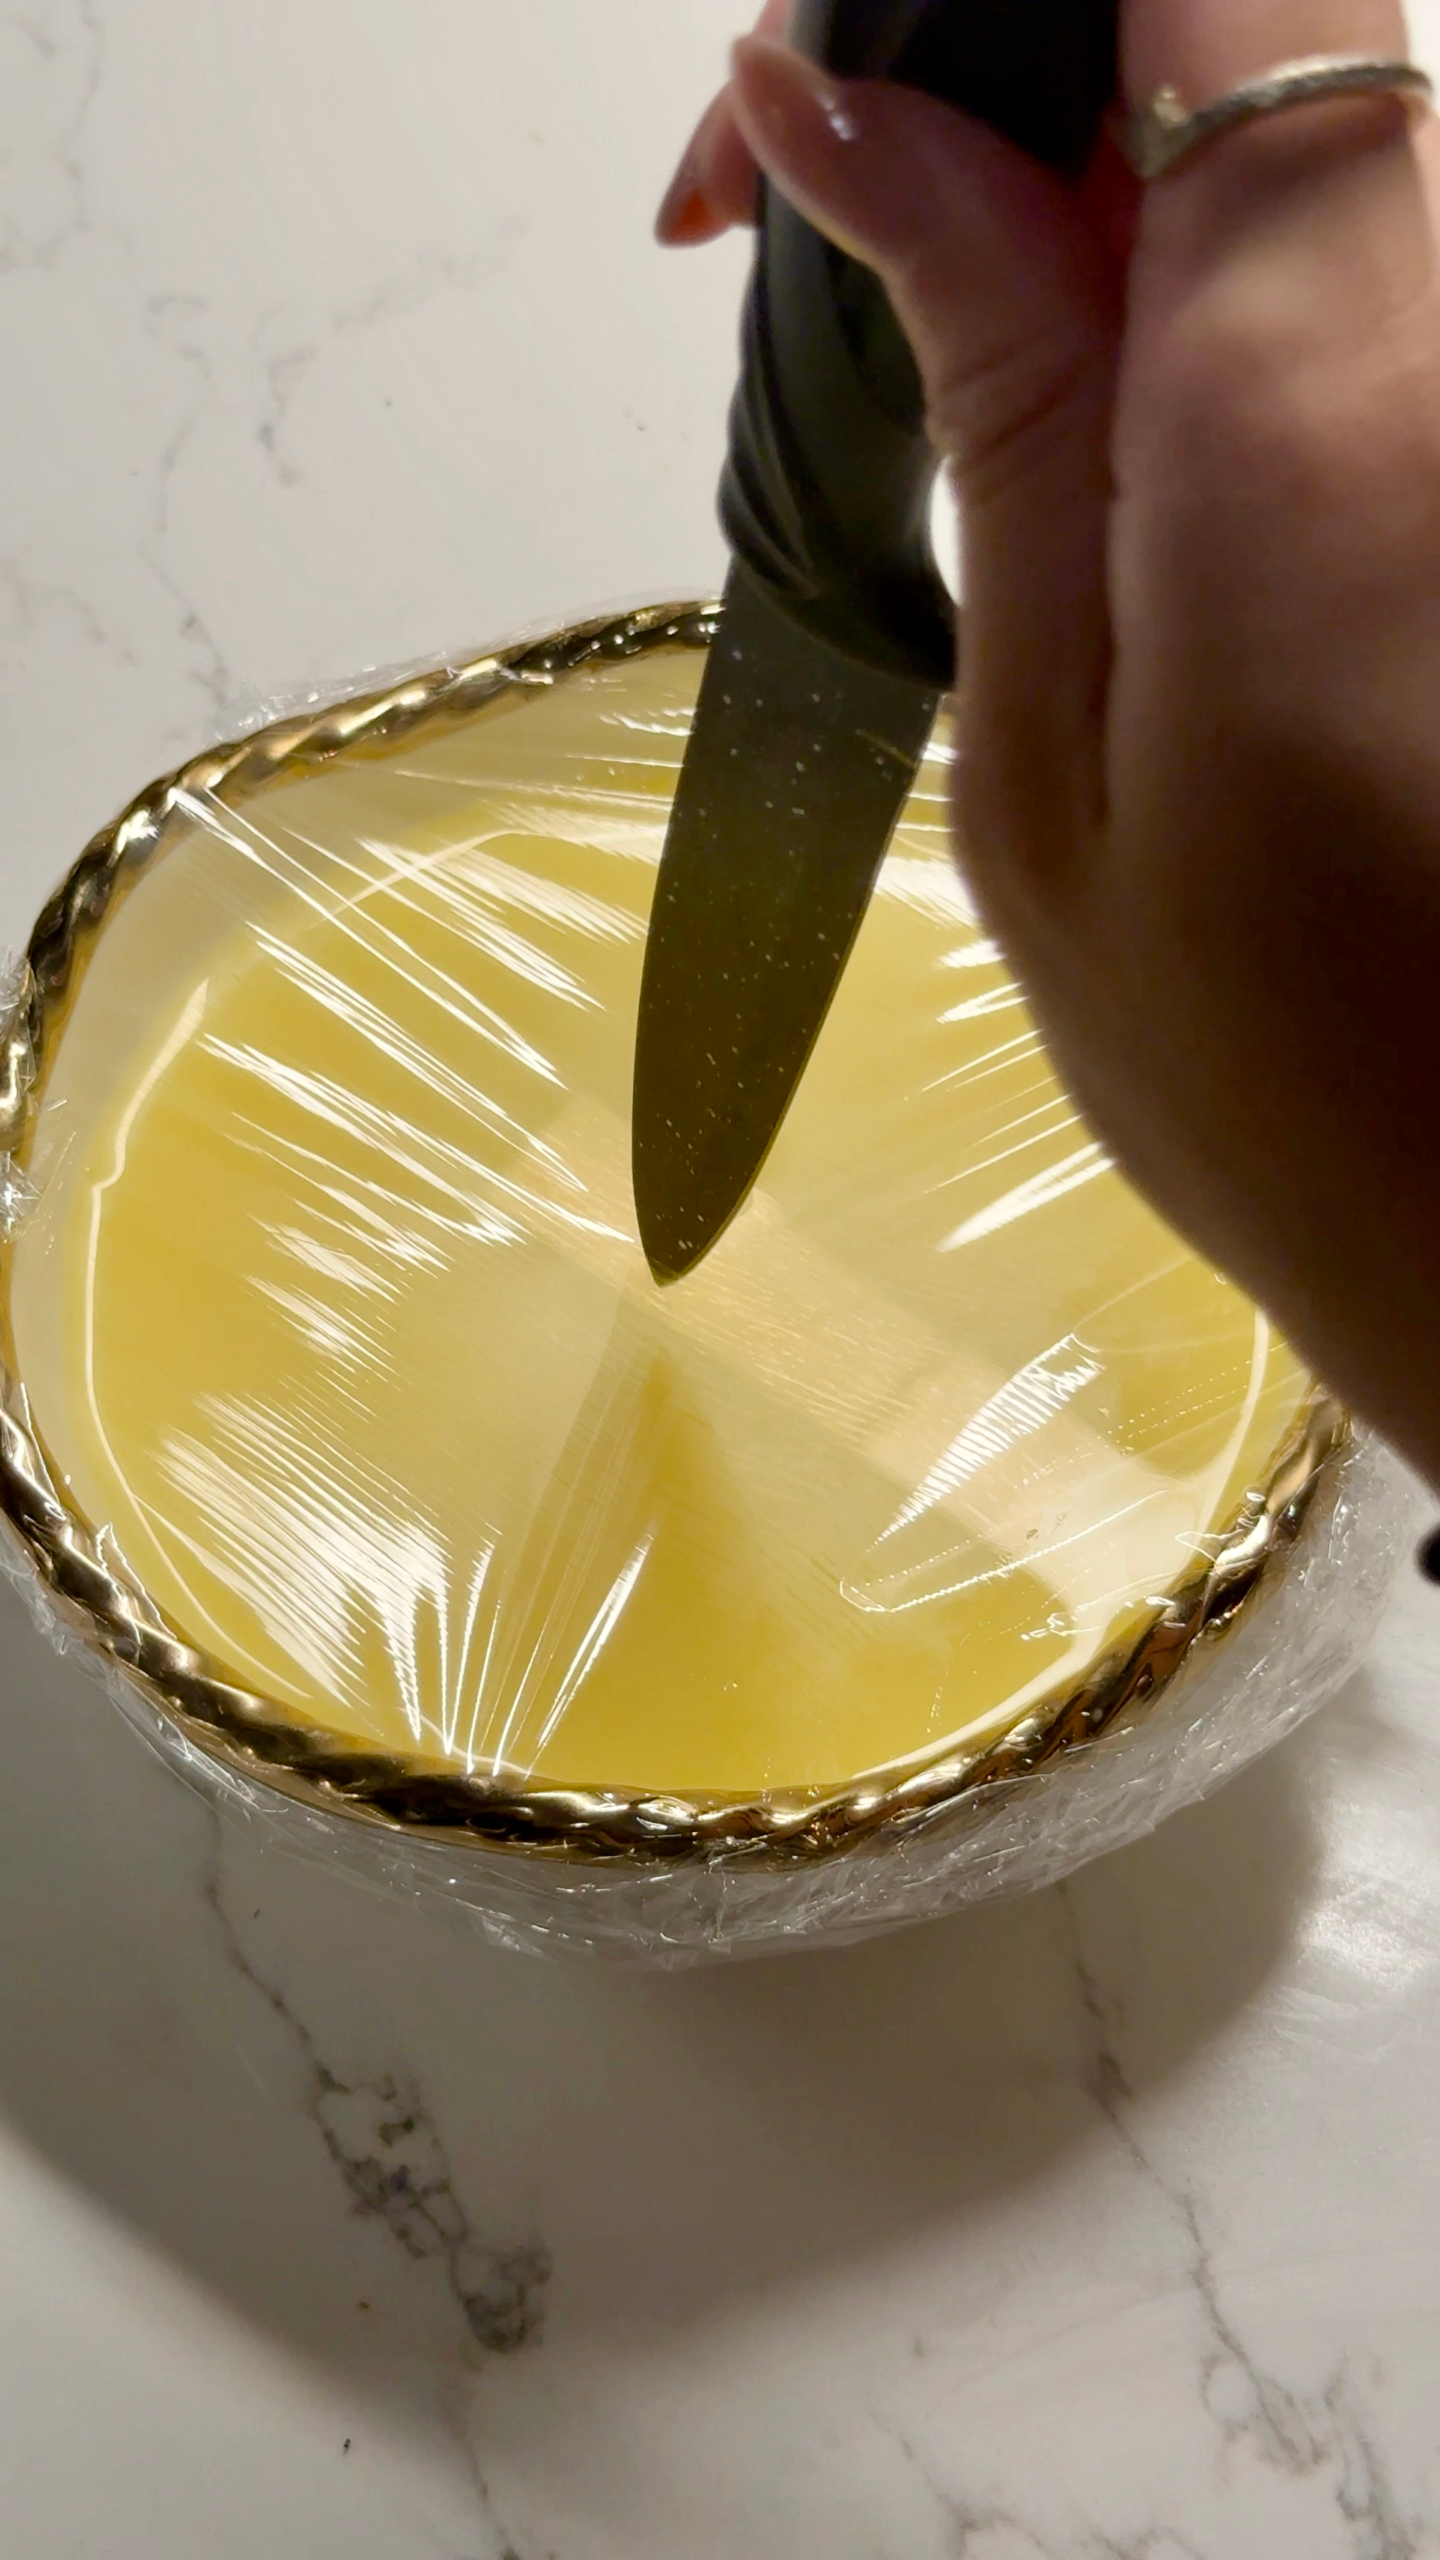
Cover the bowl with plastic wrap and poke a small hole in the center using a chopstick or fork—this prevents condensation from dripping while letting steam escape, and it also makes the egg silky smooth.
- 5
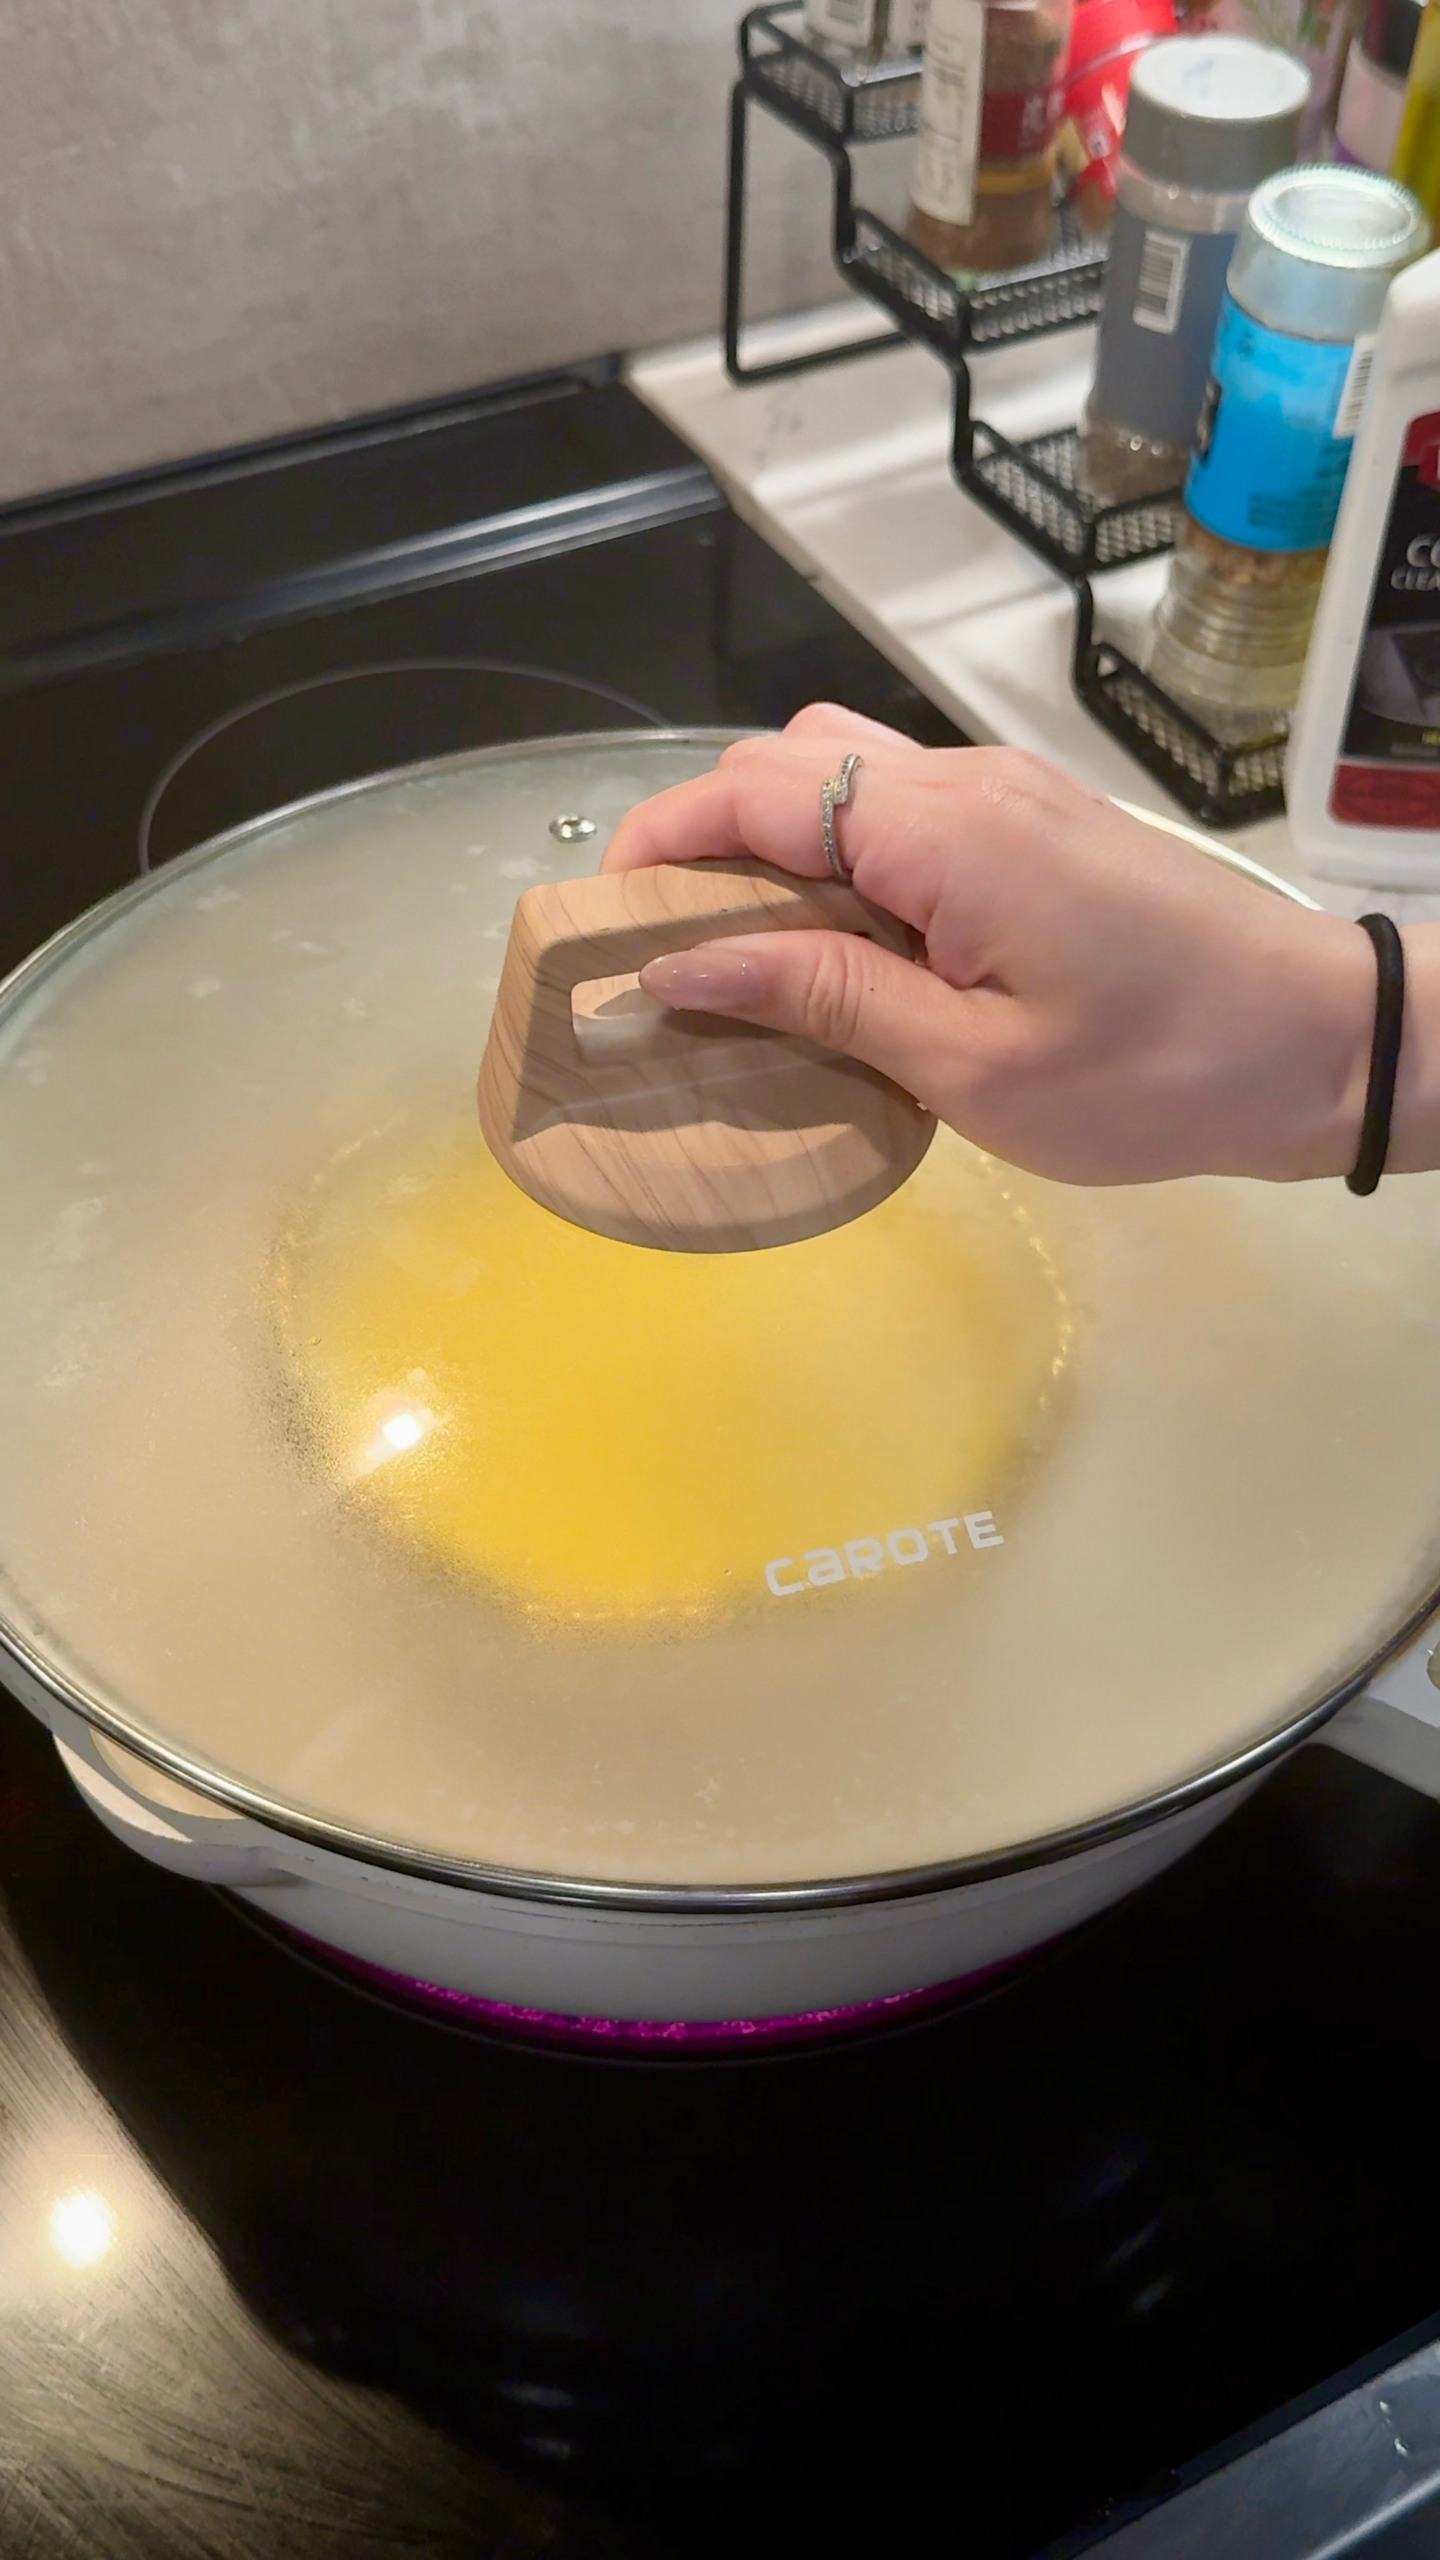
To make a simple steamer setup, fill a deep pan with about 1–2 inches of water and place a heatproof rack, ring, or folded dish towel at the bottom. Carefully set the bowl on top.
- 6
Cover the pan with a lid. Steam on medium-low heat for 10–12 minutes, until the egg is just set with a slight jiggle in the center. 🔥 Important: Keep the heat gentle. If it’s too high, the egg may bubble or develop holes on the surface.
- 7
Carefully remove the bowl from the pan. If you want to, you can slice a grid through the surface of the steamed eggs to help it absorb the seasonings. Drizzle with soy sauce, toasted sesame oil, and top with scallions and any additional garnishes like chili oil or fried shallots.
- 8
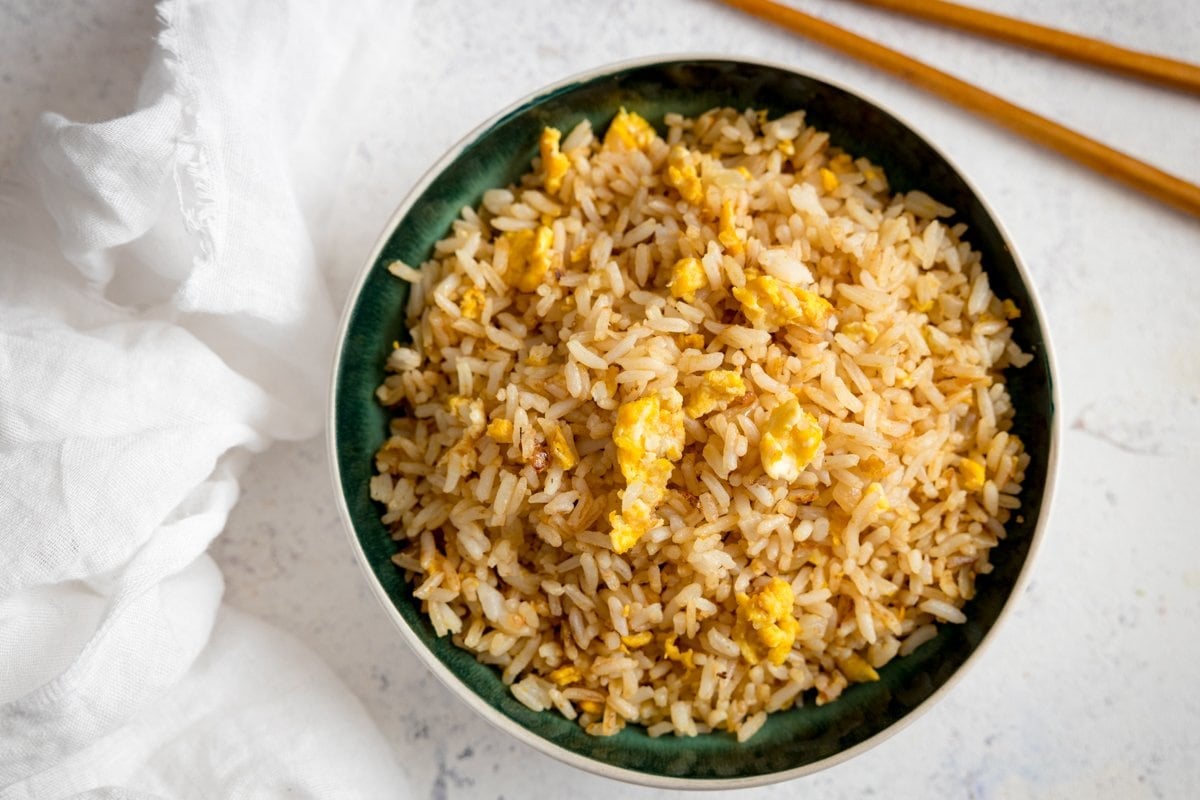
Serve hot with a bowl of steamed rice and enjoy.
Chinese Steamed Eggs Recipe (水蒸蛋)
Similar Recipes



:max_bytes(150000):strip_icc()/__opt__aboutcom__coeus__resources__content_migration__simply_recipes__uploads__2015__05__egg-drop-soup-horiz-a-1800-5b32f28443874704adf8472759a59842.jpg)

Ratings & Reviews
Be the First to Rate
Your rating helps others discover amazing recipes. Share your experience and let others know what you think!
About this Recipe
Craving a supremely comforting, savory dish that’s ready in under 15 minutes? This Chinese Steamed Eggs recipe (水蒸蛋) delivers an incredibly silky texture and rich flavor, perfect for a quick, nourishing meal or a delightful side.
Why This Recipe Works
The magic of this dish lies in its elegant simplicity. Using just two eggs, water, soy sauce, and sesame oil, you create a velvety custard that feels both luxurious and wholesome. It's a quick dinner idea or appetizer that proves that the most satisfying meals often require the fewest ingredients and the least amount of time.
What to Expect
Prepare for a spoonful of pure comfort. This Chinese steamed egg custard boasts an incredibly smooth, almost jiggly texture, delicate yet deeply savory. Each bite melts in your mouth, carrying the subtle warmth of sesame oil and the umami of soy sauce. It's a healthy recipe at just 149 calories per serving, making it a light yet satisfying addition to any meal, whether you enjoy it as an appetizer or a fulfilling side dish.
Customization & Variations
This versatile egg recipe is fantastic on its own, but it truly shines with simple additions. You can easily elevate its flavors and textures with a tablespoon of cubed soft silken tofu or chopped century egg (or salted egg yolk) stirred into the mixture. For an extra layer of umami, consider adding a dash of chicken bouillon or rehydrated dried shrimp. Finish with a drizzle of chili crisp or garlic oil for a hint of spice, and garnish with fresh cilantro or fried shallots for crunch and aroma.
Serving & Context
Serve this delicate steamed egg dish as a comforting appetizer, a nourishing side with your main course, or even as a light and quick dinner all on its own. Its subtle flavors pair beautifully with a wide range of Asian cuisines.