Easy No-Knead Skillet Bread

Easy No-Knead Skillet Bread

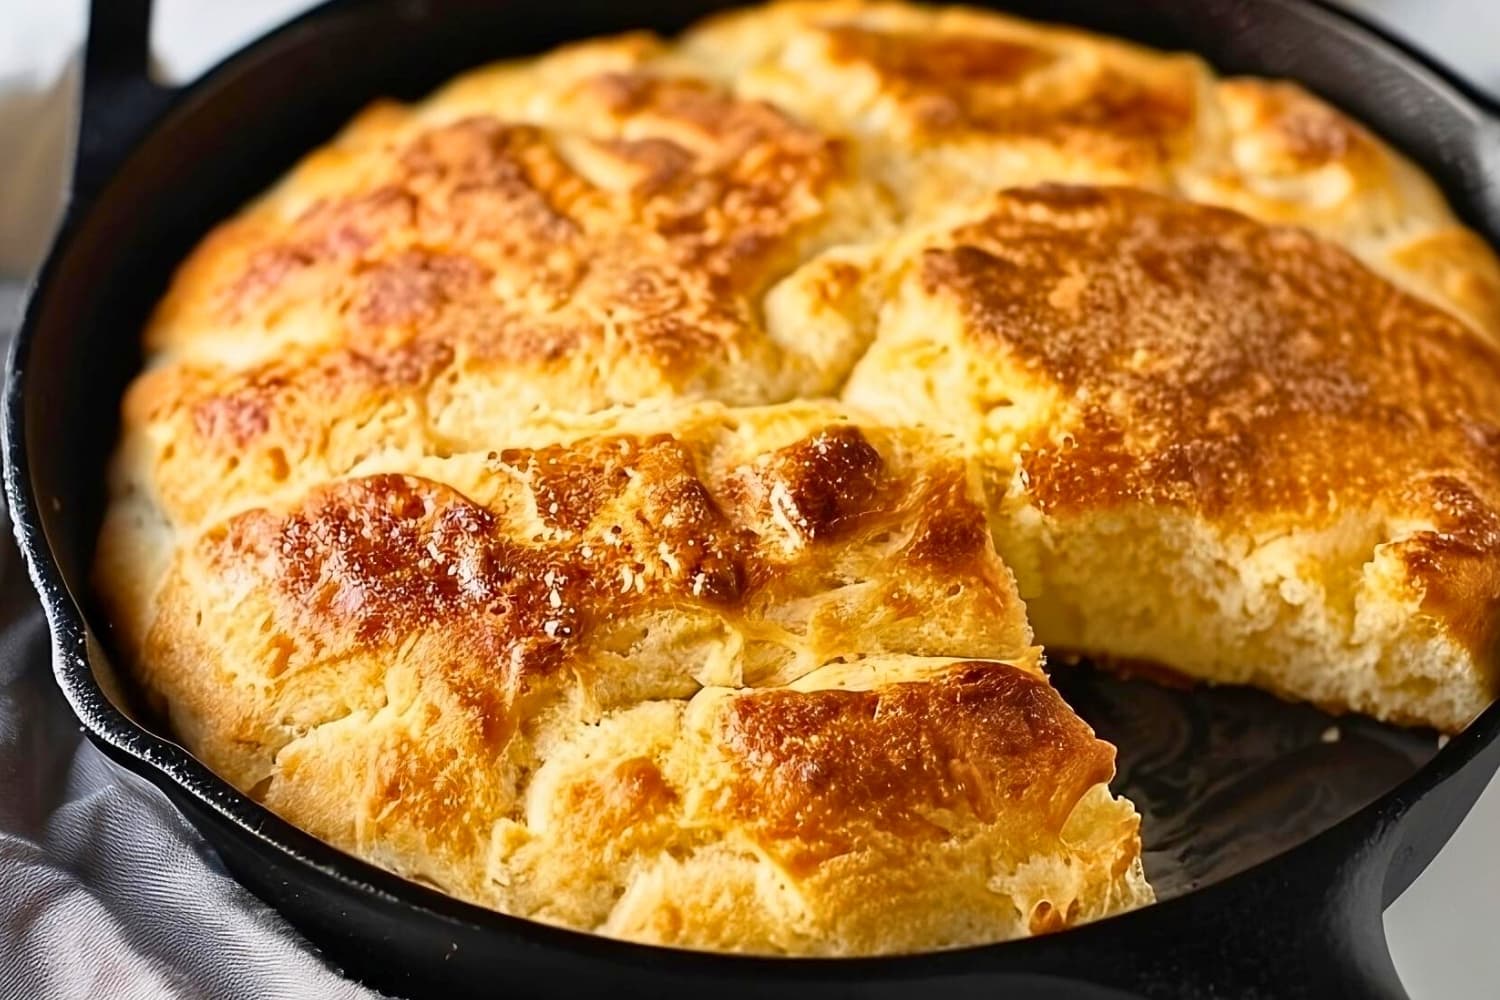
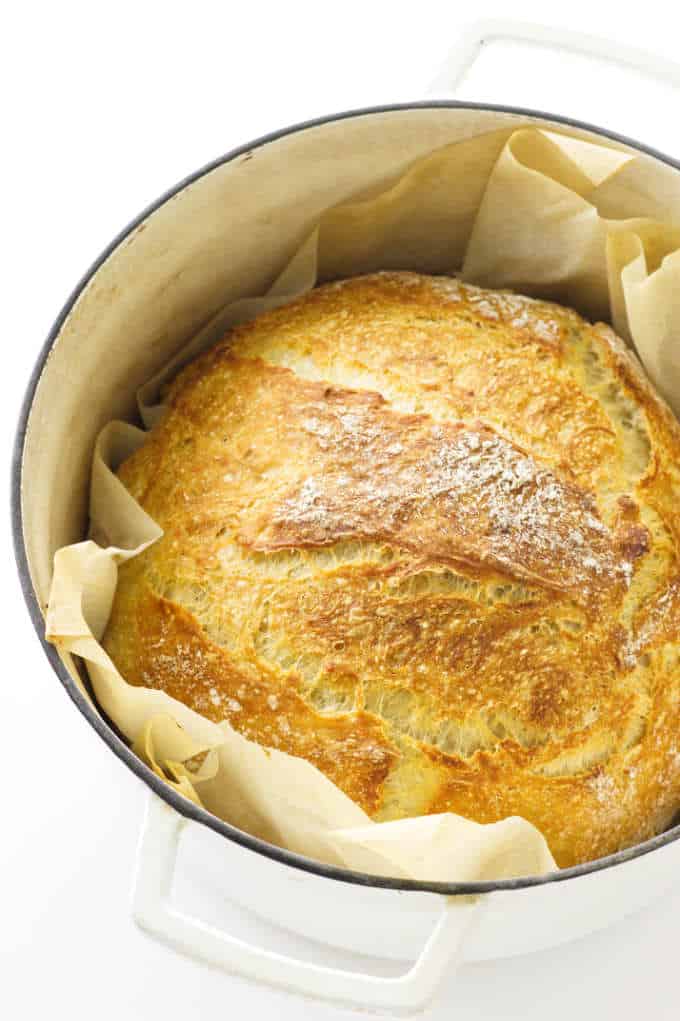
This is the easiest no-knead skillet bread. Just mix all of the ingredients together, let the dough rise, put it in a pan and bake! You won't get your hands or counters messy!

Ingredients

  • 4 1/3 cups bread flour or unbleached all-purpose flour

    520 g

  • 1 package active dry or rapid rise yeast

    2 1/4 tsp, 7 g

  • 1/2 TBSP fine sea salt or kosher salt

    8 g

  • 2 cups warm water

    450 g

  • about 3 tbsp olive oil

    or you can use vegetable oil or canola oil

  • rosemary

    *optional

Directions

  1. 1

    In a large mixing bowl, whisk together the flour, yeast, and the salt. You can also add in spices or herbs of choice here. I like to add about 1 1/2 tbsp of fresh rosemary.

  2. 2

    Add the warm water to the bowl. Make sure the water is just warm and not hot. Stir with a spoon or rubber spatula until well combined. It will be a very wet dough, almost like a thick batter.

  3. 3

    Cover with plastic wrap or a towel and let sit at room temperature until about double in size. This will take about 45 minutes for rapid rise yeast, and an hour and a half with active dry yeast.

  4. 4

    Do not punch down the dough. Add about 1 TBSP of oil to the bottom of a cast iron skillet or any other oven safe skillet (a 10" or 12" skillet works well).

  5. 5

    Drizzle about a tablespoon of the oil over the dough and also drizzle some on your hands. Rub the oil on your hands, this will help the dough not stick. Gently release the dough from the sides of the bowl and then gather it all up in your hands. Gently shape it into a ball. This will be kind of difficult because the dough is sticky, but just do your best. It doesn't need to be perfect.

  6. 6

    Place the dough in the oiled skillet, cover loosely with a towel. Let it rise again until full of air - about 30 minutes for rapid rise yeast and 1 hour for active dry yeast.

  7. 7

    Preheat the oven to 400ºF.

  8. 8

    Drizzle a little more oil over the top of the bread, and score the dough with a knife creating an X or a few slices across the top. Sprinkle with coarse salt and rosemary leaves if desired.

  9. 9

    Bake for 35-40 minutes until the top is starting to brown. Then turn on the broiler for about 5 minutes and watch the bread closely. This is just to help the top brown up some more.

  10. 10

    Allow the bread to cool for at least 1 hour before slicing and preferably longer. Letting the bread cool before slicing will solidify the texture and also help it to stay fresh longer.

  11. 11

    Store sliced bread open at room temperature, sliced side down on a cutting board for up to 48 hours. After that, more it to a bag and seal it. I prefer to slice it up and freeze it after 2 days. It refreshes well from frozen in the toaster.

Easy No-Knead Skillet Bread

Easy No-Knead Skillet Bread

4.5(841)

Similar Recipes

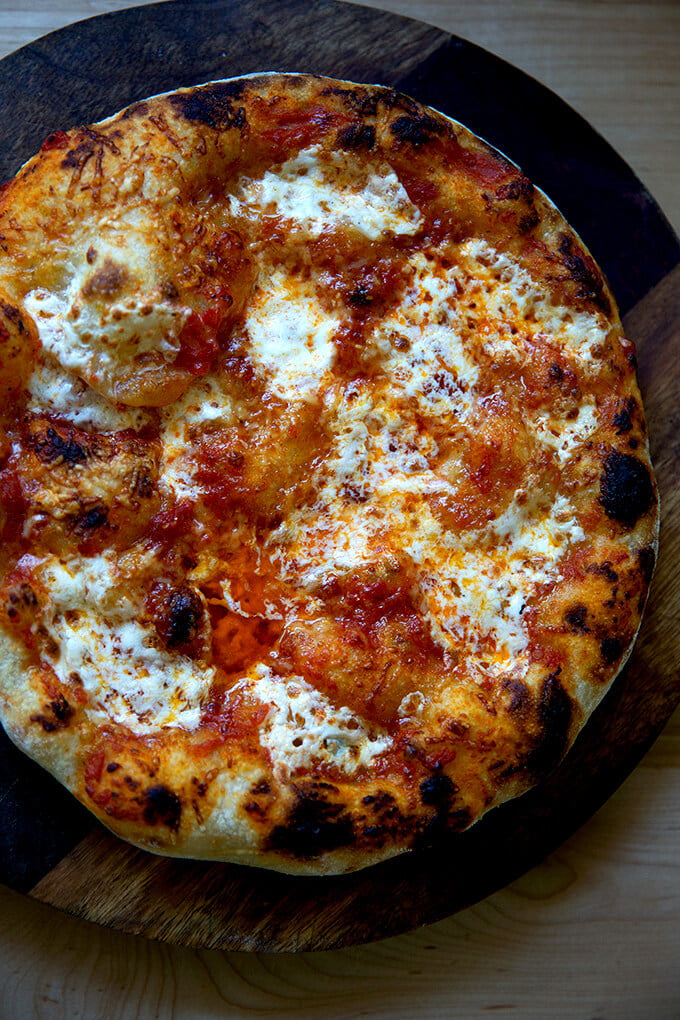
Simple Sourdough Pizza Crust

Simple Sourdough Pizza Crust

What you need to make this recipe...: ...a sourdough starter. Ideally, you want to use your starter 4 to 6 hours after you feed it, when it has doubled in volume and is very bubbly and active. Here are three sources: Breadtopia King Arthur Flour Cultures for Health ...time. Once your starter is ready to go, this recipe requires an initial 6 - 18 hour rise, followed by at least 6 hours in the fridge or up to 3 days.  Timing/Schedule: The more I make sourdough, the more I realize that the timing of each bake depends so much on the time of year and the temperature of my kitchen. In the summer, because it is warm and humid, the first rise (bulk fermentation) of all my sourdoughs takes between 6 - 8 hours; in the winter it will take longer, 10 to 12 hours. It is best to rely on visual cues. For the bulk fermentation, you want the dough to double or less than double: I now end my bulk fermentation when the dough has risen by 50% to 75% in volume. This is why I cannot recommend using a straight-sided vessel  (as opposed to a bowl) enough. It makes gauging the first rise easier. If at any point you are worried the dough will over-ferment — say, for example, the bulk fermentation is nearly complete but you are tired and want to go to bed — stick the vessel in the fridge and pick up the process in the morning. (Note: If your dough rises above double, don't despair ... my dough has tripled in volume during an overnight rise, and the resulting dough still had plenty of strength and spring.) Schedule: I like mixing this dough in the evening, performing 4 stretch and folds before I go to bed (if time permits), then letting the dough complete its bulk fermentation at room temperature (68ºF) overnight or in the refrigerator (especially in the summer, when my kitchen is much warmer). In the morning, it's typically ready to be portioned (if it rose at room temperature), transferred to quart containers, and stashed in the fridge. If I had let my dough spend time in the fridge for the bulk fermentation, I remove it in the morning, and let it complete its bulk fermentation at room temperature. Once complete, I portion the dough and stash it in the fridge. Sometimes I'll use the dough that same evening; sometimes I'll use it the following day or the next. I encourage using the dough within 3 days.  In short: If you want pizza for the weekend, mix your dough on either Wednesday or Thursday.  Troubleshooting: If you have issues with your dough being too sticky, please read this post: Why is my sourdough so sticky? The 4 common mistakes. Water: If you live in a humid environment or if you are making this on a particularly humid day, consider starting with less water, such as 335 grams of water, which will bring the hydration down to 70%. This amount of water will still produce a light airy crust but the dough will be more manageable.  Flour choice:  Due to supply issues, I've been making this recipe with all-purpose flour, and it works beautifully. You absolutely can use bread flour or tipo 00 flour if you can get your hands on either. If you can't, know that all-purpose (unbleached) flour works great here. If you use 00 flour, you'll likely need to reduce the amount of water. I would start with 350 g, and adjust moving forward based on your results.  Favorite Pizza-Making Tools: Baking Steel Pizza Peel Parchment Paper: I bake my pizzas on parchment paper on my Baking Steel. Parchment allows for easy transfer from peel to steel.  Cast Iron Skillet: If you do not have a Steel or stone, you can use a cast iron skillet. Rub a half teaspoon of oil over its surface, transfer a stretched dough round to the skillet. Top as desired. Bake at 450ºF for about 15 minutes.  Quart Containers for storing dough

25 hours4 servings

Ratings & Reviews

0.0/ 5
Exceptional

Based on 841 ratings

bakerbettie.com
4.5(841 reviews)
View original recipe

Rating Breakdown

About this Recipe

Imagine the aroma of freshly baked bread filling your kitchen, without the usual fuss. This Easy No-Knead Skillet Bread recipe makes that dream a reality, delivering delicious homemade bread with minimal effort and no messy counters.

The beauty of this skillet bread lies in its genius no-knead method. You simply mix the ingredients together, let time do the work as the dough rises, and then bake it right in a pan. This means you avoid sticky dough on your hands and a flour-dusted kitchen, making homemade bread accessible to everyone.

You'll be rewarded with a beautiful, rustic loaf that boasts a wonderfully crisp crust from baking in a skillet, giving way to a soft, airy interior. It's truly a satisfying bread that feels like it took hours, but actually requires very little hands-on time. This method is incredibly forgiving, perfect for novice bakers and seasoned pros alike who appreciate simplicity and a delicious result.

For a different flavor profile, you can easily omit the optional rosemary or try other dried herbs you enjoy. The recipe is also flexible with oils; feel free to use olive oil, vegetable oil, or canola oil based on what you have on hand or your preference.

This versatile skillet bread is perfect as a warm side for a comforting soup, a hearty stew, or simply enjoyed on its own with a smear of butter. It makes a wonderful centerpiece for a casual family meal.

Frequently Asked Questions