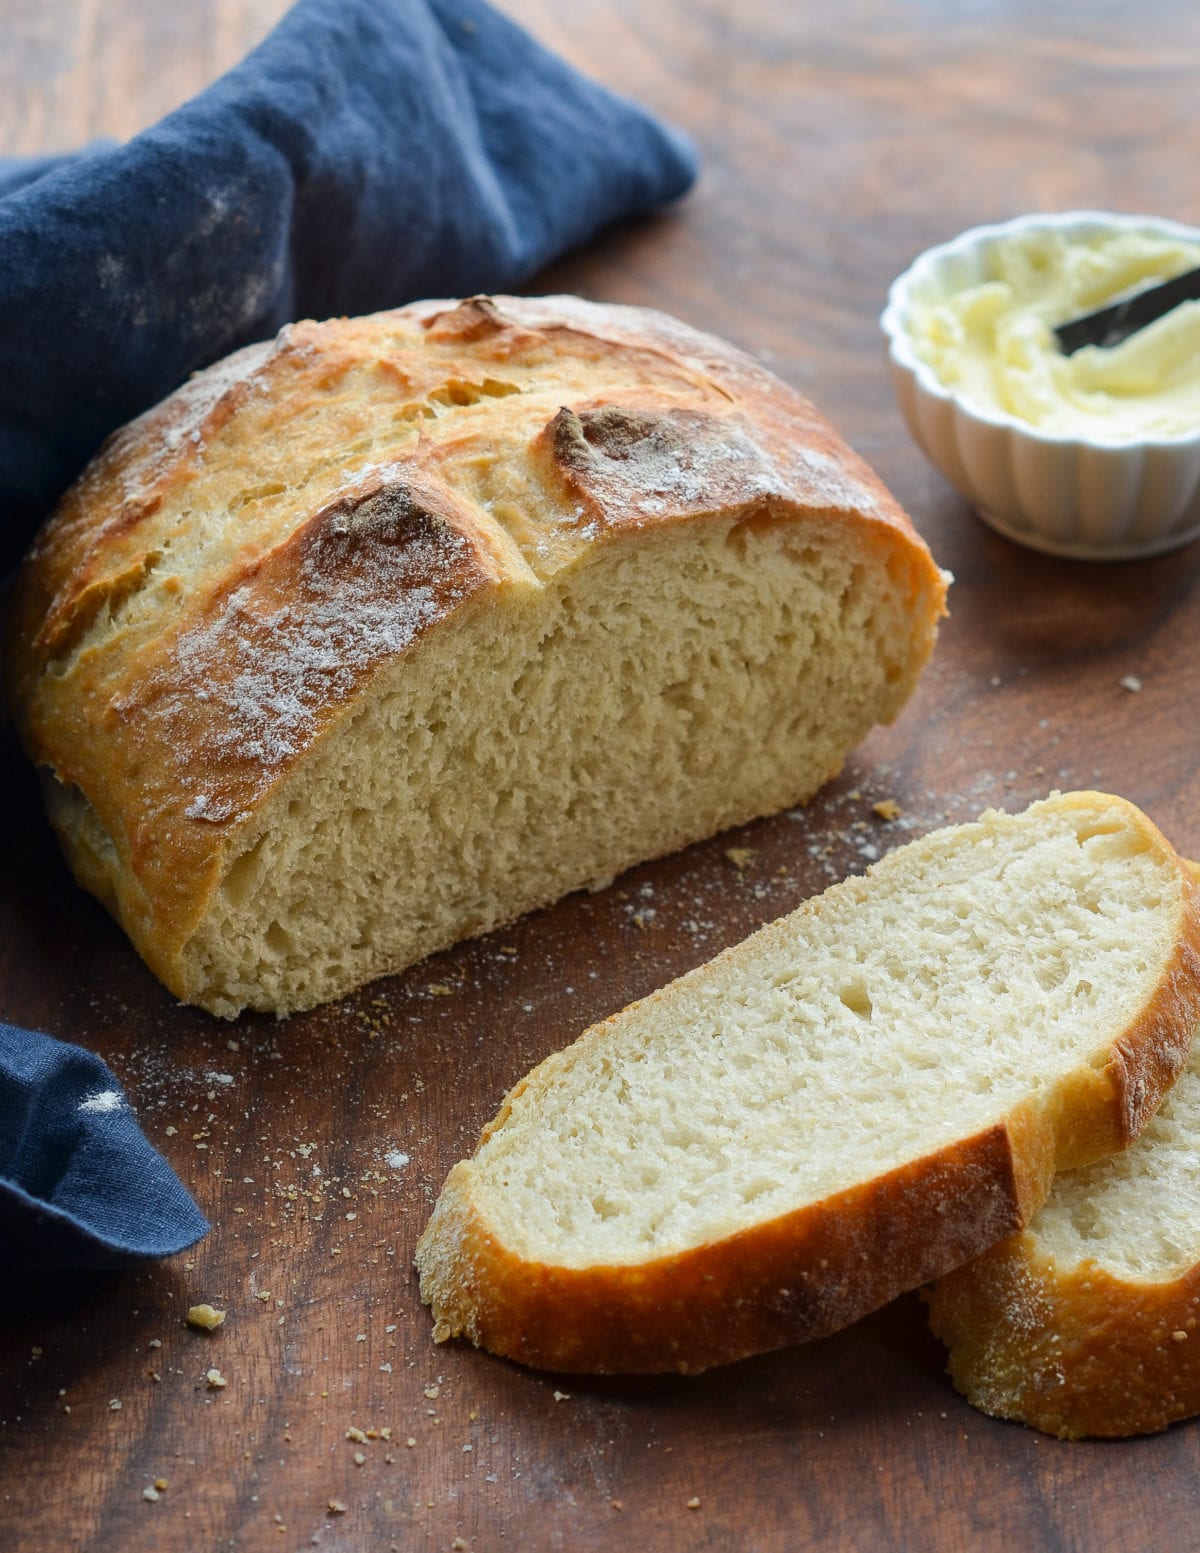
Crusty Artisan Bread
Ingredients
- 6½ cups all-purpose flour
spooned into measuring cup and leveled-off, preferably King Arthur; see note
- 4 teaspoons kosher salt
- 1½ tablespoons instant/rapid-rise yeast
see note
- 3 cups lukewarm water
no need to be exact but lukewarm is about 100°F
- Cornmeal
for dusting the pan
Directions
- 1
In a very large (6-quart) bowl, whisk together the flour, salt, and yeast. Add the water and stir with a wooden spoon until the mixture is uniformly moist, without any patches of flour. The dough should be sticky and conform to the shape of the bowl. If your dough is too dry, add a few tablespoons more warm water. If it's too wet, add a few tablespoons of flour. (See the step-by-step photos for guidance on what the dough should look like.) Cover the bowl loosely with plastic wrap and let it sit on the counter in a warm spot for 2 hours. If you plan to bake a loaf immediately, proceed to the next step. Otherwise, place the bowl of dough in the refrigerator to be used over the next 14 days. (Once refrigerated, the dough will shrink back a bit; that's okay. Do not punch down the dough at any point, and keep it loosely covered with plastic wrap.)
- 2
Dust a sturdy baking sheet with cornmeal.
- 3
Dust the surface of the dough and your hands lightly with flour. Pull out one-third of the dough and coat the outside lightly with flour (you don't want to incorporate more flour into the dough, you just want to be able to handle it). Gently work the dough into a smooth ball, stretching the surface and tucking the ends underneath, adding more flour as needed so it doesn't stick to your hands. (Don't overwork the dough; this process should only take about 30 seconds.) Put the dough ball onto the prepared baking sheet and let it rest at room temperature, uncovered, for about 40 minutes. (If the dough has been refrigerated, allow it to rise for 60 minutes, or up to 90 minutes if you want a more open and airy crumb structure.) The dough will rise a bit. It may also spread/flatten a bit; that's okay.
- 4
Preheat the oven to 450°F. Set one rack in the lowest position of the oven and one rack in the middle position. Place a metal pan (any metal cake pan or broiler pan will work; just don't use glass) on the bottom rack. (You will fill this with water later to create steam in the oven).
- 5
Generously dust the dough with flour. Using a sharp knife, make a few ½-inch-deep slashes in the dough -- a scallop, cross, or tic tac toe pattern all look nice.
- 6
Slide the baking sheet with the dough into the oven, and carefully fill the metal cake pan with one cup of hot tap water. (Try to do this quickly so as not to let heat out of the oven.) Bake until the loaf is golden brown, about 30 minutes. Cool completely on a wire rack.
- 7
This bread is best enjoyed fresh on the day it is made. Once sliced, place the loaf cut-side down on a cutting board or plate and leave it uncovered. (If it lasts beyond a day, I suggest slicing and freezing.)
- 8
Freezer-Friendly Instructions The dough can be portioned into thirds and frozen in airtight plastic containers for up to 1 month. Defrost the dough in the refrigerator overnight, then shape, rest and bake as usual. The baked loaves can also be frozen whole or sliced: Wrap in a zip-top freezer bag and freeze for up to 1 month. (If you plan to use slices one at a time, place pieces of parchment between them so they don't stick.) To thaw, take the bread out of the freezer and let it come to room temperature on the countertop. Reheat in a 350°F oven until warmed through, about 10 minutes.
- 9
Note: Active dry yeast may be used instead of instant/rapid-rise yeast, however, the dough will take longer to rise. To give active dry yeast a boost, you can dissolve it in the lukewarm water and let it sit until frothy, about 10 minutes. After that, add it to the flour and salt, and proceed with the recipe.
- 10
Note: I use King Arthur flour, which is higher in protein than some other all-purpose flours. If using a flour with a lower protein content, such as Gold Medal, you will likely need to add a few more tablespoons of flour.
Crusty Artisan Bread
Similar Recipes



Ratings & Reviews
Based on 332 ratings
Rating Breakdown
About this Recipe
Craving the unmistakable aroma and texture of fresh, homemade bread but intimidated by complex baking? This Crusty Artisan Bread recipe is your answer, making those bakery dreams a reality right in your kitchen.
What truly sets this recipe apart is its "no-knead" approach, making it astonishingly easy for bakers of all skill levels. You'll create three beautiful loaves from a single batch, giving you the flexibility to bake them as needed, ensuring a fresh, warm loaf whenever the craving strikes. This simplifies the artisan bread-making process without sacrificing quality.
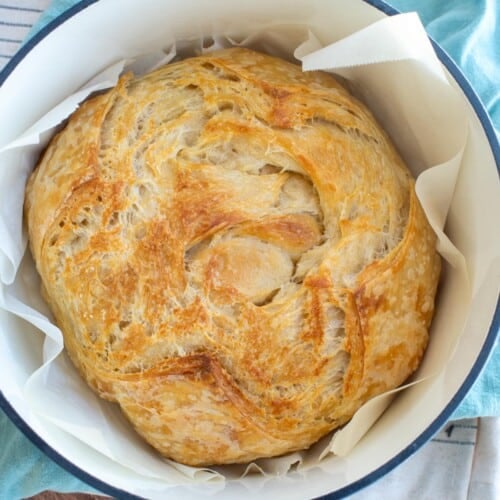
Imagine a golden-brown crust that crackles with every slice, giving way to a soft, airy interior. This bread delivers that perfect balance, a hallmark of true artisan baking. The simplicity of the ingredients—flour, salt, yeast, and water—comes together to produce a rustic, flavorful loaf that feels special yet requires minimal effort. It's a satisfying project that rewards you with exceptional results every time.
While the core recipe shines in its simplicity, the foundation is versatile. You can easily adapt the base to your preference once you're comfortable. Consider experimenting with the flours mentioned in the note, or perhaps using different types of salt, though kosher salt is specified for its gentle flavor. The beauty is in its adaptability to become a staple in your home baking.
This Crusty Artisan Bread is perfect for any meal, from a simple slice alongside a bowl of soup to an impressive centerpiece for a dinner party. It pairs wonderfully with olive oil, a smear of butter, or as the foundation for your favorite sandwiches.