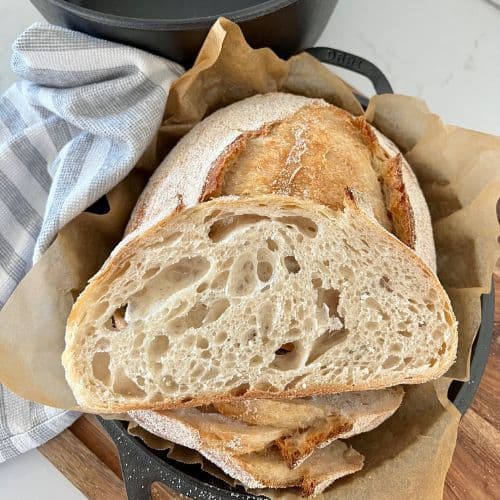
Dutch Oven Sourdough Bread
Ingredients
- 500 gbread flour
- 350 gwater
- 50 gsourdough starter
- 10 gsalt
Directions
- 1
Autolyse - Premixing The DoughWeigh out your sourdough starter and water into a large ceramic or glass bowl. Glass is always good as you can see what's happening underneath your dough. This recipe is based on you having an active starter that you have fed a few hours before starting your bake.Mix the water and starter together briefly. Then add your flour and salt and mix whole lot together to form a shaggy dough. I find a dough scraper the easiest way to mix it as you can keep the sides of bowl clean.The dough will be fairly shaggy and only just brought together (see photo). You might wonder how this will turn into bread, but just wait, time is your friend and the dough will change in around an hour.
- 2
Cover your bowl with cling film or a damp tea towel and let it sit for around 1 hour. It's ok if it's a little bit longer, it's not going to matter too much.This process is called the "autolyse" and allows your flour to soak in all the water and become hydrated. You can see how the dough has changed in this photo.
- 3
Forming Up The DoughAfter the dough has been through autolyse you need to bring it together into a ball. Work your way around the bowl, grabbing the dough from the outside, stretching it up and over itself, into the centre, until a smooth ball is formed. You shouldn't need more than about 20-30 stretches to form the ball. You'll notice that the dough is fully hydrated after soaking all the water up. It will be fairly sticky but as you bring it into a ball, it will become smoother and shinier.
- 4
Once the dough has formed into a smooth ball, pop the cling film back on and let it rest for 30 minutes.
- 5
Stretch & Fold - Creating StructureOver the next few hours you need to create some structure for your dough by "stretching and folding". Aim to do around 4-6 sets of stretches and folds. For each set, stretch the dough up and over itself 4 times. Leave around 15 minutes in between each set. Again you do not have to be exact with time, but you need to do at least 4 sets over 2 hours.I like to be fairly liberal with my timings as I am generally cooking amongst the chaos of family life and therefore sometimes timing does go astray!
- 6
Bulk FermentOnce you've finished your stretch and folds, place the cling film or damp tea towel back over your dough and let it rest and ferment (a plastic cover is a better option for this stage).See notes below for more info on this step.
- 7
Shaping The DoughOnce your dough has finished it's first ferment, it's time to shape it into either a boule or a batard. You'll need to flour your counter top with rice flour for this (we use rice flour because it has no gluten). Try to be quite sparing with the rice flour, you only need a very light dusting.Use a silicone dough scraper to gently ease the dough out of the bowl. You want it to land upside down on your counter so that the smooth top of the dough is on the countertop and the sticky underside is facing up. This will make it easier to shape.You can either shape your dough into a batard (oblong) or a boule (round). You'll find instructions for shaping your dough in the notes section.You will need a banneton to put your dough into. If you do not have a banneton, then a bowl or basket lined with a floured tea towel is perfectly fine. Make sure your bowl isn't too big though, you want your dough to retain some shape.Whatever you're using needs to be liberally floured with your rice flour. If you're using a banneton - liberally sprinkle it with rice flour. If you're using a cloth or tea towel, rub the flour into it to ensure it becomes non stick.
- 8
Placing Into A BannetonOnce the dough is shaped, place it into your banneton smooth side down, so your seam is on the top - this way the top of your dough will get the pretty lines from the banneton. If you're using a cloth or tea towel in a bowl it's ok to put your dough with the smooth side up. Just make sure the dough is tight.Lift your dough around the edges to pop a little more rice flour if you feel it needs it. Just try to handle the dough as little as possible and be really gentle as you really want to preserve all the gases and air bubbles that have formed during your bulk ferment.
- 9
Cold FermentNow the dough is in its "shaping container" cover it loosely with a plastic bag or damp tea towel and place into the fridge. I use a large plastic bag to cover it - I just reuse it each time. Try to leave it in the fridge for a minimum 5 hours up to a maximum of around 36 hours. The longer you leave it the better your bread will be! A longer cold ferment creates beautiful blisters on your crust and a deeper sourdough flavour. It will also ensure your dough forms a skin which makes it easier to score.
- 10
Preparing To BakeOnce you're ready to bake your sourdough, you'll need to preheat your oven to 230C/450F. Place your Dutch Oven into the oven when you turn it on so it gets HOT. Try to preheat for around 1 hour to ensure your oven is super hot - but you know your oven so just adjust this time if you need to.Leave your dough in the fridge until the very last minute - placing a cold dough into a hot oven will give you a great "spring".
- 11
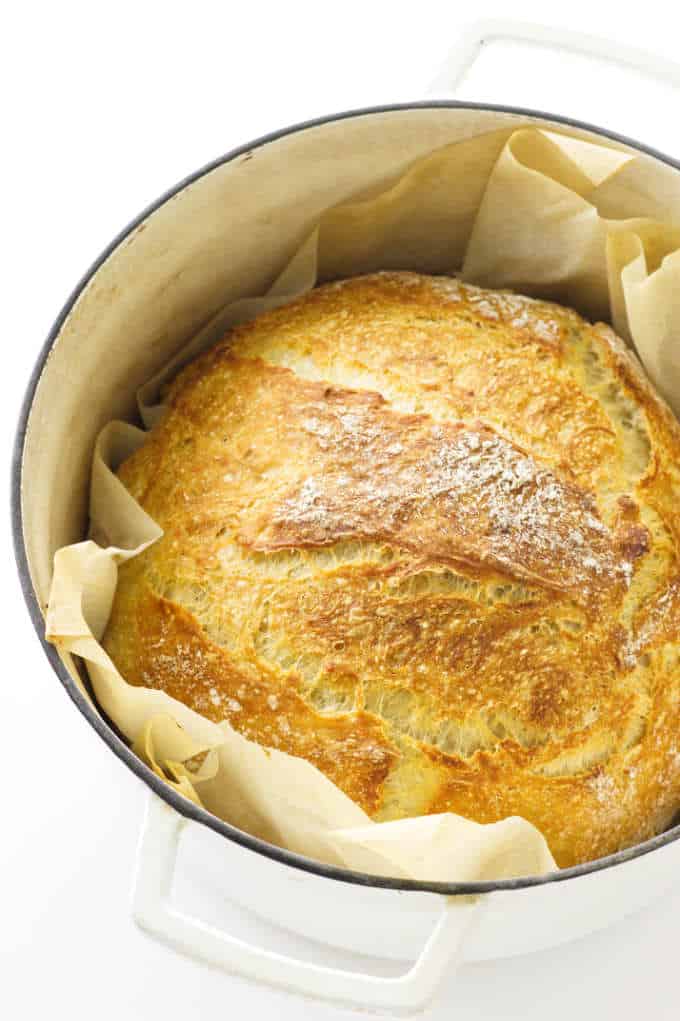
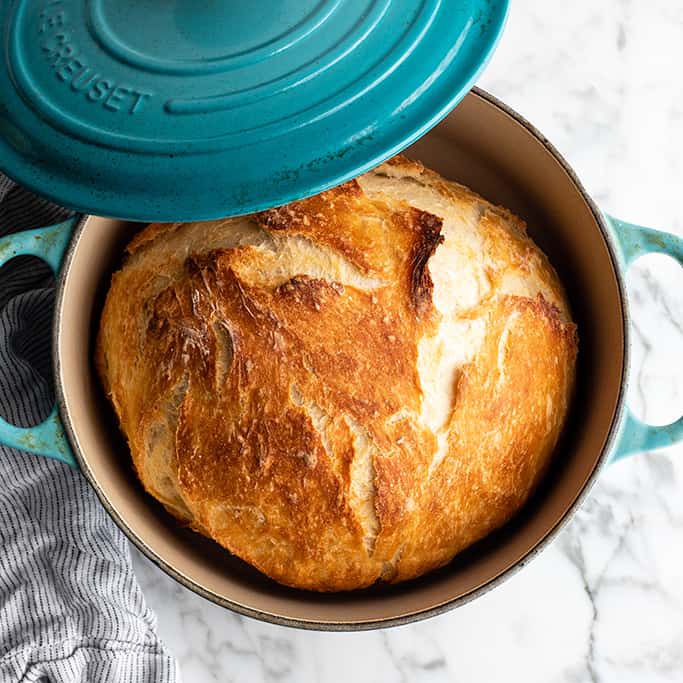
Bake Time!Now it's time to bake!When your oven is at temperature, take your sourdough out of the fridge. Gently place it onto a piece of baking paper. Make sure that you make the baking paper big enough to use the edges as a handle to lower to dough into your Dutch Oven.Gently score your bread with a lame, clean razor blade or knife. At minimum a large cross is sufficient, but you can get as artistic as you like. You can find my full guide on how to score sourdough bread here.Carefully take your dutch oven out of the oven. Place the sourdough into the pot using the baking paper as a handle. Put the lid on and place into the hot oven. If you want to you can spritz your dough with extra water before you put the lid on.BAKE TIME:30 Minutes with the lid on at 230C/450F plus10-15 Minutes with the lid off at 210C/410F
- 12
Finishing The BakeWhen you remove your dough from the oven, carefully remove it from the dutch oven as soon as possible and place on a wire rack to cool.
Dutch Oven Sourdough Bread
Similar Recipes

:max_bytes(150000):strip_icc()/9150360-6443cc4a5d064153990426d804de81c4.jpg)
Ratings & Reviews
Based on 28 ratings
Rating Breakdown
About this Recipe
Dutch Oven Sourdough Bread is the secret to achieving bakery-quality artisan bread at home. The cast iron Dutch oven creates the perfect steamy environment that professional bread ovens provide, resulting in a gorgeously crispy crust and light, airy crumb.
This simple sourdough recipe requires just four ingredients: bread flour, water, sourdough starter, and salt. The magic happens through fermentation and the Dutch oven baking method. With 4 hours of prep time (mostly hands-off fermentation) and 45 minutes of baking, you will have a stunning loaf that rivals any artisan bakery.
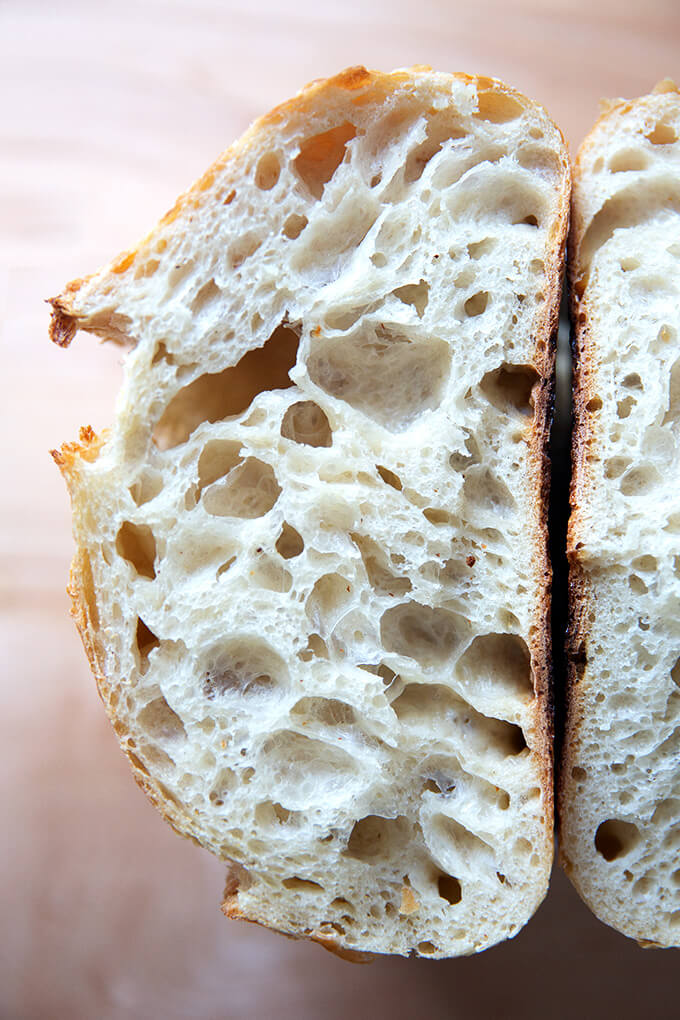
The key to this recipe is using an active, bubbly sourdough starter. The long fermentation develops complex flavors and that characteristic sourdough tang. The high hydration ratio of 70% creates those beautiful open holes in the crumb that sourdough lovers crave.
Whether you use a round or oval Dutch oven, the covered pot traps steam during the first part of baking, allowing the bread to expand fully before the crust sets. Removing the lid for the final bake creates that deep golden-brown, crackly crust. This technique transforms home baking and produces consistently excellent results.