
Rustic Bread Recipe
Ingredients
- 3 1/3 cups bread flour*
434 g
- 1 standard packet
2 1/4 teaspoons active dry yeast*
- 2 teaspoons kosher salt*
- 1 2/3 cups warm water
110 degrees, 395 ml
Directions
- 1
In a large mixing bowl, whisk together the bread flour, yeast, and salt.
- 2
Pour warm water over dry ingredients.
- 3
Mix in the water, until all of the flour is absorbed. The dough will be very wet and sticky.
- 4
Push all of the dough towards the center of the bowl and cover tightly with plastic wrap.
- 5
Place the dough in a warm spot, like a window sill, near the oven, or even in the oven with just the light on.
- 6
Let the dough rise for 3 hours. Optional: Place covered dough in the refrigerator overnight or for up to 3 days.
- 7
If the bread was in the refrigerator, allow it to come to room temperature for about an hour. Preheat the oven to 450 degrees with a dutch oven placed on the middle rack so it can preheat as well. If you do not have a dutch oven, use a pizza stone or baking sheet. See notes.
- 8
Using a spatula or plastic bench scraper, loosen the dough from the sides of the bowl by scraping the dough inward.
- 9
Dump the dough on a well floured surface.
- 10
Use the scraper to fold the dough gently over itself a few times until it starts to stick together.
- 11
Flip the dough so the folded seam side is down. Use your hand and the scraper to gently tap the dough into a round loaf.
- 12
Use a sharp knife or bread lame to score an ‘x’ into the top of the loaf.
- 13
Gently twist the loaf with one hand on the side and the scraper underneath onto a sheet of parchment paper.
- 14
Transfer the loaf to the preheated dutch oven (or pan/stone) holding the ends of the paper.
- 15
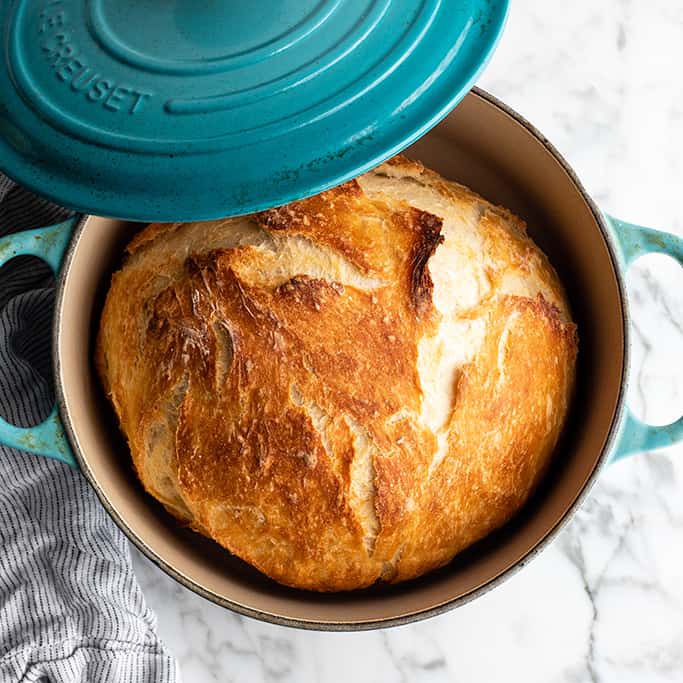
Cover the dutch oven with the preheated lid.
- 16
Bake for 30 minutes covered. If not using a dutch oven, bake uncovered for 30-40 minutes.
- 17
Uncover and bake for another 10-15 minute or until deep golden brown.
- 18
Remove the bread for the dutch oven and cool on a wire rack for about an hour before slicing.
Rustic Bread Recipe
Similar Recipes
:max_bytes(150000):strip_icc()/9150360-6443cc4a5d064153990426d804de81c4.jpg)
Ratings & Reviews
Be the First to Rate
Your rating helps others discover amazing recipes. Share your experience and let others know what you think!
About this Recipe
Dreaming of artisan bread but intimidated by complex recipes? This Easy Rustic Bread recipe is your perfect starting point, delivering that coveted homemade loaf without the fuss. It's a truly rewarding experience for anyone, especially beginner bakers.
Why This Recipe Works
This recipe shines through its incredible simplicity and brilliant technique. You'll be amazed at the professional-quality loaf you can achieve with just four simple ingredients and no need for a fussy sourdough starter or extensive kneading. The Dutch oven method ensures a perfect crust every time.
What to Expect
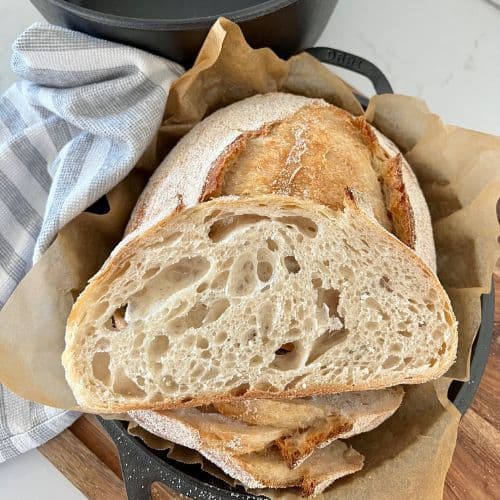
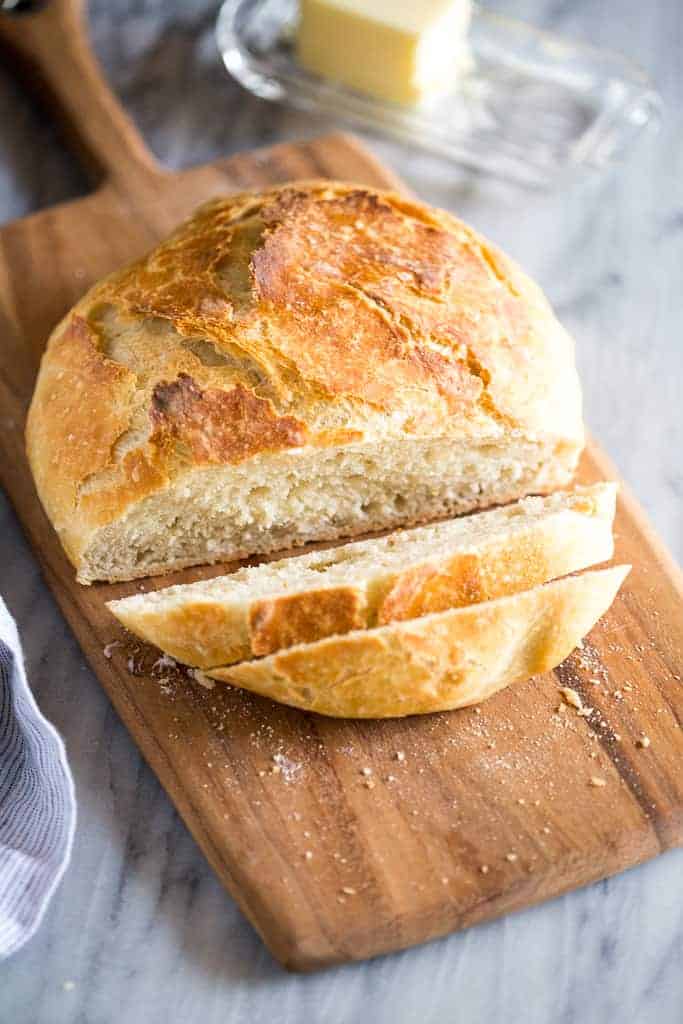
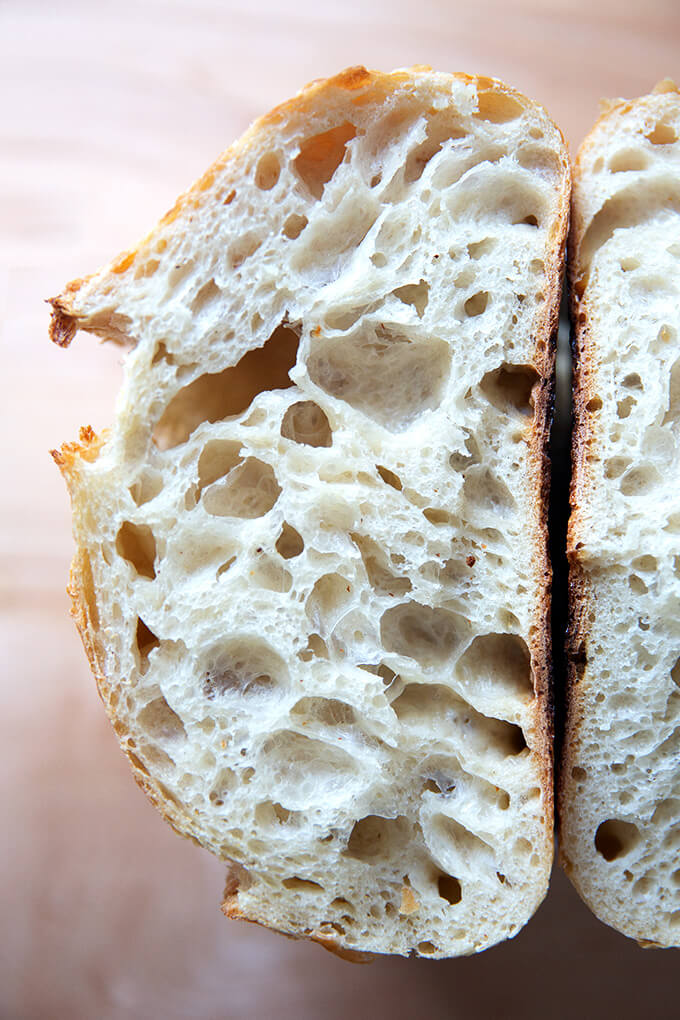
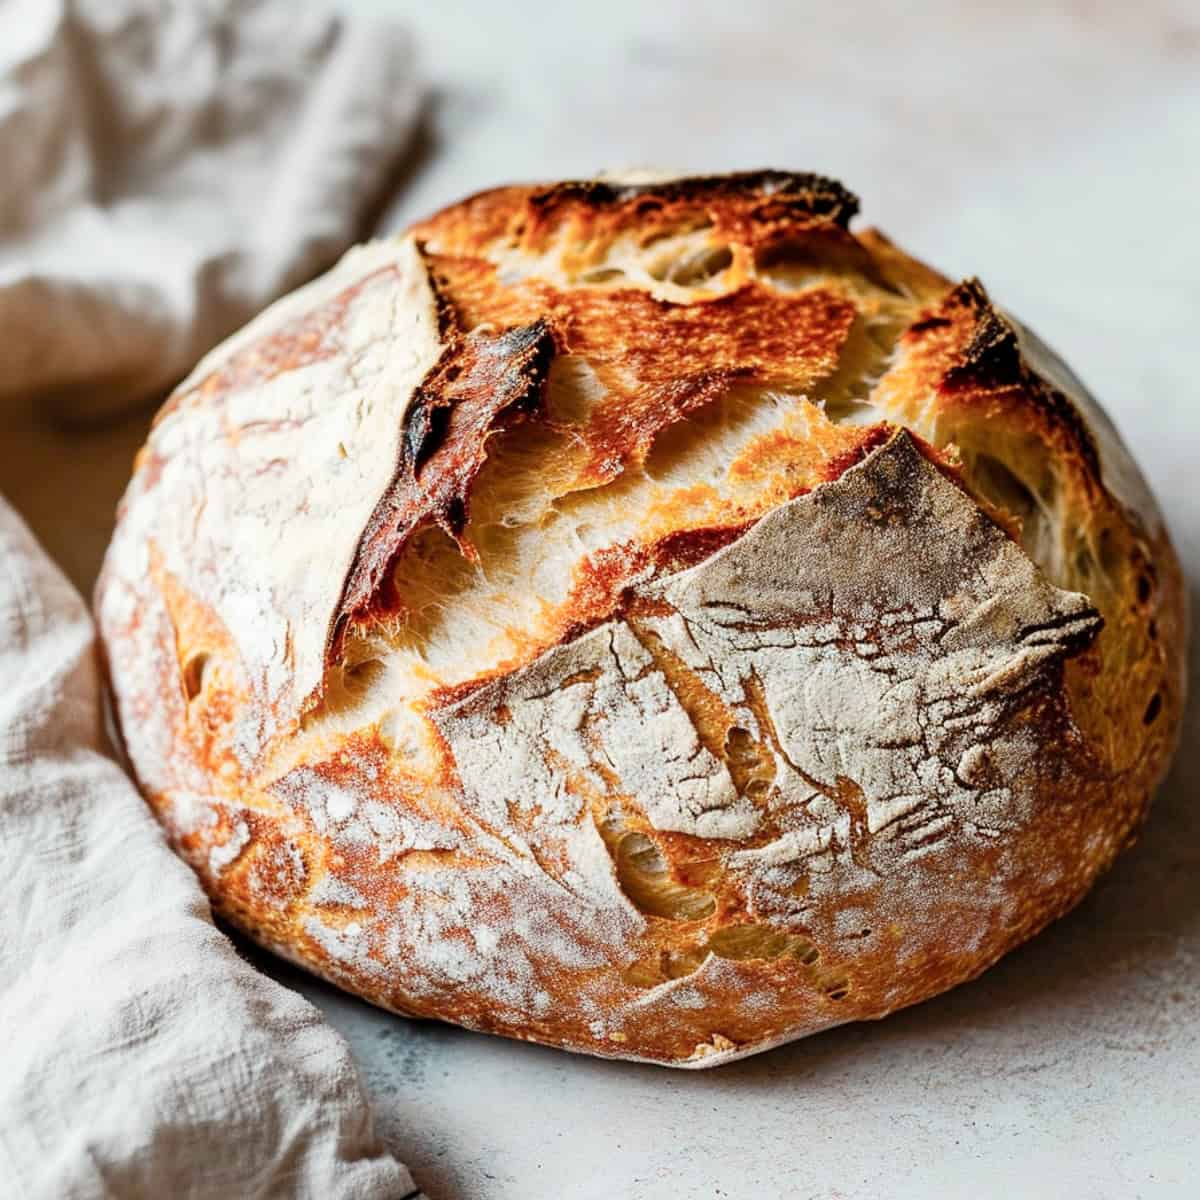
Prepare for a beautifully crisp, golden crust that gives way to a tender, airy interior. This rustic bread has that satisfying chew and authentic charm everyone loves, making it feel straight from a European bakery. It's designed to be approachable, making the process of baking your own fresh bread an absolute joy from start to finish.
Customization & Variations
While this recipe is truly perfect in its simple form, it offers fantastic flexibility in its process. You can prepare this beautiful loaf for baking in just a few hours, or let it develop flavor overnight in the fridge for a deeper, more nuanced taste that fits your schedule.
Serving & Context
Serve your freshly baked rustic bread warm with butter, alongside a hearty stew, or as a delightful companion to any meal. It's ideal for casual family dinners or impressing guests with your baking prowess.