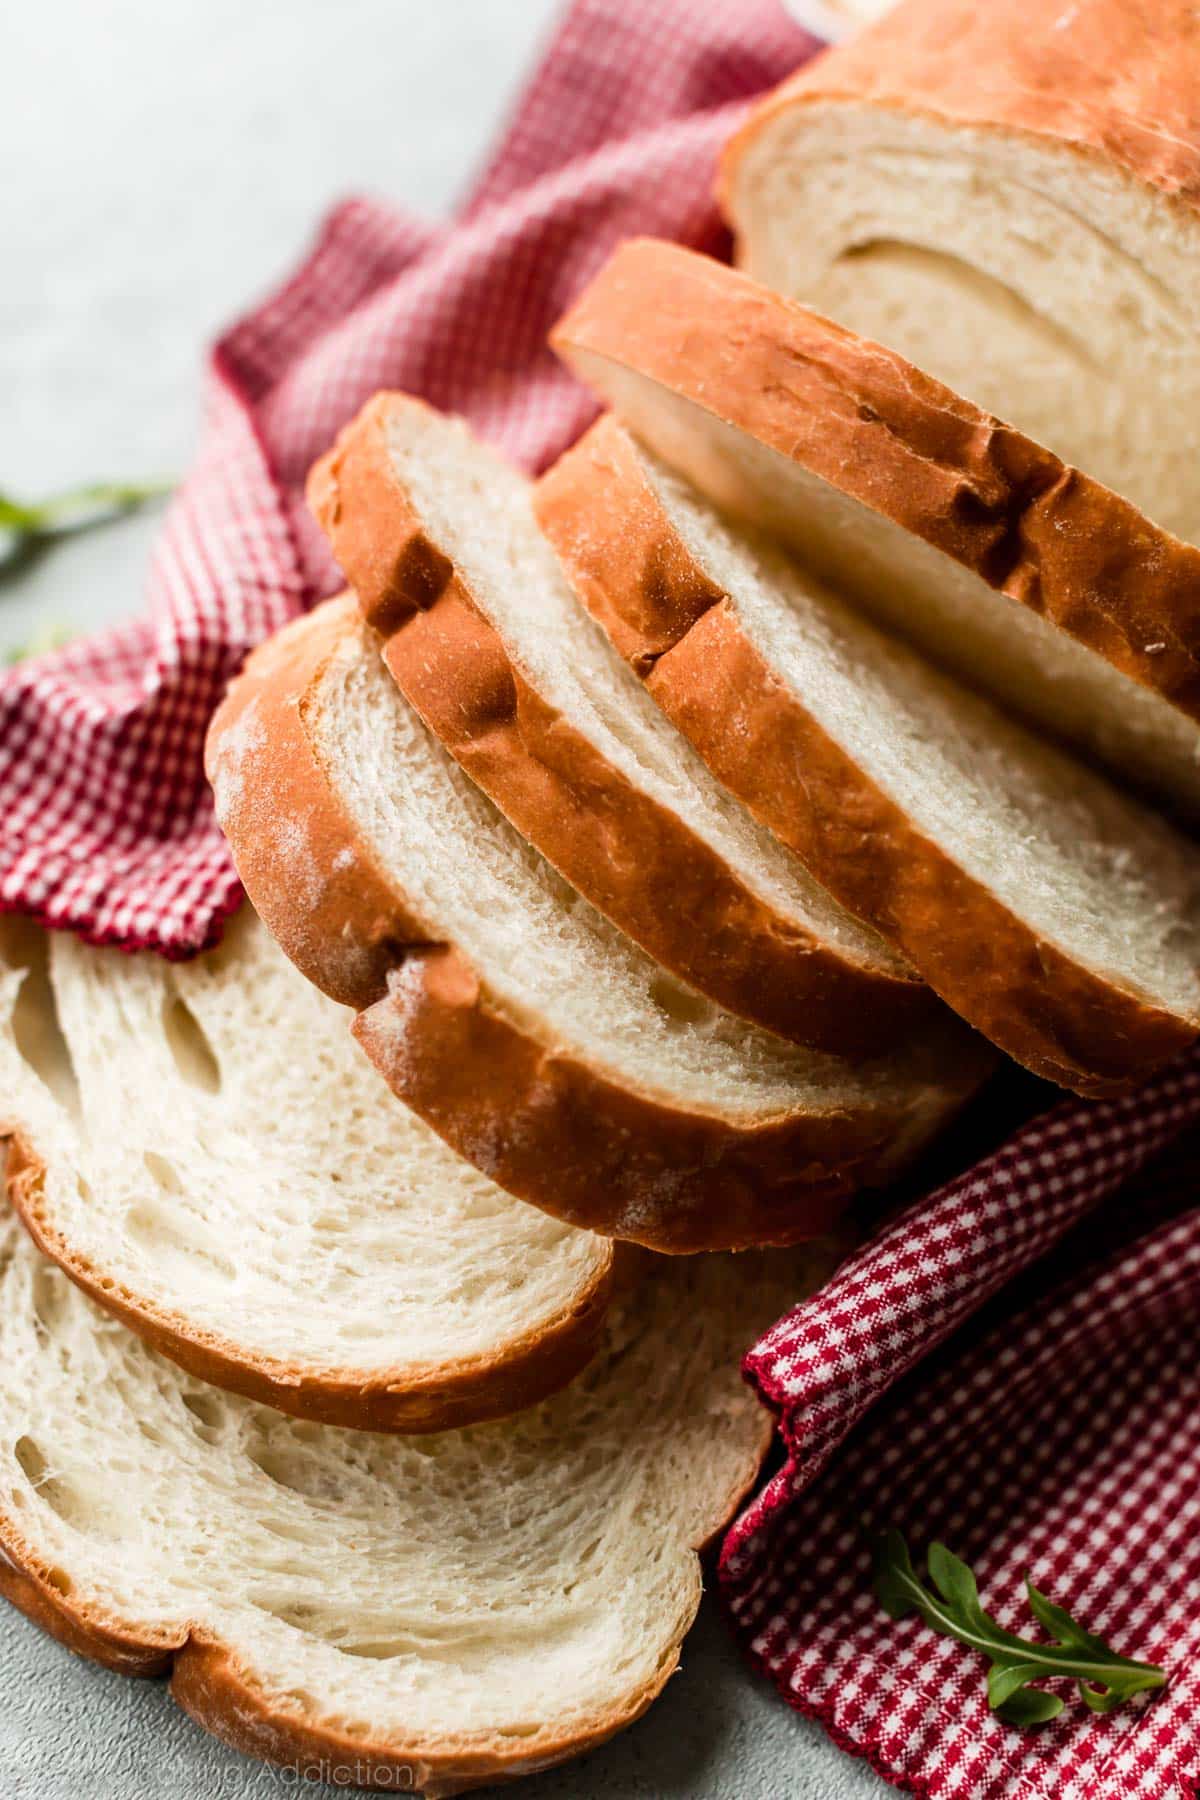
Sandwich Bread
Ingredients
- 1 cup water
warmed to about 110°F, 240ml
- 1/4 cup whole milk
warmed to about 110°F, 60ml
- 2 and 1/4 teaspoons Platinum Yeast from Red Star instant yeast
7g
- 2 Tablespoons granulated sugar
25g
- 4 Tablespoons unsalted butter
softened to room temperature, 1/4 cup; 56g
- 1 and 1/2 teaspoons salt
- 3 and 1/3 cups all-purpose flour or bread flour
plus more as needed, about 420–430g
Directions
- 1
Prepare the dough: Whisk the warm water, warm milk, yeast, and sugar together in the bowl of your stand mixer fitted with a dough hook or paddle attachment. Cover and allow to sit for 5 minutes.
- 2
Add the butter, salt, and 1 cup flour. Beat on low speed for 30 seconds, scrape down the sides of the bowl with a silicone spatula, then add another cup of flour. Beat on medium speed until relatively incorporated (there may still be chunks of butter). Add the remaining flour and beat on medium speed until the dough comes together and pulls away from the sides of the bowl, about 2 minutes. *If you do not own a mixer, you can mix this dough with a large wooden spoon or silicone spatula. It will take a bit of arm muscle!*
- 3
Knead the dough: Keep the dough in the mixer and beat for an additional 5–8 full minutes, or knead by hand on a lightly floured surface for 5–8 full minutes. (If you’re new to bread-baking, my How to Knead Dough video tutorial can help here.) If the dough becomes too sticky during the kneading process, sprinkle 1 teaspoon of flour at a time on the dough or on the work surface/in the bowl to make a soft, slightly tacky dough. Do not add more flour than you need; you do not want a dry dough. After kneading, the dough should still feel a little soft. Poke it with your finger—if it slowly bounces back, your dough is ready to rise. You can also do a “windowpane test” to see if your dough has been kneaded long enough: tear off a small (roughly golfball-size) piece of dough and gently stretch it out until it’s thin enough for light to pass through it. Hold it up to a window or light. Does light pass through the stretched dough without the dough tearing first? If so, your dough has been kneaded long enough and is ready to rise. If not, keep kneading.
- 4
1st Rise: Lightly grease a large bowl with olive oil or nonstick spray. Place the dough in the bowl, turning it to coat all sides in the oil. Cover the bowl and allow the dough to rise in a relatively warm environment for 1-2 hours or until double in size. (I always let it rise on the counter. Takes about 2 hours. For a tiny reduction in rise time, see my answer to Where Should Dough Rise? in my Baking with Yeast Guide.)
- 5
Grease a 9×5-inch loaf pan.
- 6
Shape the bread: When the dough is ready, punch it down to release the air. Lightly flour a work surface, your hands, and a rolling pin. Roll the dough out into a large rectangle, about 8×15 inches. It does not have to be perfect—in fact, it will probably be rounded on the edges. That’s ok! Roll it up into an 8 inch log and place in the prepared loaf pan.
- 7
2nd Rise: Cover shaped loaf with aluminum foil, plastic wrap, or a clean kitchen towel. Allow to rise until it’s about 1 inch above the top of the loaf pan, about 1 hour. (See video and photo above for a visual.)
- 8
Adjust oven rack to a lower position and preheat oven to 350°F (177°C). (It’s best to bake the bread towards the bottom of the oven so the top doesn’t burn.)
- 9
Bake the bread: Bake for 30-34 minutes or until golden brown on top. If you notice the top browning too quickly, loosely tent the pan with aluminum foil. (I usually add aluminum foil over the loaf around the 20 minute mark.) To test for doneness, if you gently tap on the loaf, it should sound hollow. For a more accurate test, the bread is done when an instant-read thermometer reads the center of the loaf as 195–200°F (90–93°C).
- 10
Remove from the oven and allow bread to cool for a few minutes in the pan on a cooling rack before removing the bread from the pan and slicing. Feel free to let it cool completely before slicing, too.
- 11
Cover leftover bread tightly and store at room temperature for 6 days or in the refrigerator for up to 10 days.
Sandwich Bread
Similar Recipes



Ratings & Reviews
Based on 1,042 ratings
Rating Breakdown
About this Recipe
There's nothing quite like the aroma of freshly baked bread filling your kitchen, and with this recipe, you can experience that simple joy right at home. This Sandwich Bread recipe guides you through creating a comforting loaf that's perfect for all your everyday needs, from breakfast toast to hearty sandwiches.
This recipe works by bringing together classic, high-quality ingredients to form a foundational loaf. By specifying Platinum Yeast from Red Star instant yeast, the recipe ensures reliable and consistent leavening. The careful combination of warmed water and milk with softened unsalted butter provides the ideal environment for yeast activity and contributes to a delicious, well-structured crumb.
You'll embark on a rewarding baking journey culminating in a single, satisfying loaf of homemade Sandwich Bread. The ingredients come together to form a versatile base, promising a comforting taste that’s often superior to store-bought options. While the active cook time is just 32 minutes, the total process involves essential resting and rising periods that are crucial for developing the bread's full flavor and texture.
This recipe provides a solid foundation, offering flexibility with its flour options; you can choose between all-purpose flour or bread flour depending on your desired crumb structure. For future baking, you might consider swapping a portion of the granulated sugar for honey to subtly alter the flavor, or using a neutral oil in place of butter for a dairy-free option.
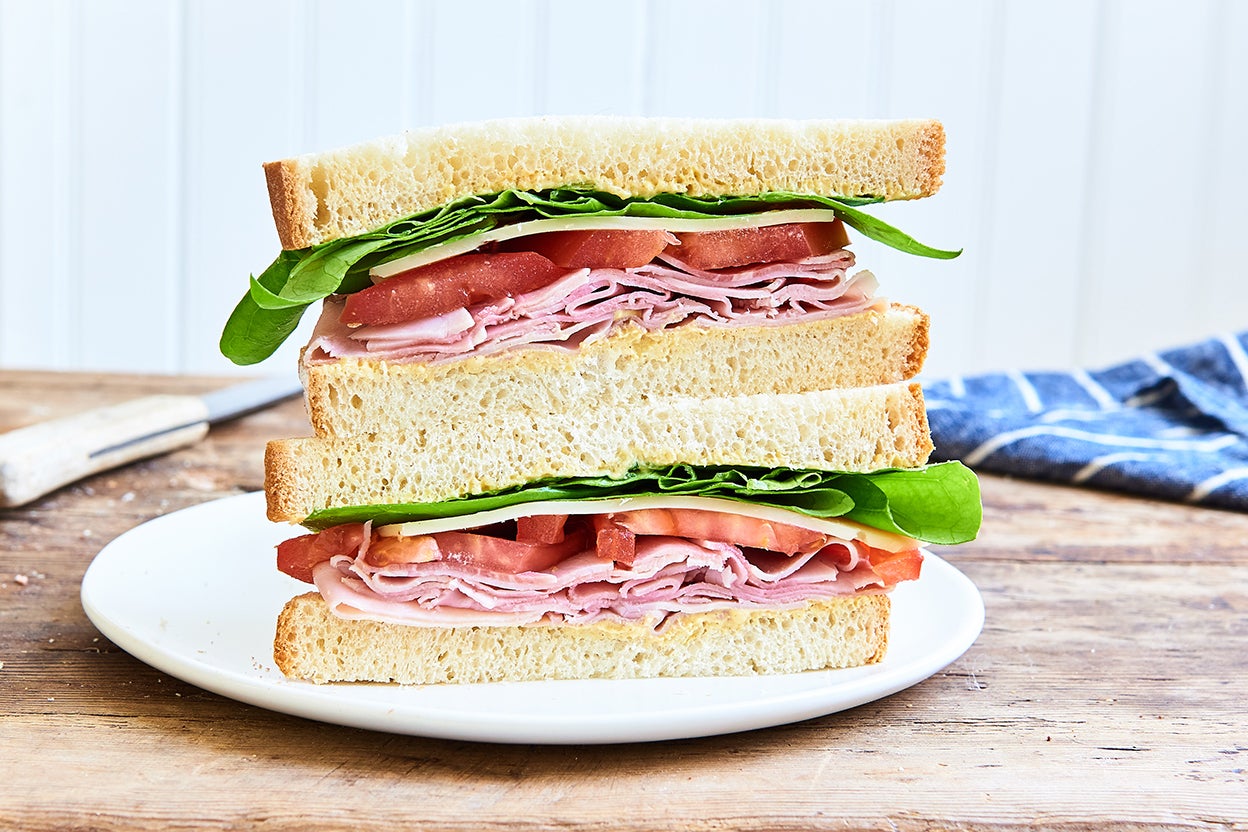
This homemade Sandwich Bread is ideal for everyday meals, from hearty breakfast toast to classic deli sandwiches. It's a comforting addition to any family table, inviting you to create countless delicious pairings.