
World's Easiest Yeast Bread recipe - Artisan, NO KNEAD
Ingredients
- 3 cflour)
, bread or plain/all purpose (note 1
- 2 tspinstant or rapid rise yeast)
(note 2 for normal / active dry yeast
- 2 tspcooking / kosher salt)
, not table salt (note 3
- 1 ½ cvery warm tap water)
, not boiling or super hot (ie up to 55°c/130°f
- 1 ½ tbspflour
, for dusting
Directions
- 1
Mix Dough: Mix flour, yeast and salt in a large bowl. Add water, then use the handle of a wooden spoon to mix until all the flour is incorporated. Dough will be wet and sloppy – not kneadable, but not runny like cake batter. Adjust with more water or flour if needed for right consistency (see video at 17 sec, Note 5).
- 2
Rise: Cover with cling wrap or plate, leave on counter for 2 - 3 hours until it doubles in volume, it’s wobbly like jelly and the top is bubbly (see video at 24 seconds). If after 1 hour it doesn’t seem to be rising, move it somewhere warmer (Note 6).
- 3
Optional – refrigerate for flavour development (Note 9): At this stage, you can either bake immediately (move onto Step 5) or refrigerate for up to 3 days.
- 4
Take chill out of refrigerated dough – if you refrigerated dough per above, leave the bowl on the counter for 45 - 60 minutes while the oven is preheating. Cold dough does not rise as well.
- 5
Preheat oven (Note 7) - Put dutch oven in oven with lid on (26cm/10" or larger). Preheat to 230°C/450°F (220° fan) 30 minutes prior to baking. (Note 8 for no dutch oven)
- 6
Shape dough: Sprinkle work surface with 1 tbsp flour, scrape dough out of bowl. Sprinkle top with 1/2 tbsp flour.
- 7
Using a dough scraper or anything of similar shape (cake server, large knife, spatula), fold the sides inwards (about 6 folds) to roughly form a roundish shape. Don’t be too meticulous here – you’re about to deform it, it’s more about deflating the bubbles in the dough and forming a shape you can move.
- 8
Transfer to paper: Slide a large piece of parchment/baking paper (not wax paper) next to the dough, then flip the dough upside down onto the paper (ie seam side down, smooth side up). Slide/push it towards the middle, then reshape it into a round(ish) shape. Don't get too hung up about shape. In fact, lopsided = more ridges = more crunchy bits!
- 9
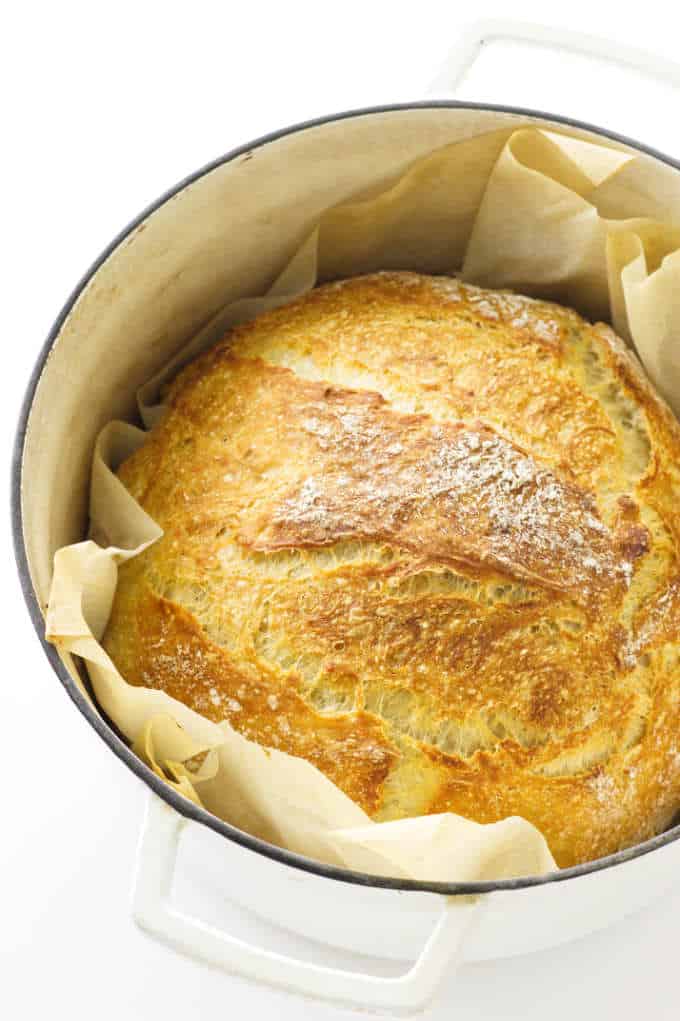
Dough in pot: Remove piping hot dutch oven from oven. Use paper to place dough into pot, place lid on.
- 10
Bake 30 minutes covered, then 12 minutes uncovered or until deep golden and crispy.
- 11
Cool on rack for 10 minutes before slicing.
World's Easiest Yeast Bread recipe - Artisan, NO KNEAD
Similar Recipes
Ratings & Reviews
Based on 1,837 ratings
Rating Breakdown
About this Recipe
Dreaming of that perfect, rustic artisan bread without all the fuss and effort? This no knead recipe makes it incredibly easy to achieve bakery-quality results right in your own kitchen, delivering a loaf that tastes like it came from a gourmet bakery. You'll be amazed at how simple it is to create such a showstopper.
Why This Recipe Works
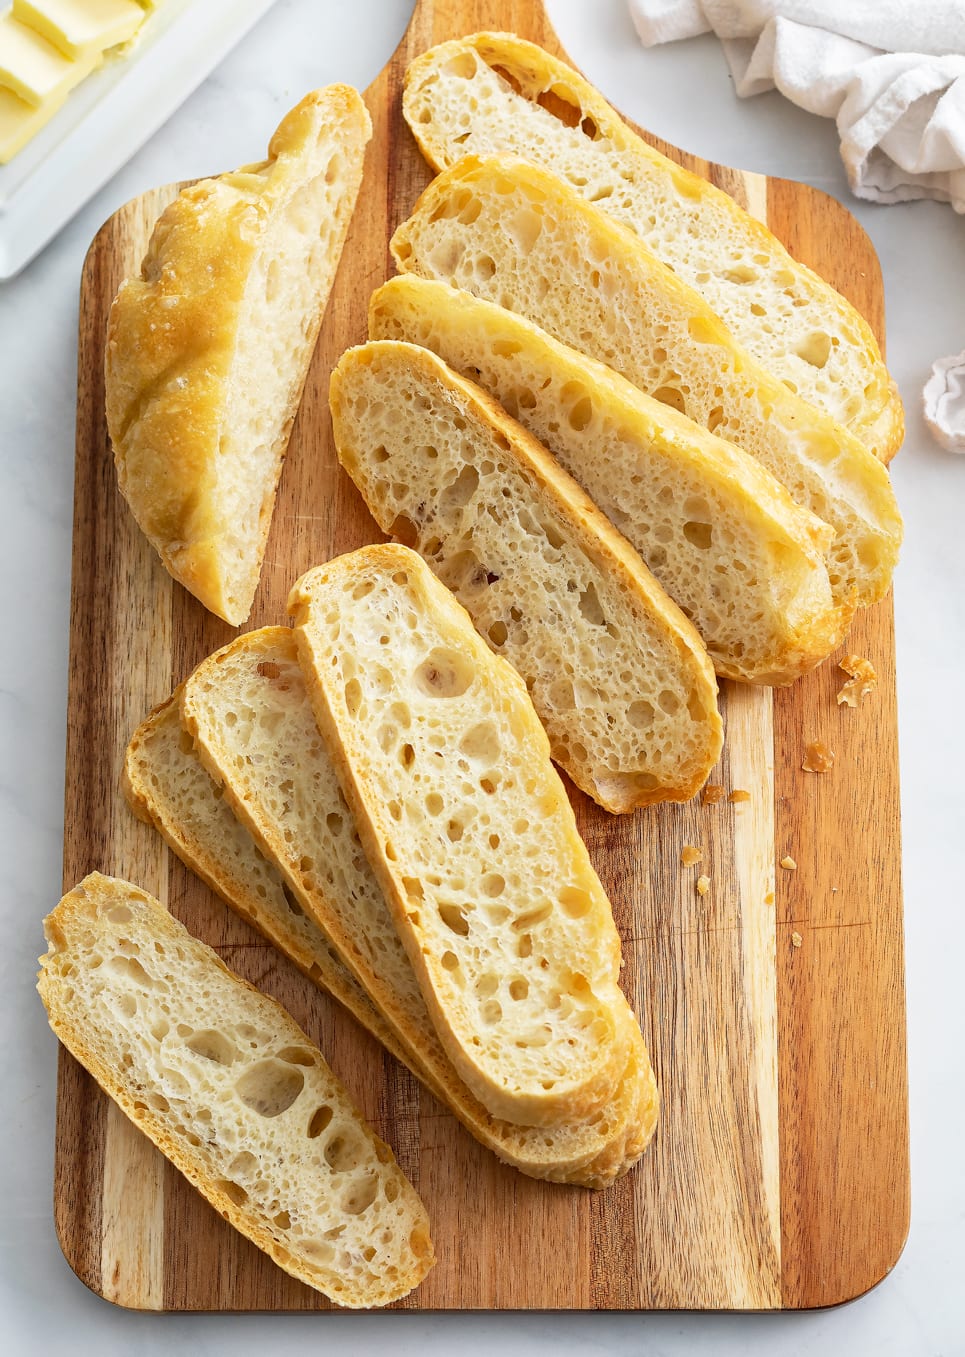
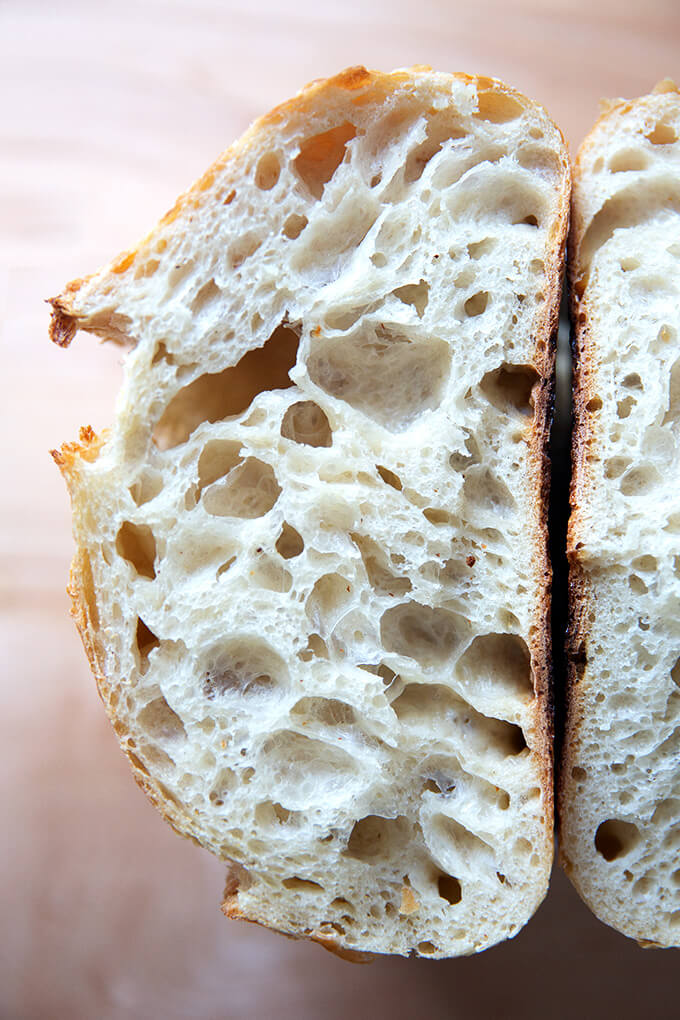
The magic of this recipe lies in its remarkable simplicity – there's no laborious kneading required, yet it still develops an incredible crispy, chewy crust and a crumb filled with those signature big fat holes typically found in sourdough. This method allows time to do most of the work, letting the yeast slowly build flavor and structure, ensuring a truly satisfying loaf. It's also wonderfully forgiving, so even if you're new to baking, you'll find success.
What to Expect
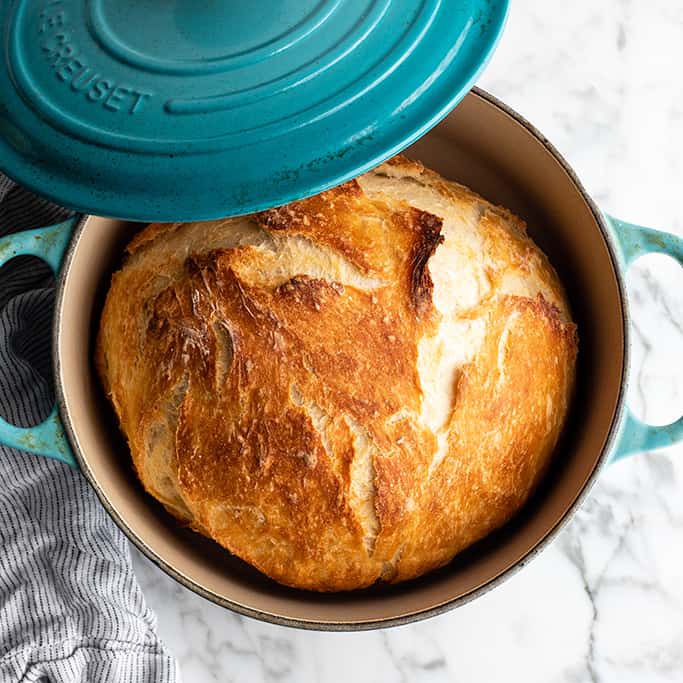
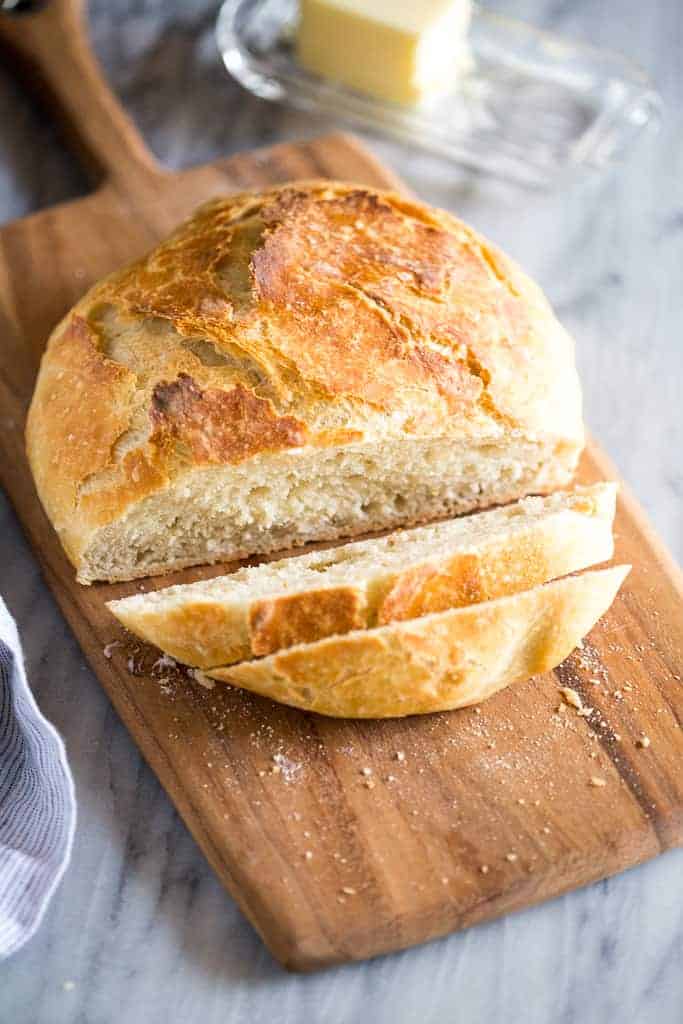
Prepare for a deeply satisfying loaf with a remarkably crispy, crackly exterior that gives way to a soft, open interior. The rich aroma of freshly baked bread will fill your home, promising a taste that's pure, rustic bliss. Each bite offers a delightful contrast of textures and a subtle yeasty flavor that’s perfect for elevating any meal. This easy homemade bread truly delivers on its promise of artisan quality without the hassle.
Customization & Variations
The recipe is designed for flexibility. The original notes mention options for baking without a Dutch oven, and guidance for using different types of yeast, ensuring you can make this bread with what you have on hand. For future meals, you can also explore the Cheese Bread version for a delightful savory twist.
Serving & Context
Serve this gorgeous crusty bread warm with a generous smear of good butter, alongside hearty soups, or simply with your favorite olive oil and balsamic for dipping. It’s perfect for weeknight dinners, special gatherings, or for enjoying as a comforting snack anytime.