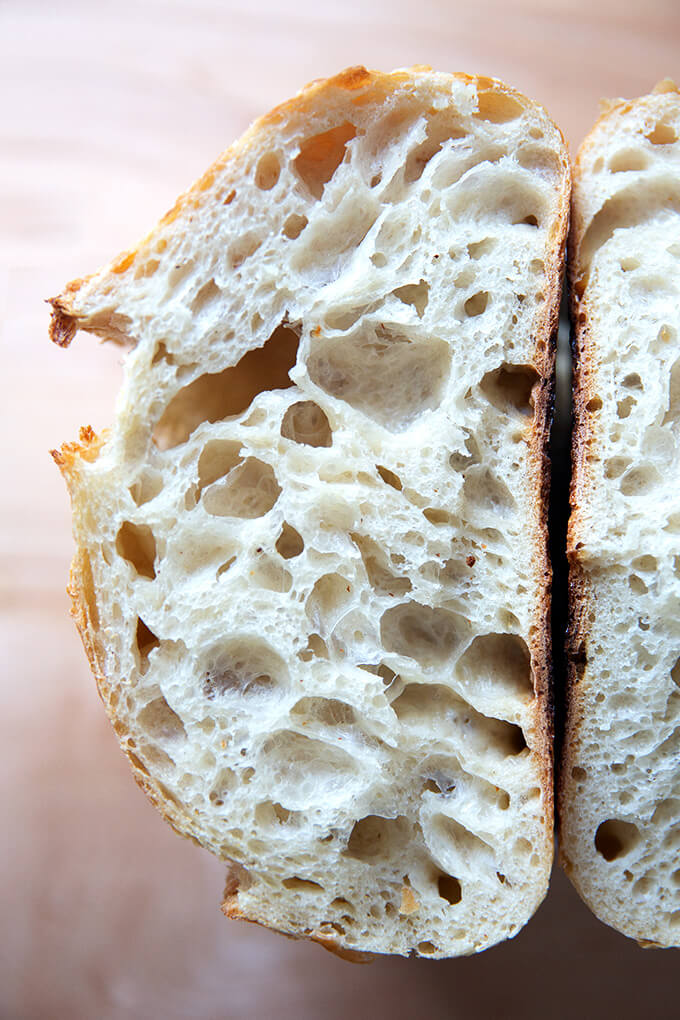
Homemade Sourdough Bread, Step by Step
Ingredients
- 50 – 100 g bubbly
active starter — I always use 100 grams, see notes above, 1⁄4 – 1/2 cup
- 375 g warm water
or more, see notes above, 1 1/2 cups plus 1 tbsp
- 500 g bread flour
4 cups plus 2 tbsp
- 9 to 12 g fine sea salt
see notes above, 1.5 – 2.5 teaspoons
Directions
- 1
Whisk the starter and water together in a large bowl with a fork or spatula. Add the flour and salt. Mix to combine, finishing by hand if necessary to form a rough dough. Cover with a damp towel and let rest for 30 minutes.
- 2
After 30 minutes, grab a corner of the dough and pull it up and into the center. Repeat until you’ve performed this series of folds 4 to 5 times with the dough. Let dough rest for another 30 minutes and repeat the stretching and folding action. If you have the time: do this twice more for a total of 4 times in 2 hours. Note: Even if you can only perform one series of stretches and folds, your dough will benefit. So don’t worry if you have to run off shortly after you mix the dough.
- 3
Cover the bowl with a towel and let rise at room temperature, about 8 to 10 hours at 70°F (21°C) or even less if you live in a warm environment. The dough is ready when it has increased by 50% in volume, has a few bubbles on the surface, and jiggles when you move the bowl from side to side. (UPDATE: In the past I have recommended letting the dough rise until it doubles in volume. If you’ve had success with this, continue to let the dough double. Recently, I have been stopping the bulk fermentation when the dough increases by 50% in volume, and I feel I am actually getting better oven spring in the end.) (Note regarding timing: If you are using 100 g of starter, the bulk fermentation may take less than 8 to 10 hours. If you live in a warm, humid environment, the bulk fermentation may take even less time. In the late spring/early summer, for example, my kitchen is 78ºF and the bulk fermentation takes 6 hours. It is best to rely on visual cues (increase in volume by roughly 50%) as opposed to time to determine when the bulk fermentation is done. A straight-sided vessel makes monitoring the bulk fermentation especially easy because it allows you to see when your dough has truly increased in volume by 50%.)
- 4
Coax the dough onto a lightly floured surface. Gently shape it into a round: fold the top down to the center, turn the dough, fold the top down to the center, turn the dough; repeat until you’ve come full circle. If you have a bench scraper, use it to push and pull the dough to create tension.
- 5
Let the dough rest seam side up rest for 30 minutes. Meanwhile, line an 8-inch (20-cm) bowl or proofing basket with a towel (flour sack towels are ideal) and dust with flour (preferably rice flour, which doesn’t burn the way all-purpose flour does). Using a bench scraper or your hands, shape it again as described in step 4. Place the round into your lined bowl, seam side up.
- 6
Cover the dough and refrigerate for 1 hour or for as long as 48 hours. (Note: I prefer to let this dough proof for at least 24 hours prior to baking. See video for the difference in the crumb of a loaf that has proofed for 6 hours vs one that has proofed for 24 hours. If you choose to proof the dough in the fridge for an extended period of time, you may want to tuck it into a loosely tied bag — produce bags from the grocery store are great for this purpose — to ensure the dough does not dry out. The original recipe calls for a 1-hour rise, and if you have had success doing that, by all means, keep doing it.)
- 7
Place a Dutch oven in your oven, and preheat your oven to 550°F (290°C). Cut a piece of parchment to fit the size of your baking pot.
- 8
Place the parchment over the dough and invert the bowl to release. Using the tip of a small knife or a razor blade, score the dough however you wish — a simple “X” is nice. Use the parchment to carefully transfer the dough into the preheated baking pot.
- 9
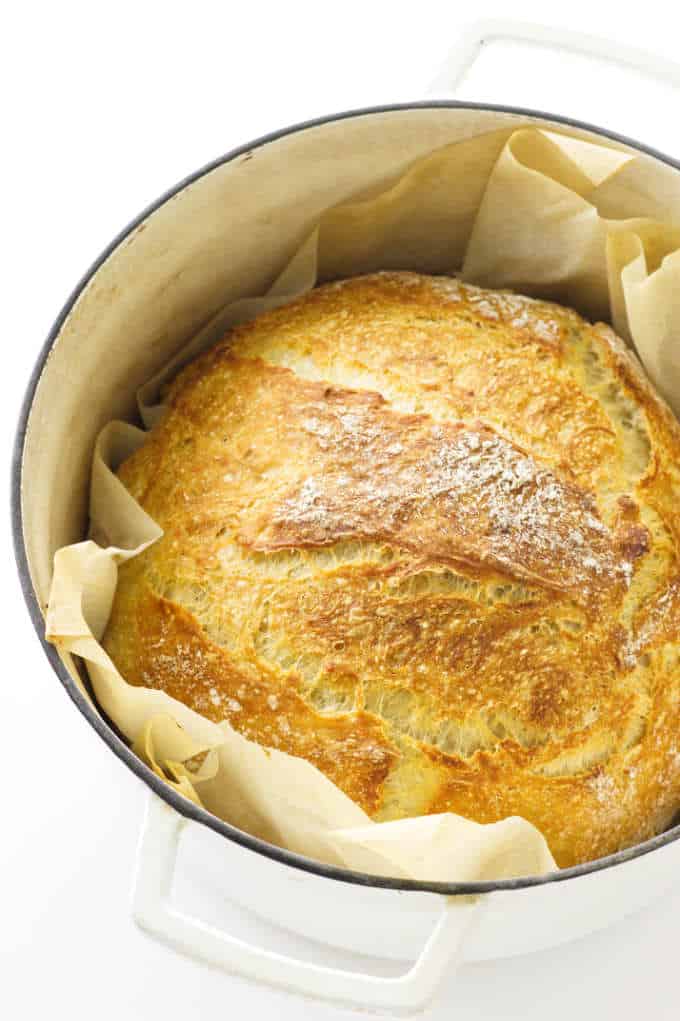
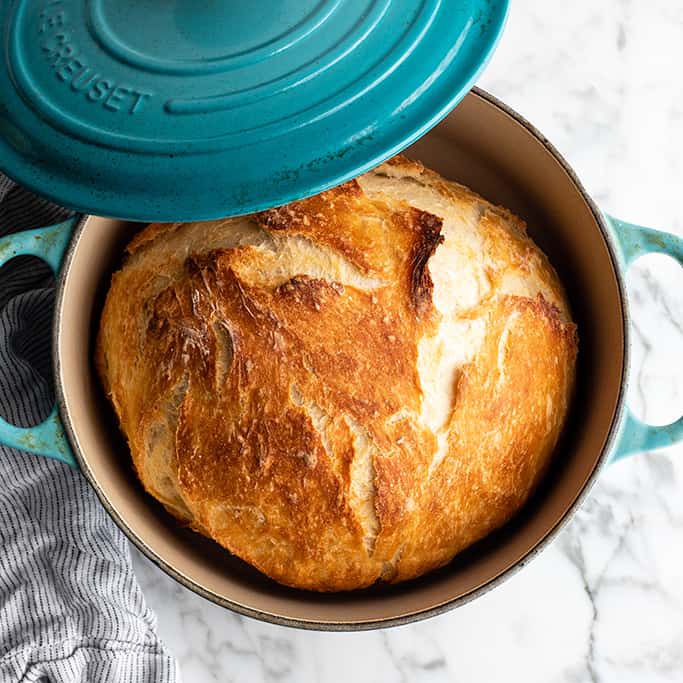
Lower the oven to temperature to 450ºF (230ºC). Carefully cover the pot. Bake the dough for 30 minutes, covered. Remove the lid, lower the temperature to 400ºF (200ºC) and continue to bake for 10 – 15 minutes more. If necessary, lift the loaf out of the pot, and bake directly on the oven rack for the last 5 to 10 minutes. Cool on a wire rack for 1 hour before slicing.
- 10
This loaf will stay fresh up to 3 days stored at room temperature in an airtight plastic bag or container. It freezes beautifully, too.
Homemade Sourdough Bread, Step by Step
Similar Recipes


Ratings & Reviews
Based on 1,752 ratings
Rating Breakdown
About this Recipe
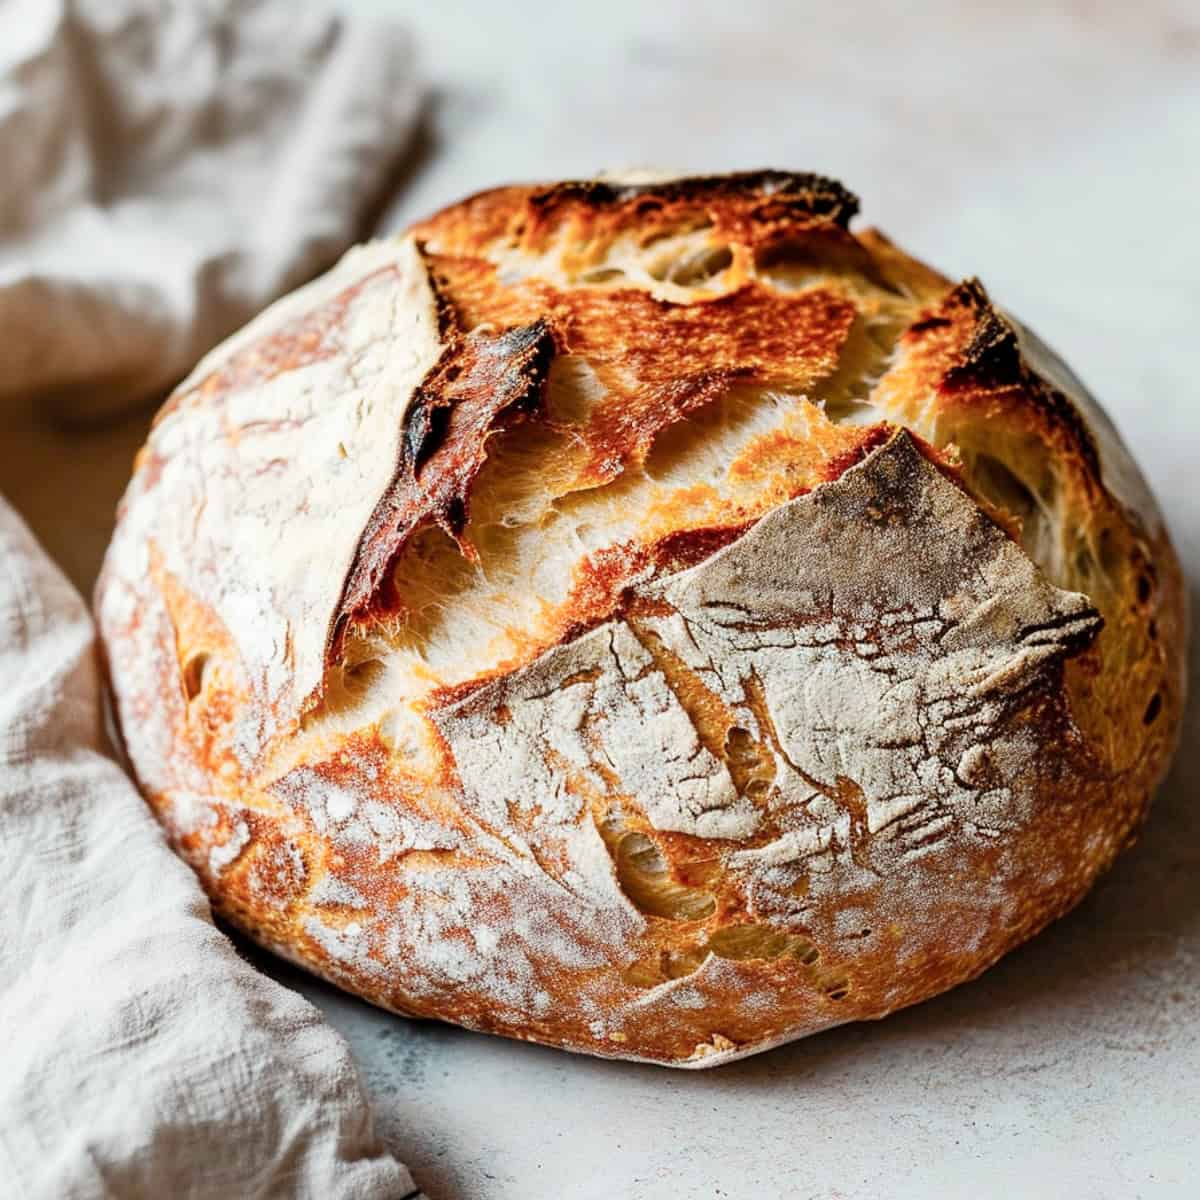
Eager to bake a beautiful, crusty loaf of homemade sourdough bread right in your own kitchen? This step-by-step guide demystifies the process, making authentic sourdough accessible and incredibly rewarding for every home baker.
What sets this recipe apart is its detailed, thoughtful approach, designed to guide you through common challenges and ensure a successful bake. You'll find specific tips, from adjusting starter quantity based on your kitchen's temperature to insights on achieving that desirable open crumb and perfect crust, all while building confidence with your dough.
Get ready to transform simple flour and water into a fragrant, deeply flavorful loaf with a delightfully chewy interior and a shatteringly crisp crust. The process itself is immensely satisfying, from handling the elastic dough to watching it gracefully proof. Expect to fall in love with the tactile experience of baking, guided by smart tips like using a straight-sided vessel to perfectly monitor your dough's bulk fermentation. The journey begins with an active sourdough starter, which you can easily establish or acquire from trusted sources like King Arthur Flour or Breadtopia.
This recipe encourages you to adapt to your environment and preferences. For instance, if your kitchen runs cold, consider using 100 grams of starter to encourage a quicker rise, while warmer climates or an overnight proof might only need 50 grams. Don't be afraid to experiment with hydration; a higher water content, around 380 grams, can lead to a more open crumb, which I've found great success with. You can also play with shaping: a batard shape often yields a more open crumb compared to a round, and while the traditional method involves two shaping stages, a single, confident shape can work beautifully for a great result. For salt, both kosher (like Diamond Crystal) and fine sea salt (like Baleine Fine) work well, simply use 12 grams.
There’s nothing quite like pulling a warm, aromatic loaf of homemade sourdough from your oven. Enjoy its complex flavor and satisfying texture sliced thick with butter, alongside a hearty soup, or as the star of any meal.