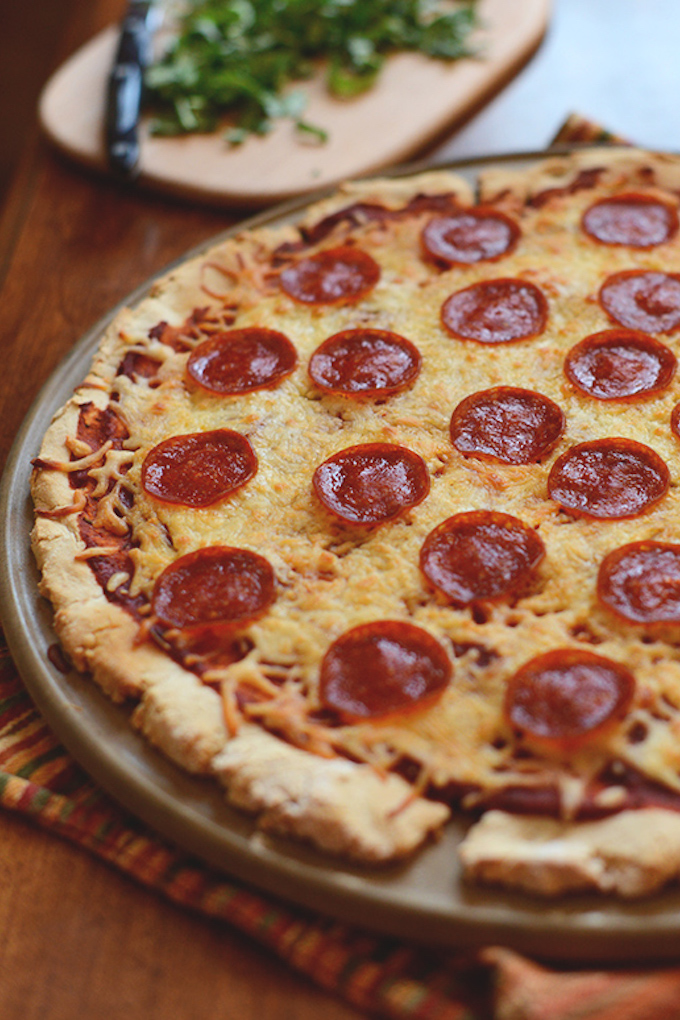
The Best Gluten-Free Pizza Crust + Sauce
Ingredients
- 1 Tbsp dry active yeast
- 1 ¼ cup warm water
divided
- 2-3 Tbsp sugar
divided
- 3 cups gluten-free flour blend*
see notes
- 1 tsp salt
- 1/2 tsp baking powder
- 1 Tbsp olive oil
Directions
- 1
Preheat oven to 350 degrees F (176 C).
- 2
In a small bowl, combine yeast and 3/4 cup warm water (180 ml // amount as original recipe is written // adjust if altering batch size) – about 110 degrees F (43 C). Too hot and it will kill the yeast! Let set for 5 minutes to activate. Sprinkle in 1 Tbsp of the sugar (12 g // amount as original recipe is written // adjust if altering batch size) a few minutes in.
- 3
In a separate bowl, combine gluten free flour blend, salt, baking powder and remaining 1-2 Tbsp sugar depending on preferred sweetness (12-25 g // amount as original recipe is written // adjust if altering batch size). Whisk until well combined.
- 4
Make a well in the dry mixture and add the yeast mixture. Add the olive oil and additional 1/2 cup warm water (120 ml // amount as original recipe is written // adjust if altering batch size) before stirring. Then stir it all together until well combined, using a wooden spoon (see photo).
- 5
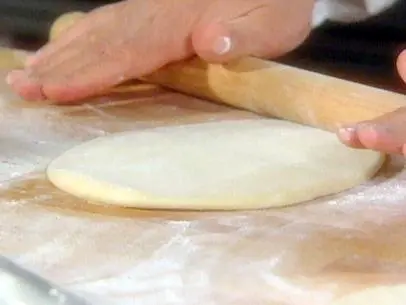
If using the whole dough to make one large pizza, spread onto a generously greased baking sheet or a pizza stone. Otherwise, make one smaller pizza and reserve the other half of the dough, wrapped in the fridge for several days. Using your hands and a little brown rice flour if it gets too sticky, work from the middle and push to spread/flatten the dough out to the edge (see pictures). You want it to be pretty thin – less than 1/4 inch.
- 6
Put the pizza in the oven to pre-bake for roughly 20-25 minutes, or until it begins to look dry. Cracks may appear, but that's normal and totally OK.
- 7
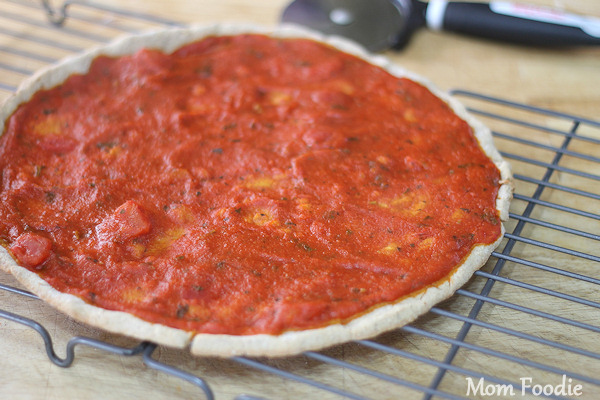
Remove from oven and spread generously with your favorite pizza sauce, cheese and desired toppings. We went with Daiya to keep ours dairy-free. Pop back in oven for another 15-25 minutes (depending on toppings), or until the crust edge looks golden brown and the toppings are warm and bubbly.
- 8
Cut immediately and serve. Reheats well the next day in the oven or microwave.
The Best Gluten-Free Pizza Crust + Sauce
Similar Recipes
Ratings & Reviews
Be the First to Rate
Your rating helps others discover amazing recipes. Share your experience and let others know what you think!
About this Recipe
Dreaming of a homemade pizza night, but need a fantastic gluten-free crust that truly satisfies? This recipe for The Best Gluten-Free Pizza Crust + Sauce delivers on that promise, offering a reliable foundation for your favorite toppings.
This recipe skillfully combines active dry yeast with a gluten-free flour blend, salt, and baking powder. The inclusion of both yeast for rise and baking powder for lift helps create a superior gluten-free crust that avoids the dense texture often associated with gluten-free baked goods. The olive oil contributes to a tender interior and a crisp exterior, ensuring a balanced and flavorful base.
You can expect a homemade pizza experience that truly satisfies, proving that gluten-free doesn't mean compromising on taste or texture. The crust should be pleasantly chewy on the inside with a satisfying crispness when properly baked. This recipe aims to provide a reliable foundation for your favorite pizza, allowing you to enjoy authentic pizza flavors without gluten.
Customization & Serving
While the recipe suggests a specific gluten-free flour blend (with notes for guidance), you're encouraged to explore different high-quality blends to find your personal preference, always ensuring they are suitable for baking. The amount of sugar can be adjusted slightly, which influences yeast activity and the crust's browning. Feel free to vary the type of olive oil used for a subtle flavor difference in your crust.
Perfect for family pizza night, this gluten-free crust and sauce combo makes creating a delicious meal accessible and enjoyable. Serve it hot, piled high with all your favorite toppings.